This is a diagram that I have used to build this lab.
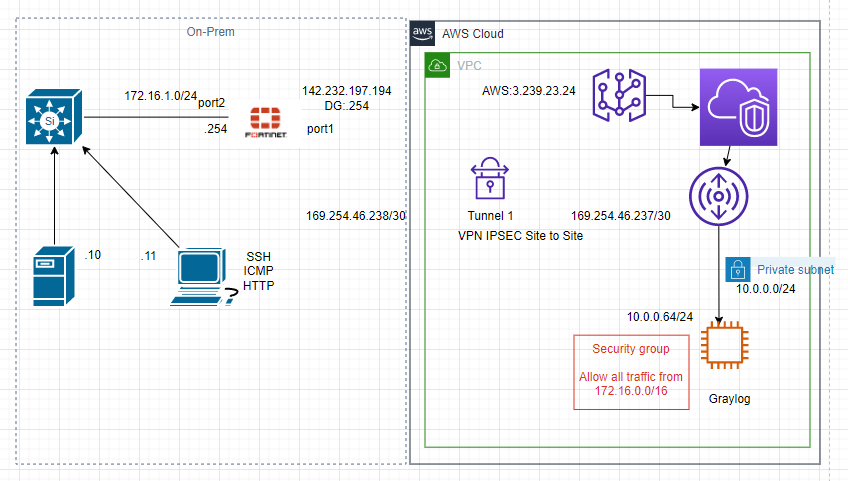
There are a couple of steps in this lab.
- Configure IPSEC VPN site-to-site IKEv2 between FortiGate and AWS.
- Implementing Graylog open-source log management on a Linux instance on AWS.
- Download FortiGate Content Pack (.json file) for Graylog.
- Upload the file into Graylog.
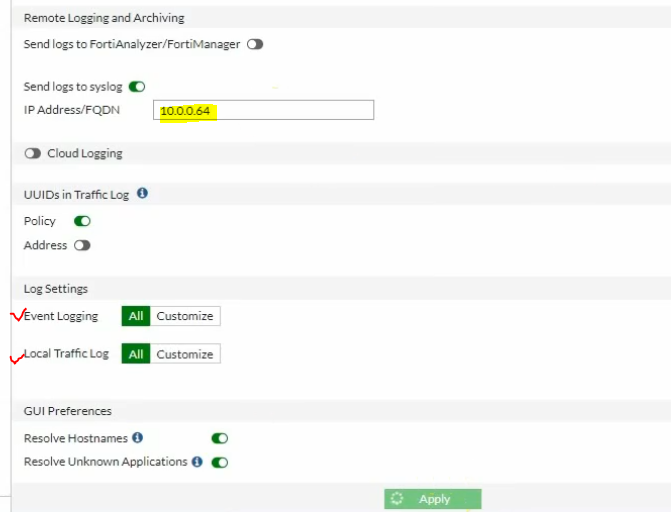
- Configure FortiGate to send logs to Graylog via Graylog’s IP address and the destination UDP port 1500.
Use the link below to know how to deploy the VPN site-to-site between FortiGate on-prem and AWS.
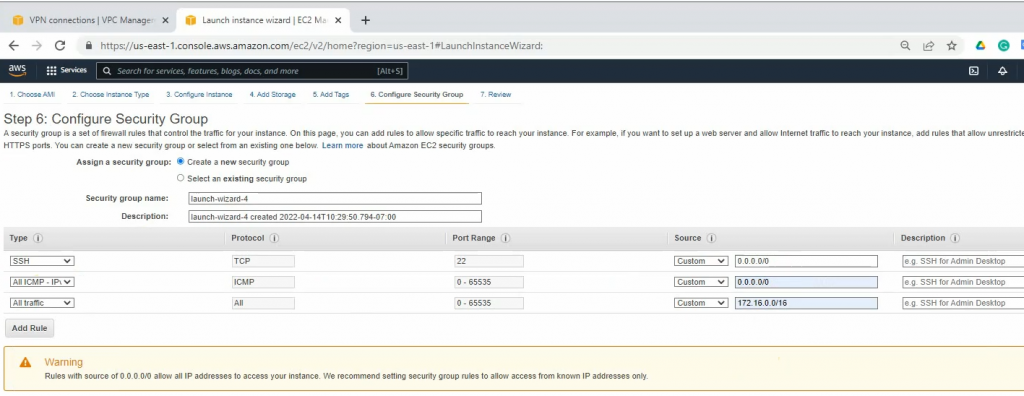
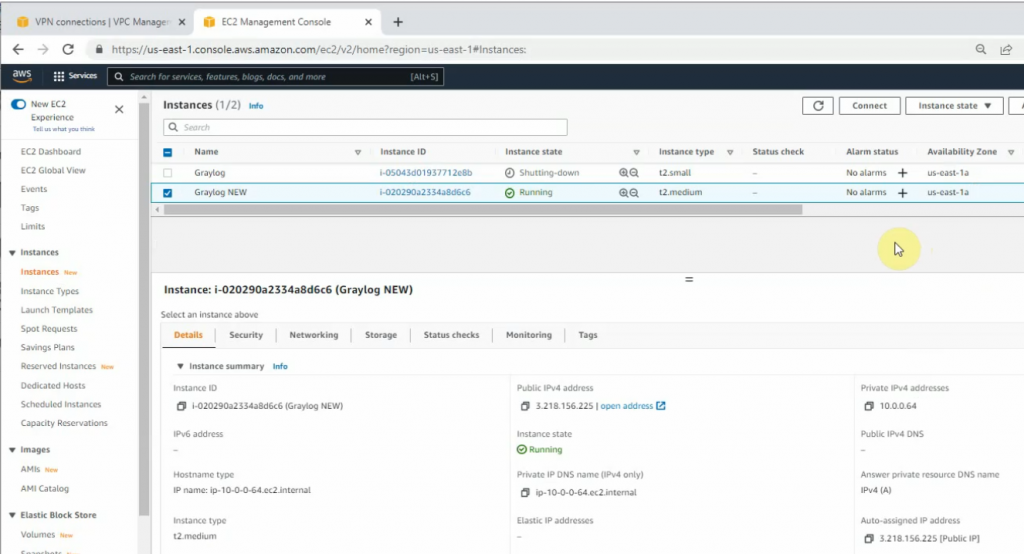
https://tungle.ca/?p=2753Create a new Linux instance (4GB RAM) to install Graylog.
On Security Group, create a couple of following rules to allow FortiGate LAN subnets to communicate with Graylog on AWS LAN subnets.
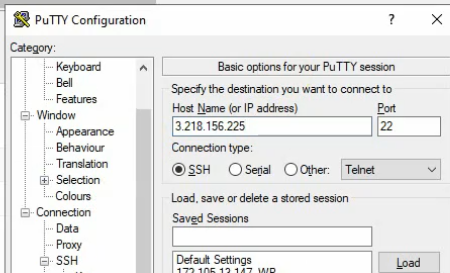
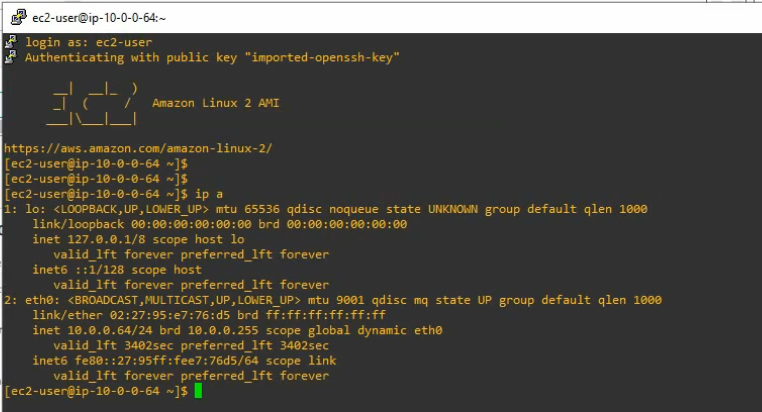
SSH to the Linux instance.
+ Update your system and install needed packages.
sudo hostnamectl set-hostname graylog
sudo yum update -y
sudo yum install epel-release
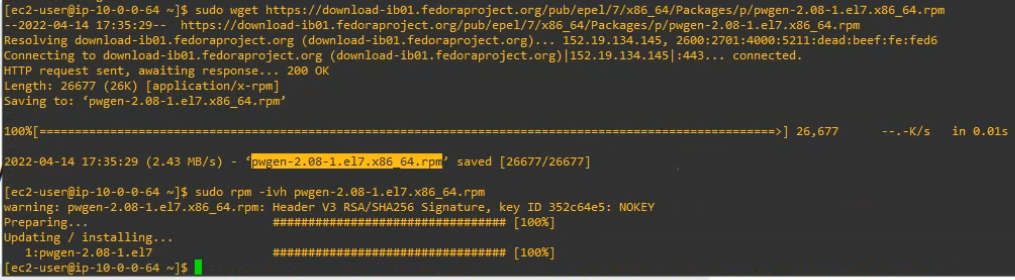
sudo wget https://download-ib01.fedoraproject.org/pub/epel/7/x86_64/Packages/p/pwgen-2.08-1.el7.x86_64.rpm
sudo rpm -ivh pwgen-2.08-1.el7.x86_64.rpm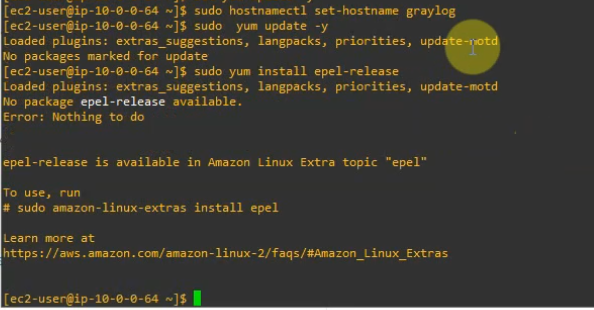
+ Install JAVA
sudo yum install java-1.8.0-openjdk-headless.x86_64 -y
sudo java -version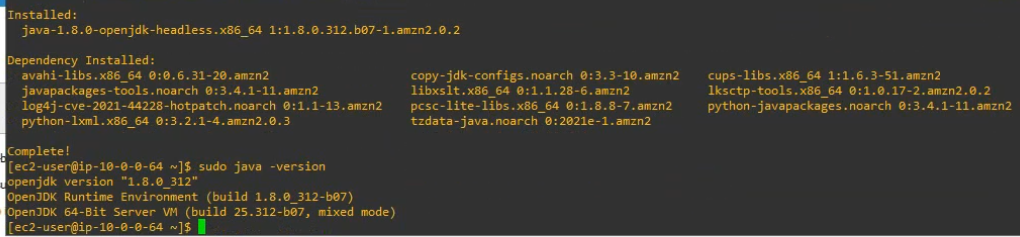
+ Create a repository file. Then add the content below to this repository.
sudo nano /etc/yum.repos.d/mongodb-org.repo[mongodb-org-4.2]
name=MongoDB Repository
baseurl=https://repo.mongodb.org/yum/redhat/7/mongodb-org/4.2/x86_64/
gpgcheck=1
enabled=1
gpgkey=https://www.mongodb.org/static/pgp/server-4.2.asc+ Install MongoDB.
sudo yum install mongodb-org -y
+ Enable and start the mongoDB service on the system.
sudo systemctl daemon-reload
sudo systemctl enable mongod.service
sudo systemctl start mongod.service
sudo systemctl --type=service --state=active | grep mongod
+ Check MongoDB service port.
netstat -antp | grep 27017
+ Installing Elasticsearch.
Create a repository, then add the following contents to the file.
sudo nano /etc/yum.repos.d/elasticsearch.repo
[elasticsearch-6.x]
name=Elasticsearch repository for 6.x packages
baseurl=https://artifacts.elastic.co/packages/oss-6.x/yum
gpgcheck=1
gpgkey=https://artifacts.elastic.co/GPG-KEY-elasticsearch
enabled=1
autorefresh=1
Install the open-source version of Elasticsearch.
sudo yum install elasticsearch-oss -y
#Edit the elasticsearch.yml file on /etc/elasticsearch/elasticsearch.yml
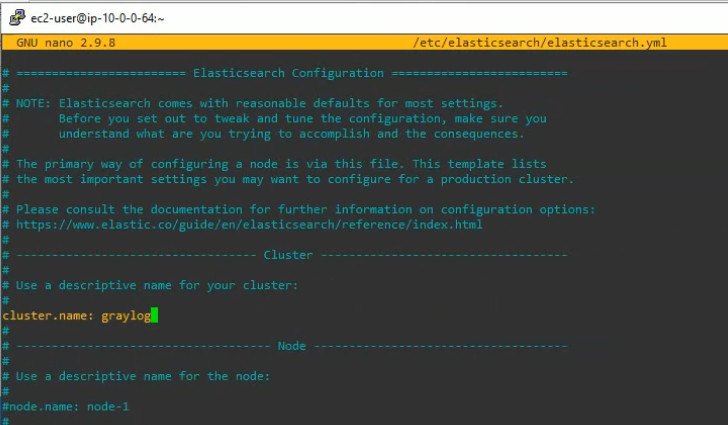
sudo nano /etc/elasticsearch/elasticsearch.ymlModify the Elasticsearch configuration file. Set the cluster name to graylog and add “action.auto_create_index: false” to the file.
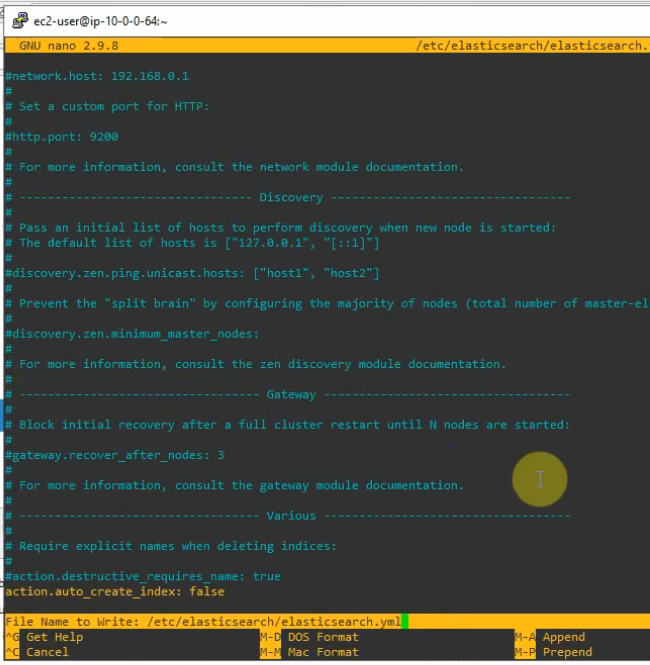
Save and exit the file. Enable, start and check the status of elastic search on the system.
sudo systemctl daemon-reload
sudo systemctl enable elasticsearch.service
sudo systemctl restart elasticsearch.service
sudo systemctl --type=service --state=active | grep elasticsearch
Check elastic search health.
curl -XGET 'http://localhost:9200/_cluster/health?pretty=true'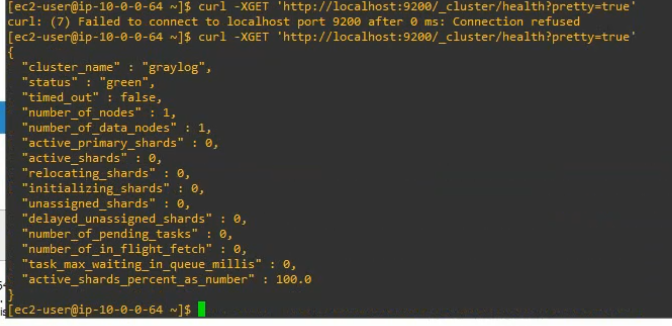
+ Installing the Graylog.
Now install the Graylog repository configuration with the following command.
sudo rpm -Uvh https://packages.graylog2.org/repo/packages/graylog-4.2-repository_latest.rpmInstall Graylog-server.
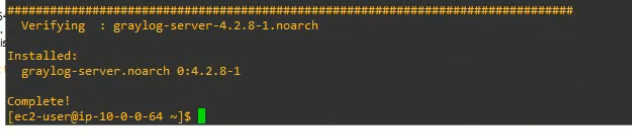
sudo yum install graylog-server -y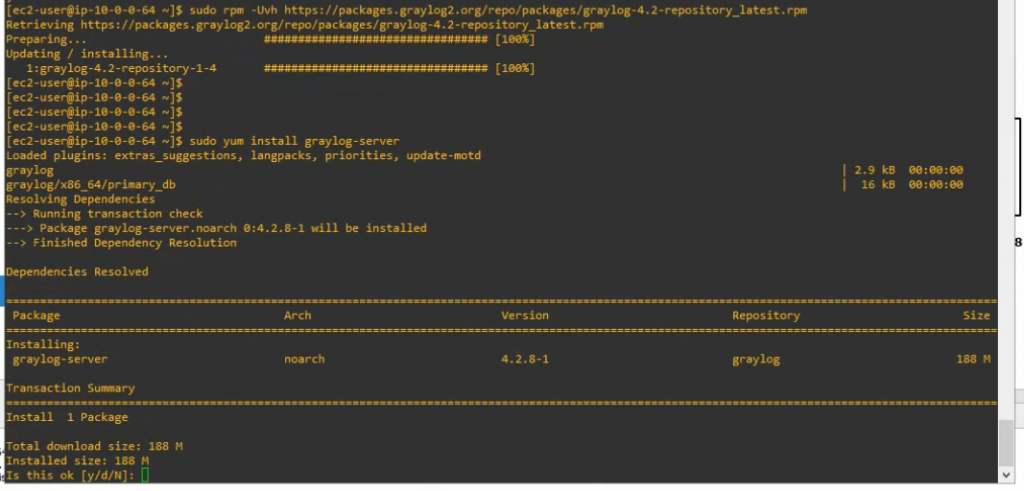
Configure Graylog.
Generate password_secret.
pwgen -N 1 -s 96[ec2-user@ip-10-0-0-64 ~]$ pwgen -N 1 -s 96
Bv6a46BXTALlfI3VRZ3ACfzBoIZOo3evqd7v7FY0fsrSXNZDflPcWRtYoxRrm5BZfMvq2TKffWEobYL6iSwBW908gpSC9z79
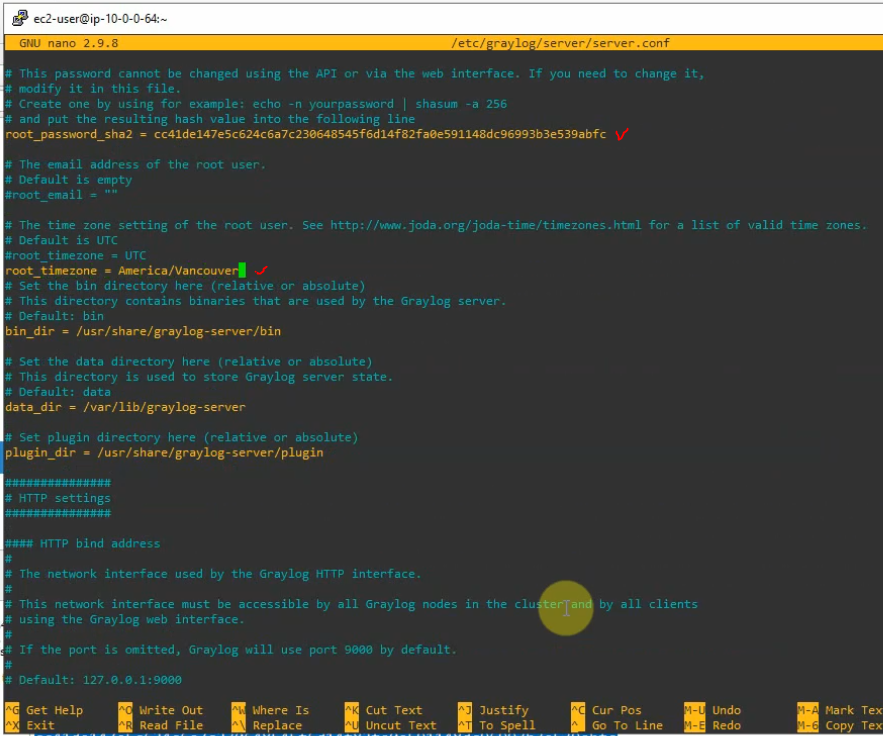
Generate root_password_sha2.
echo -n graylog@123 | sha256sum | cut -d” ” -f1[ec2-user@ip-10-0-0-64 ~]$ echo -n graylog@123 | sha256sum | cut -d” ” -f1
cc41de147e5c624c6a7c230648545f6d14f82fa0e591148dc96993b3e539abfc

Edit etc/graylog/server/server.conf file.
sudo nano /etc/graylog/server/server.conf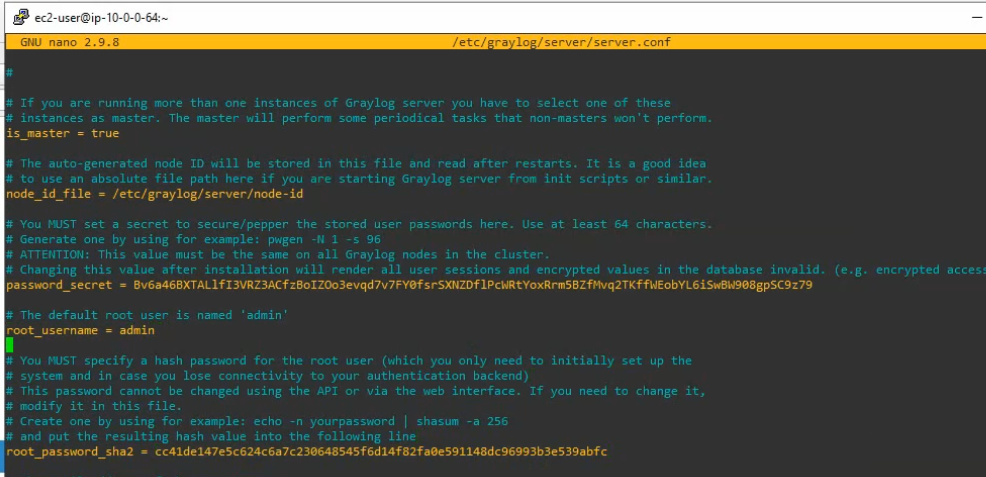
Comment the following line.
#http_bind_address = 127.0.0.1:9000

Add the following line with IP address of Graylog.
http_bind_address = 10.0.0.64:9000 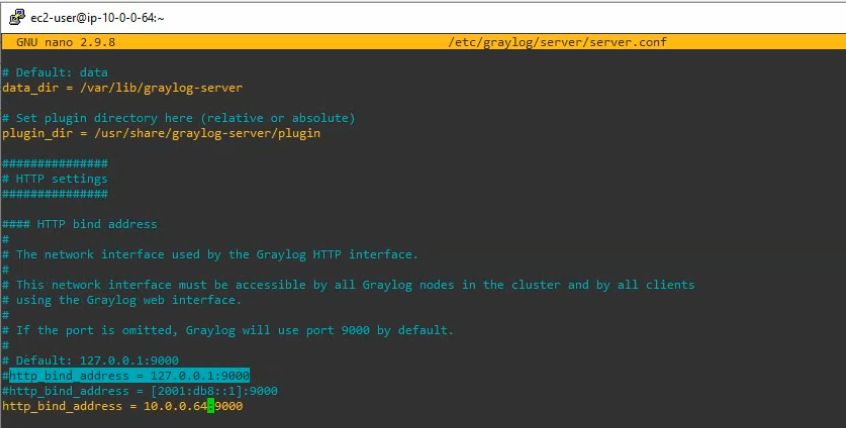
Enable and start Graylog service.
sudo systemctl enable graylog-server.service
sudo systemctl start graylog-server.service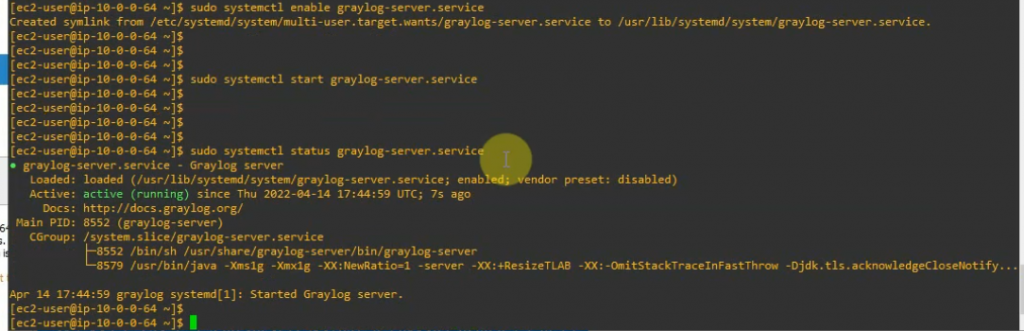
Check Graylog Server listening port.
netstat -antp | grep 9000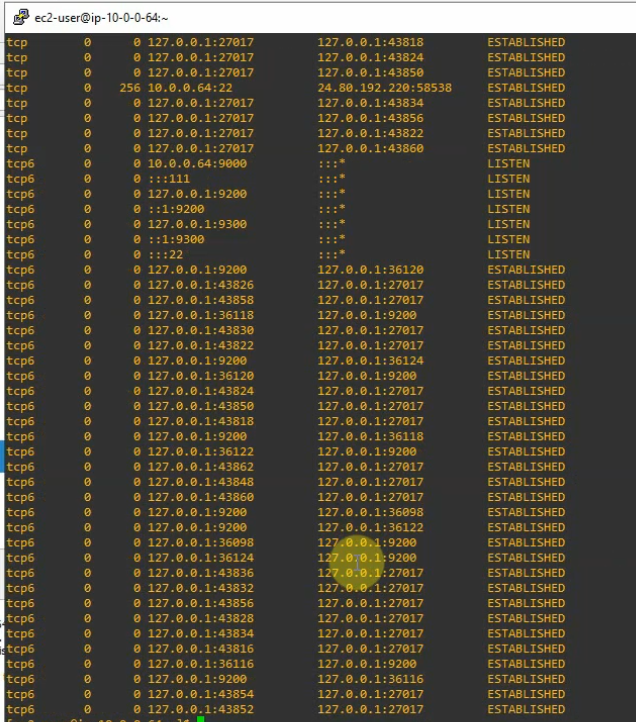

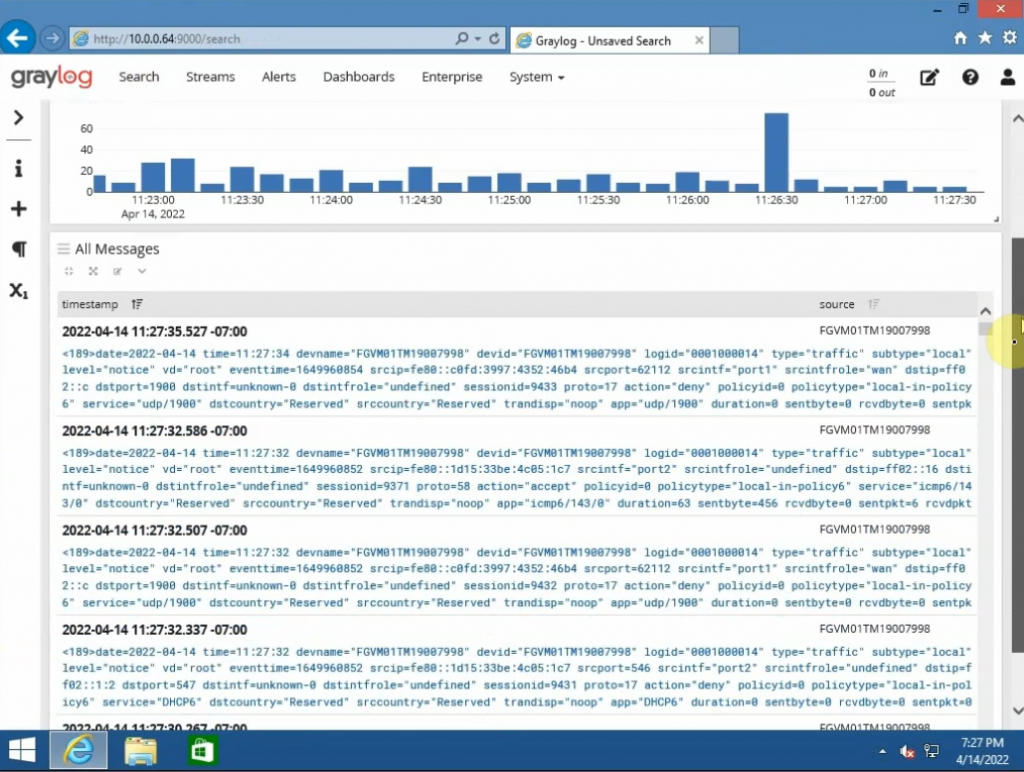
Access Graylog web interface from Kali’s machine on FortiGate LAN subnets.
http://10.0.0.4:9000
user:admin
password:graylog@123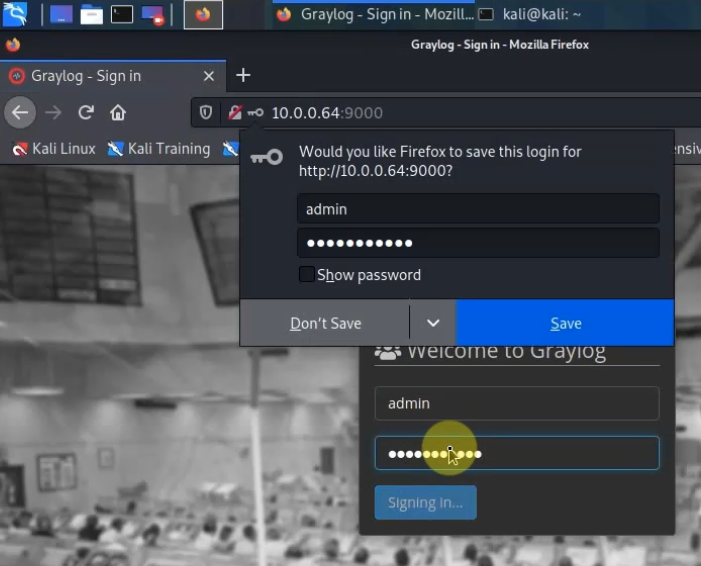
Back to FortiGate, configure the Syslog setting to send logs via the Graylog server on its IP address 10.0.0.64 with a destination port is 1500.
config log syslogd setting
set status enable
set server 10.0.0.64
set port 1500
end 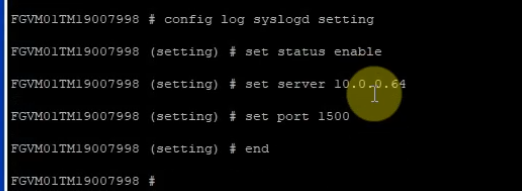
show log syslogd setting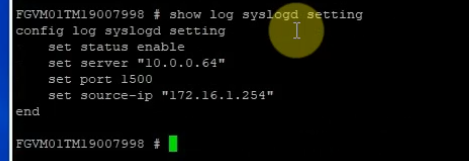
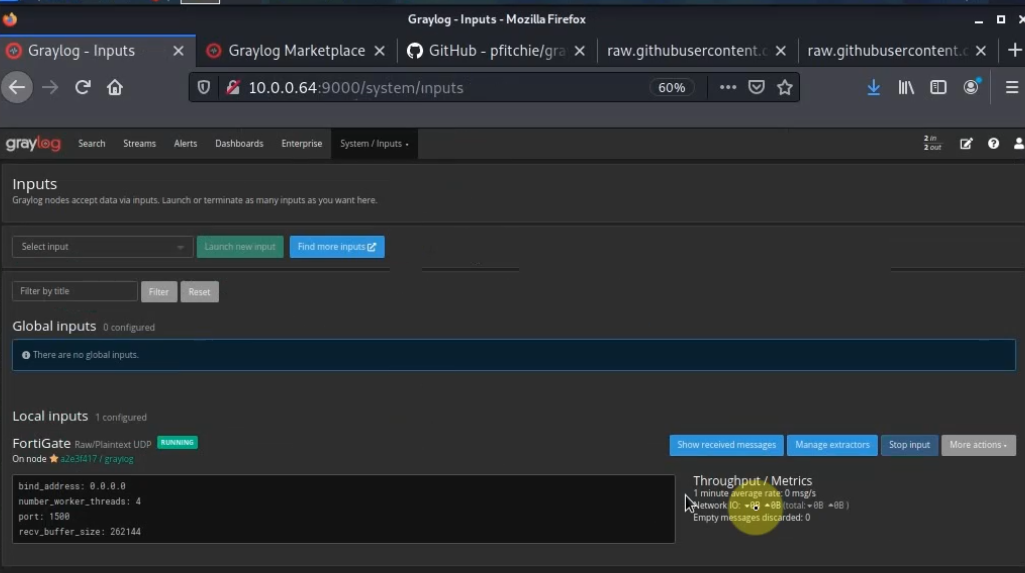
On Graylog.
Download FortiGate Content Pack from Github.
https://marketplace.graylog.org/addons/f1b25e9c-c908-41e4-b5de-4549c500a9d0
https://github.com/teon85/fortigate6.4_graylog4
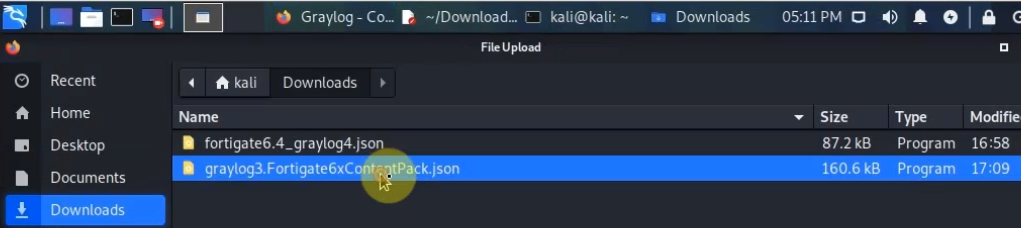
Download the JSON file (fortigate6.4_graylog4.json)
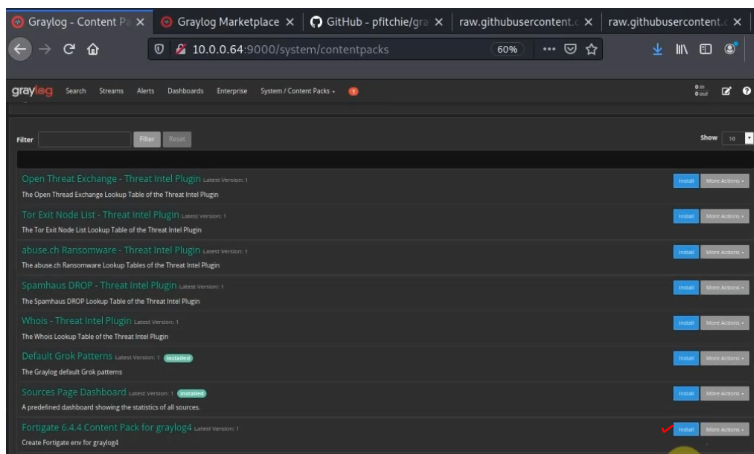
Go to System – Content Packs – Upload. Select the file (fortigate6.4_graylog4.json) and upload.
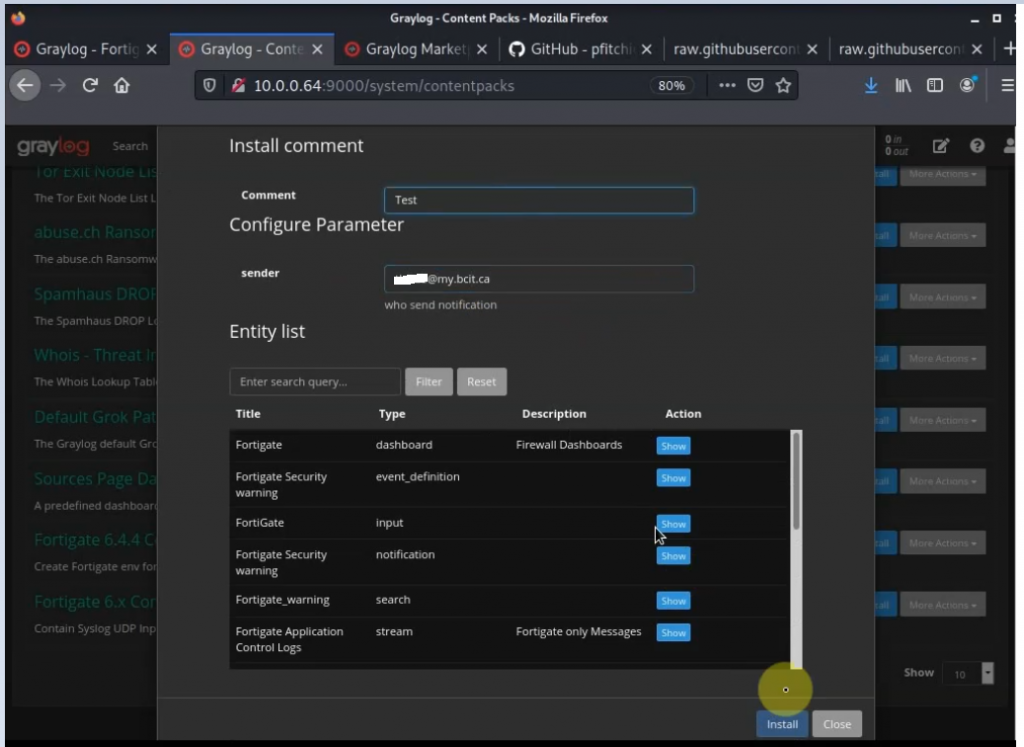
Click Install.
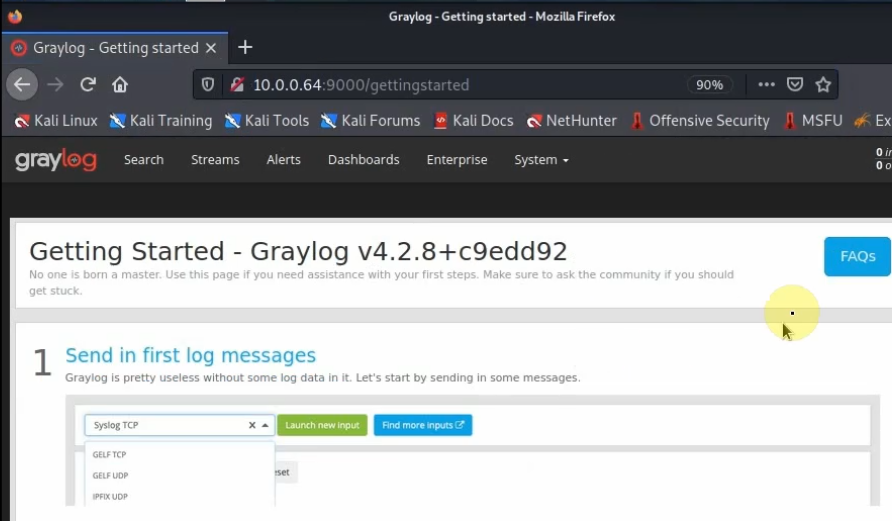
Change the Syslog port to 1500.
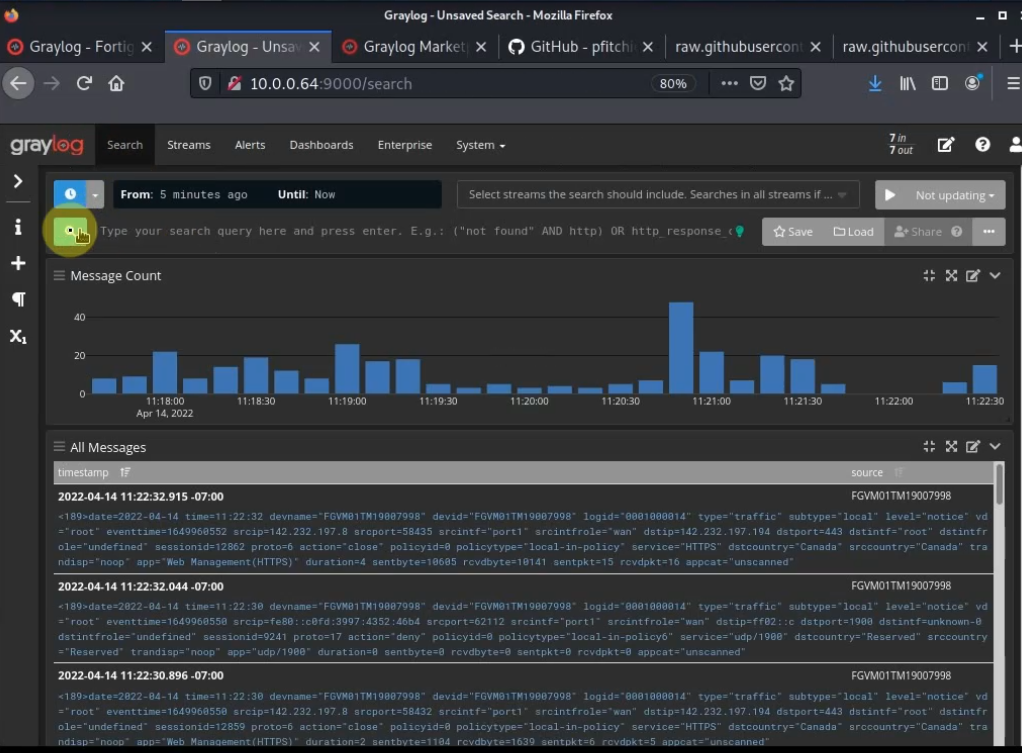
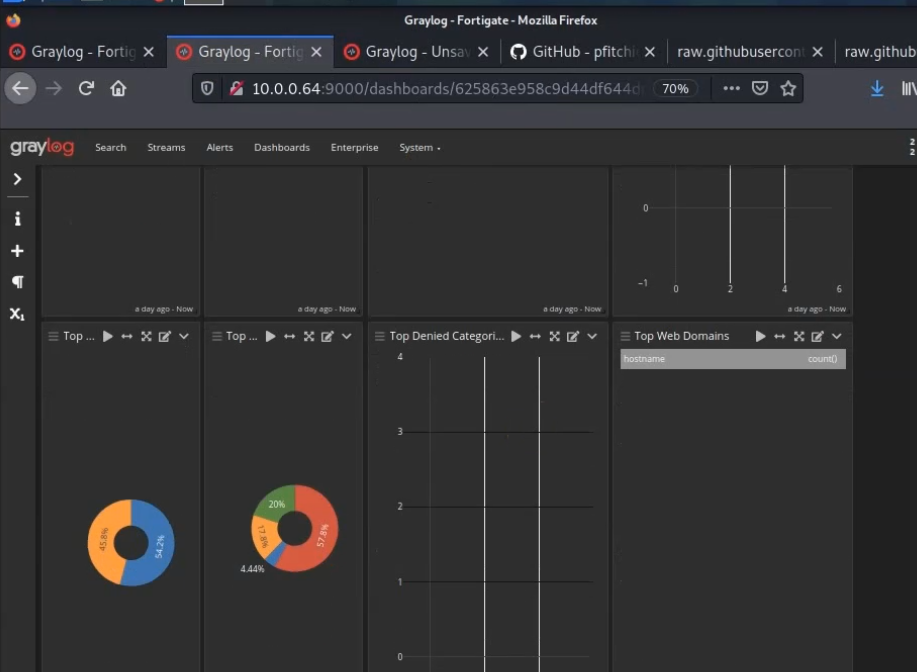
FortiGate dashboard.