Below is a process to install the Kubernetes cluster on three nodes. with MicroK8s.
+ Deploying MicroK8s on node 1, node 2, and node 3
Install MicroK8s directly from the snap store.
sudo apt install snapd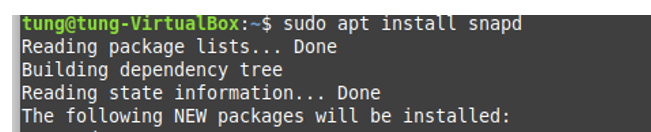
To follow a specific upstream release series it’s possible to select a channel during installation, for example, v1.18 series.
sudo snap install microk8s --classic --channel=1.18/stable
Configure your firewall to allow pod-to-pod and pod-to-internet communication.
sudo ufw allow in on cni0 && sudo ufw allow out on cni0sudo ufw default allow routed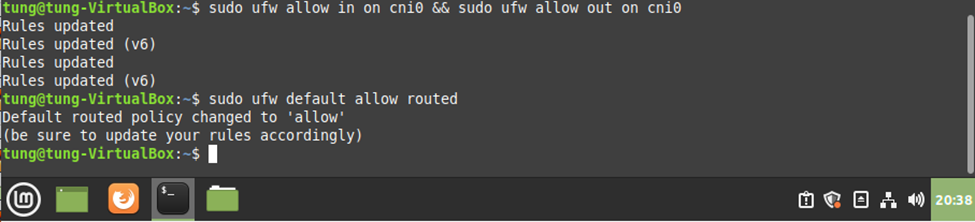
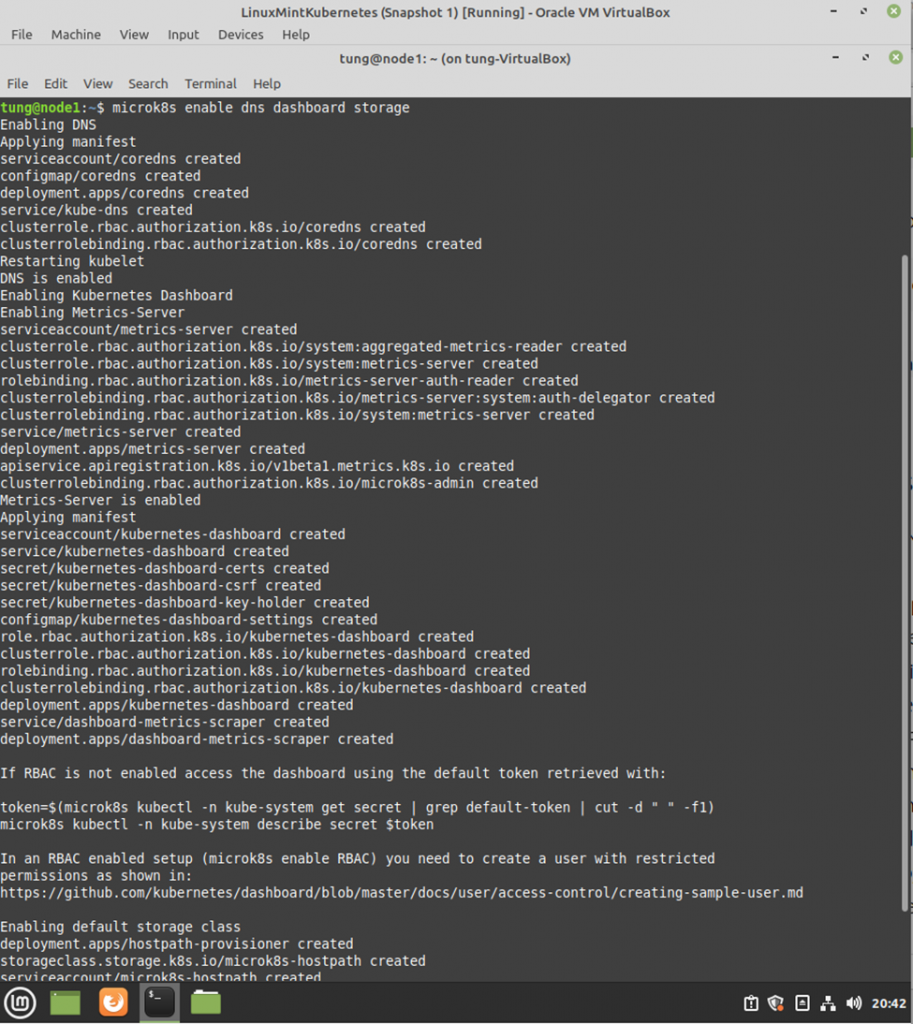
Dashboard, core-dns, or local storage can be enabled by running the microk8s enable command:
microk8s enable dns dashboard storagesudo usermod -a -G microk8s tung
sudo chown -f -R tung ~/.kube
newgrp microk8s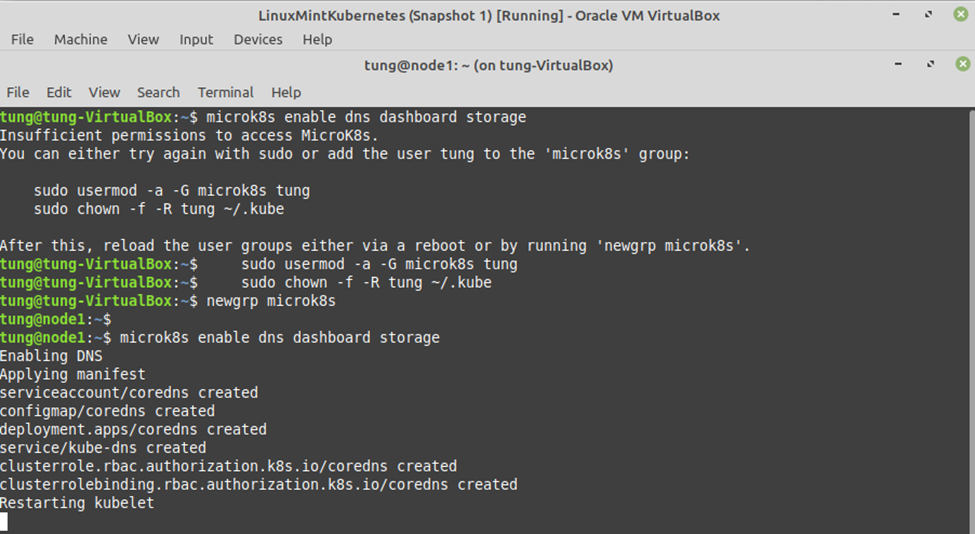
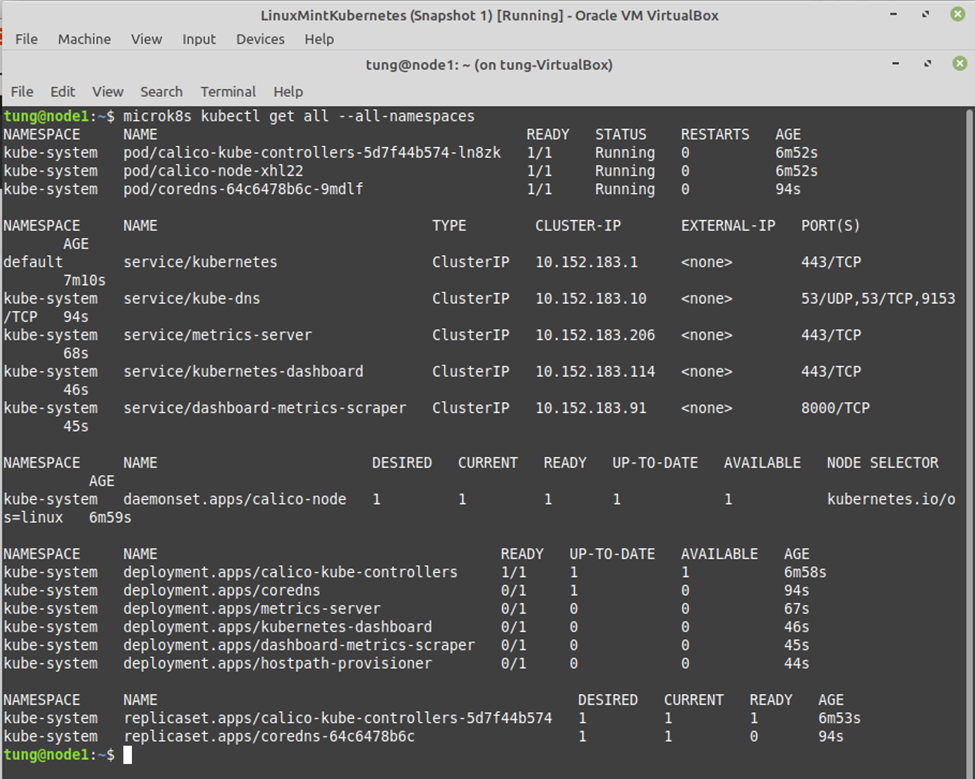
Get the output of the first node.
Get token.
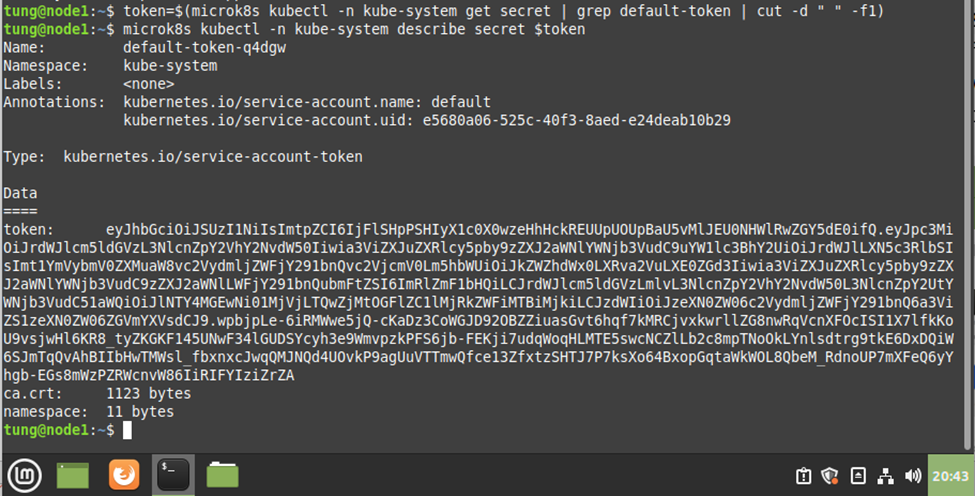
Copy and paste the token on the following screenshot.
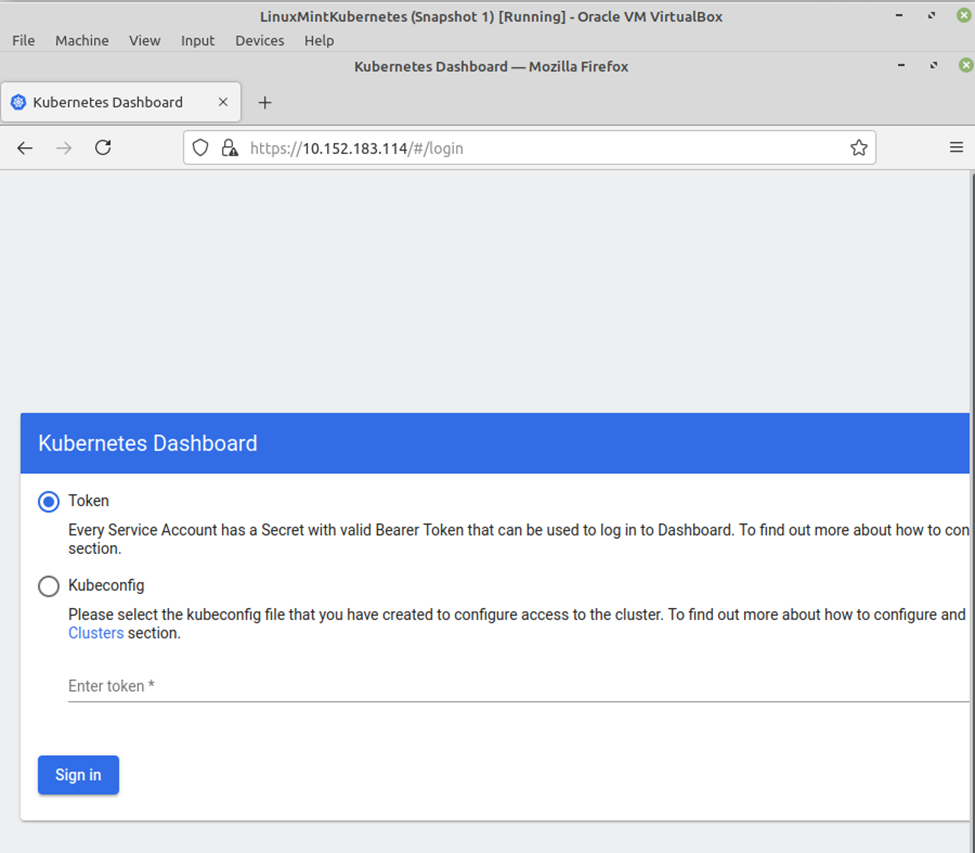
Kubernetes dashboard.

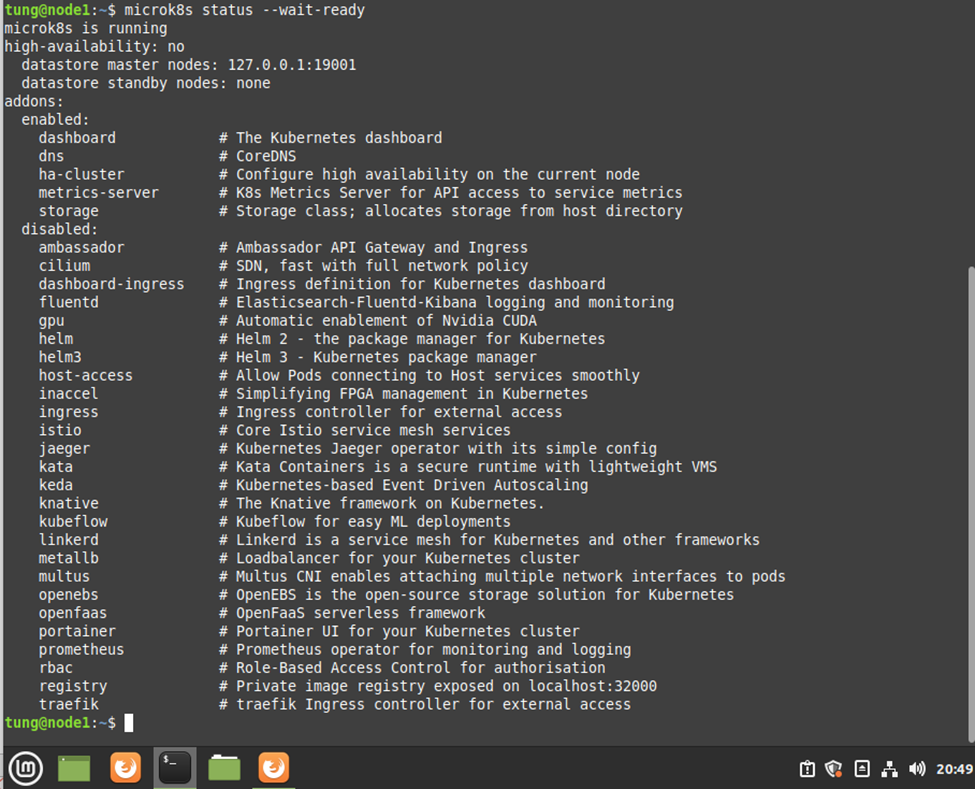
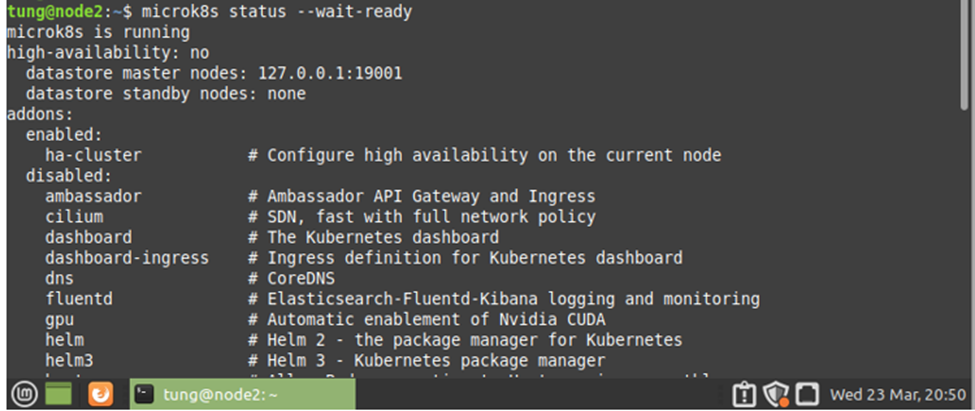
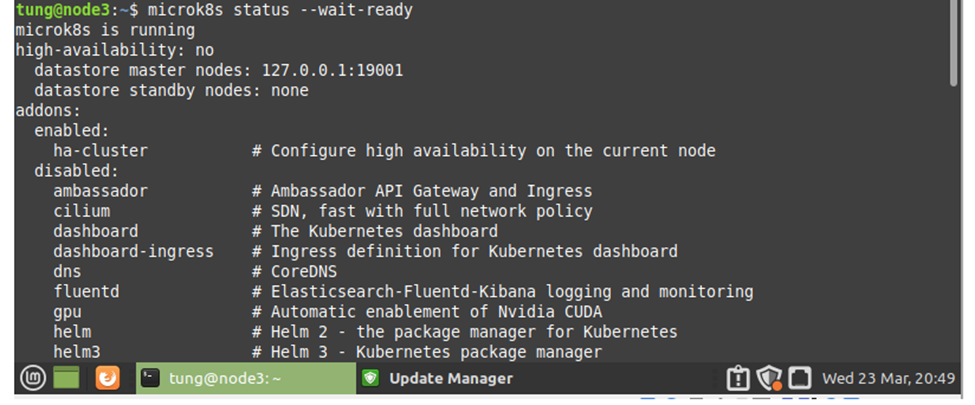
Get status of mircok8s service.
Do previous steps on node 2 and node 3. We do not need to install dashboard service on node 2 and node 3.
+ Create a MicroK8s multi-node cluster.
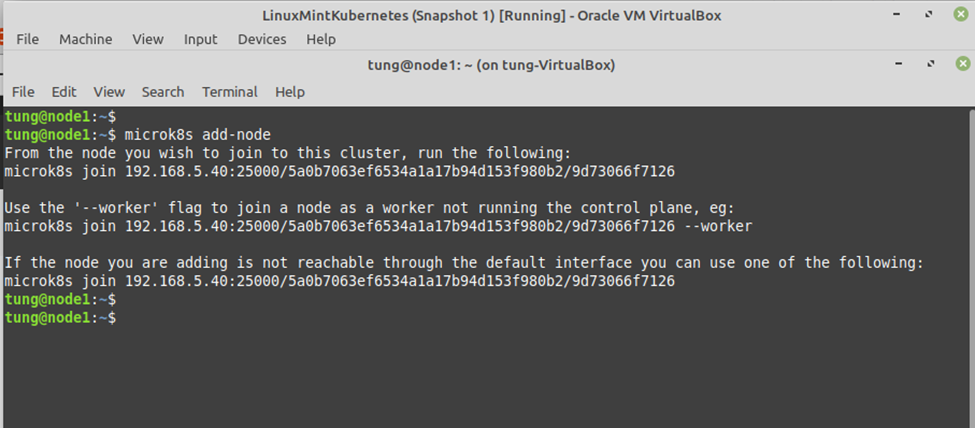
Now let’s focus on creating the Kubernetes cluster. On the first node run a command below.
microk8s add-nodeThis command will give you the following output:
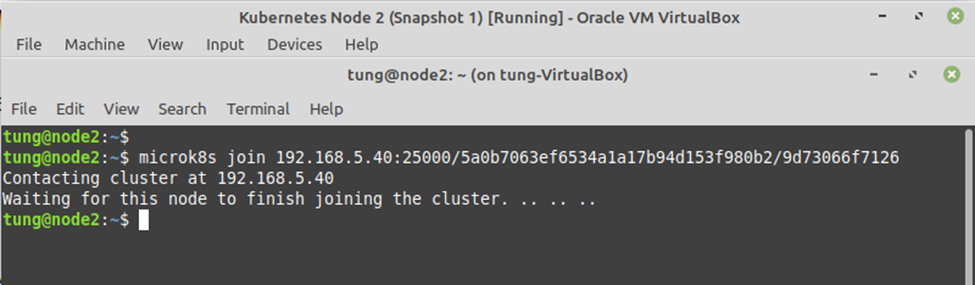
On node 2, join the cluster.
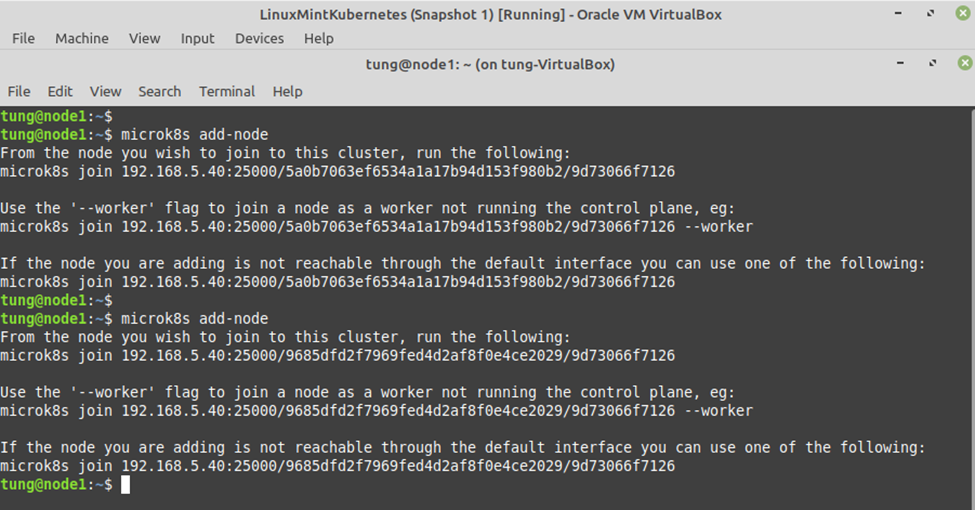
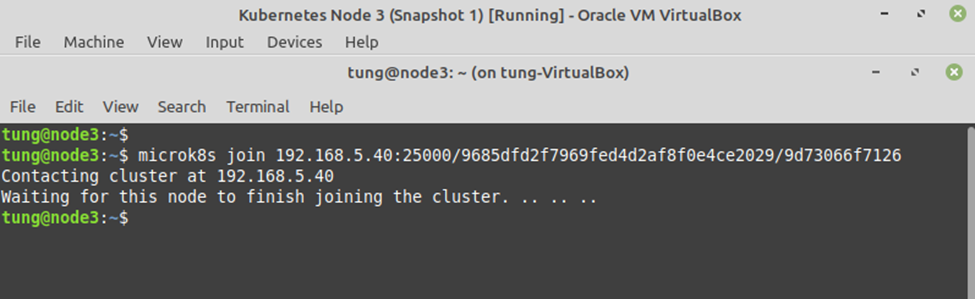
Repeat this process (including generating a token, run it from the joining node) for the third node.
+ Deploy a sample containerized application
Let’s now create a microbot deployment with three pods via the kubectl cli. Run this on any of the control plane nodes:
microk8s kubectl create deployment microbot --image=dontrebootme/microbot:v1microk8s kubectl scale deployment microbot --replicas=3To expose our deployment we need to create a service:
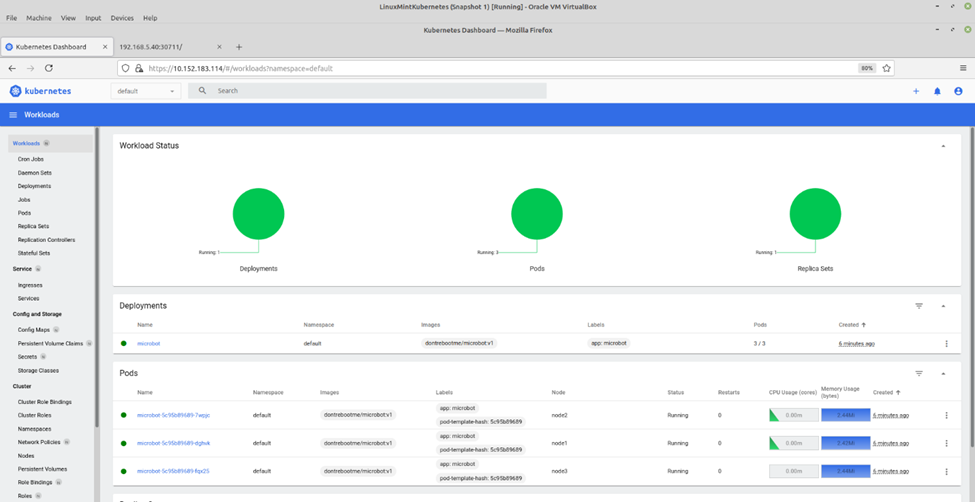
microk8s kubectl expose deployment microbot --type=NodePort --port=80 --name=microbot-serviceAfter a few minutes, check your cluster.
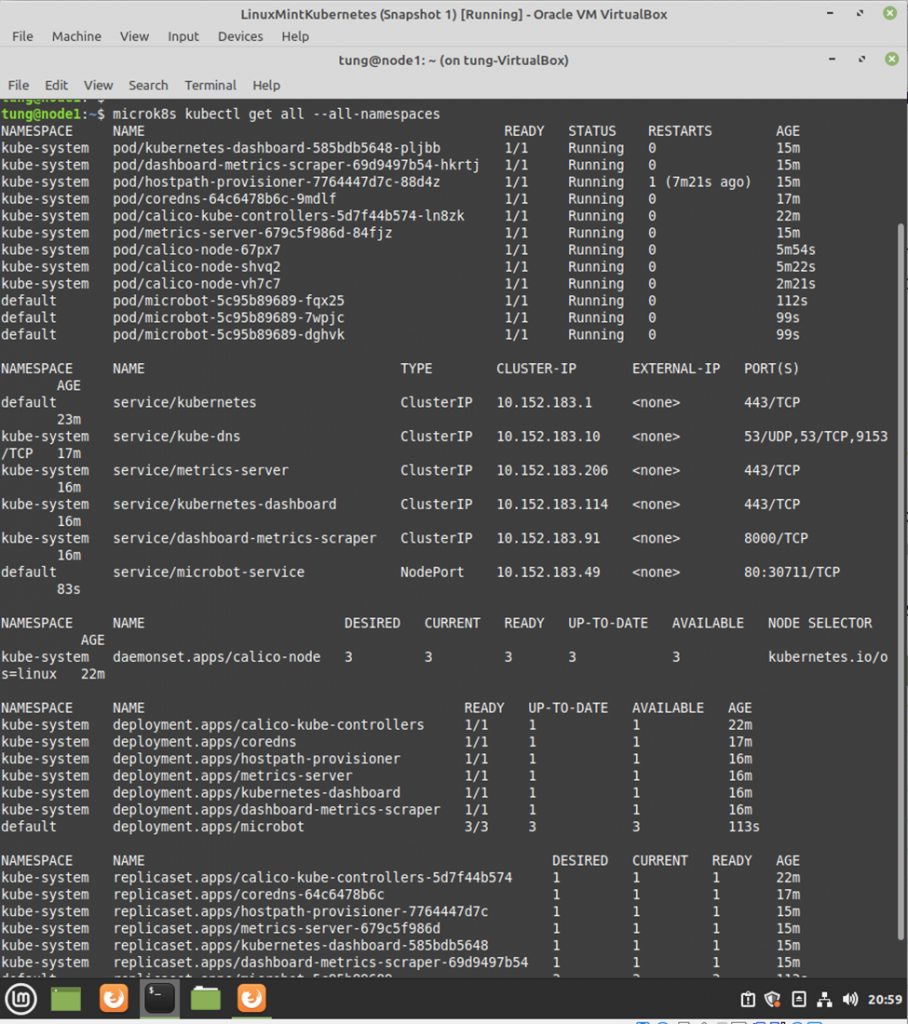
Check IP address of the K8S node.

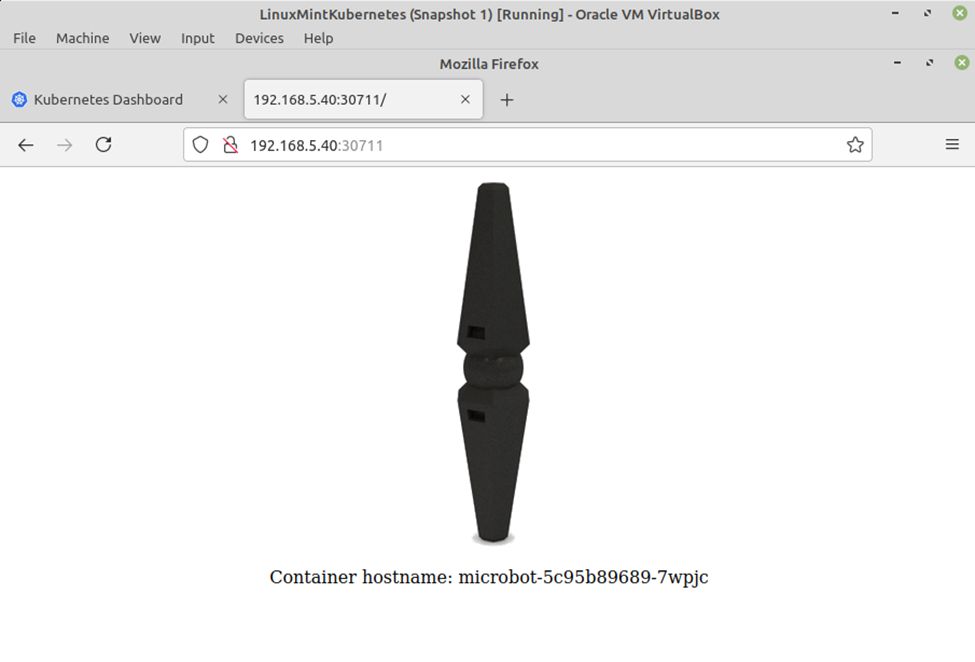
Access micro-bot service via the port 30711.
Kubernetes dashboard.