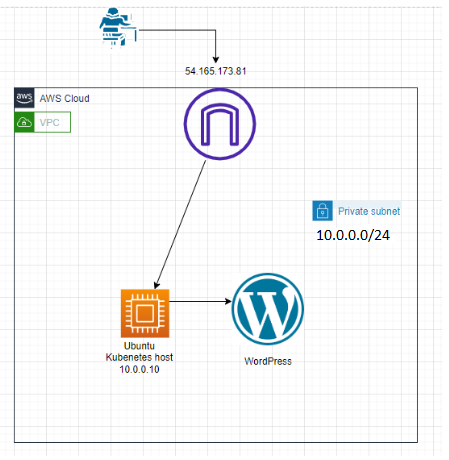
This is a diagram that I have used for this lab.
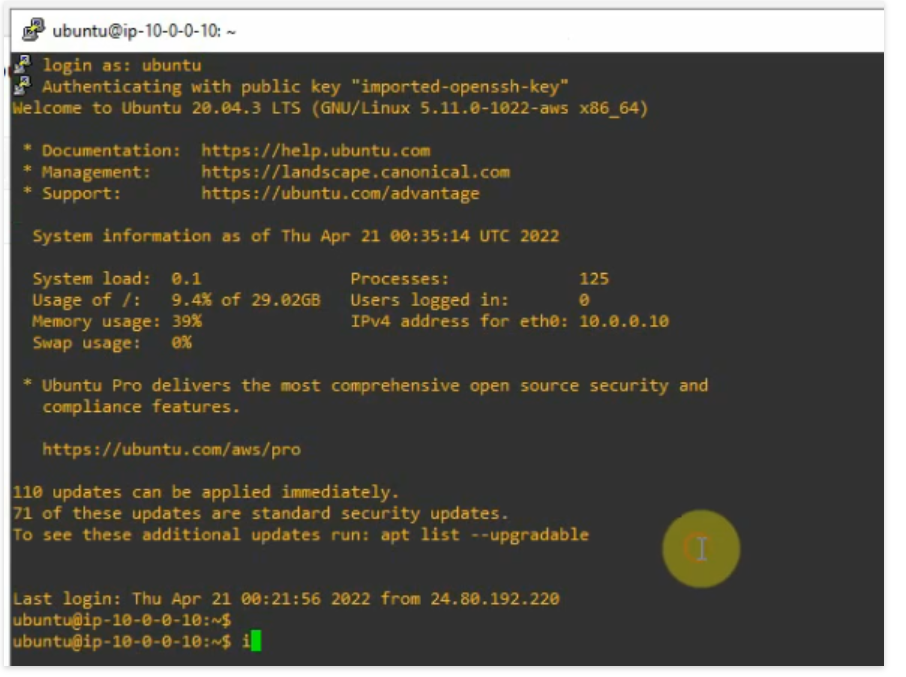
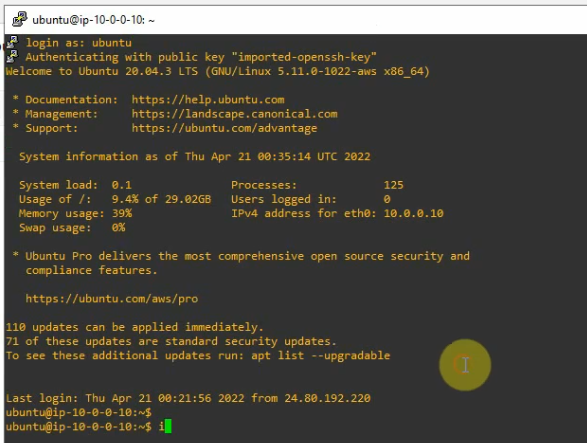
+ Create a Ubuntu Linux instance with 2GB RAM and 30GB storage for Kubernetes.
+ Create a MySQL deployment file.
#mysql-deployment.yaml
apiVersion: v1
kind: Service
metadata:
  name: wordpress-mysql
  labels:
    app: wordpress
spec:
  ports:
    - port: 3306
  selector:
    app: wordpress
    tier: mysql
  clusterIP: None
---
apiVersion: v1
kind: PersistentVolumeClaim
metadata:
  name: mysql-pv-claim
  labels:
    app: wordpress
spec:
  accessModes:
    - ReadWriteOnce
  resources:
    requests:
      storage: 20Gi
---
apiVersion: apps/v1
kind: Deployment
metadata:
  name: wordpress-mysql
  labels:
    app: wordpress
spec:
  selector:
    matchLabels:
      app: wordpress
      tier: mysql
  strategy:
    type: Recreate
  template:
    metadata:
      labels:
        app: wordpress
        tier: mysql
    spec:
      containers:
      - image: mysql:5.6
        name: mysql
        env:
        - name: MYSQL_ROOT_PASSWORD
          valueFrom:
            secretKeyRef:
              name: mysql-pass
              key: password
        ports:
        - containerPort: 3306
          name: mysql
        volumeMounts:
        - name: mysql-persistent-storage
          mountPath: /var/lib/mysql
      volumes:
      - name: mysql-persistent-storage
        persistentVolumeClaim:
          claimName: mysql-pv-claim
+ Create a WordPress deployment file
#wordpress-deployment.yaml
apiVersion: v1
kind: Service
metadata:
  name: wordpress
  labels:
    app: wordpress
spec:
  ports:
    - port: 80
  selector:
    app: wordpress
    tier: frontend
  type: LoadBalancer
---
apiVersion: v1
kind: PersistentVolumeClaim
metadata:
  name: wp-pv-claim
  labels:
    app: wordpress
spec:
  accessModes:
    - ReadWriteOnce
  resources:
    requests:
      storage: 20Gi
---
apiVersion: apps/v1
kind: Deployment
metadata:
  name: wordpress
  labels:
    app: wordpress
spec:
  selector:
    matchLabels:
      app: wordpress
      tier: frontend
  strategy:
    type: Recreate
  template:
    metadata:
      labels:
        app: wordpress
        tier: frontend
    spec:
      containers:
      - image: wordpress:4.8-apache
        name: wordpress
        env:
        - name: WORDPRESS_DB_HOST
          value: wordpress-mysql
        - name: WORDPRESS_DB_PASSWORD
          valueFrom:
            secretKeyRef:
              name: mysql-pass
              key: password
        ports:
        - containerPort: 80
          name: wordpress
        volumeMounts:
        - name: wordpress-persistent-storage
          mountPath: /var/www/html
      volumes:
      - name: wordpress-persistent-storage
        persistentVolumeClaim:
          claimName: wp-pv-claim
+ Download the MySQL deployment configuration file.
sudo curl -LO https://k8s.io/examples/application/wordpress/mysql-deployment.yaml+ Download the WordPress configuration file.
sudo curl -LO https://k8s.io/examples/application/wordpress/wordpress-deployment.yaml+ Create a kustomization.yaml.
secretGenerator:
- name: mysql-pass
literals:
- password=YOUR_PASSWORD
resources:
- mysql-deployment.yaml
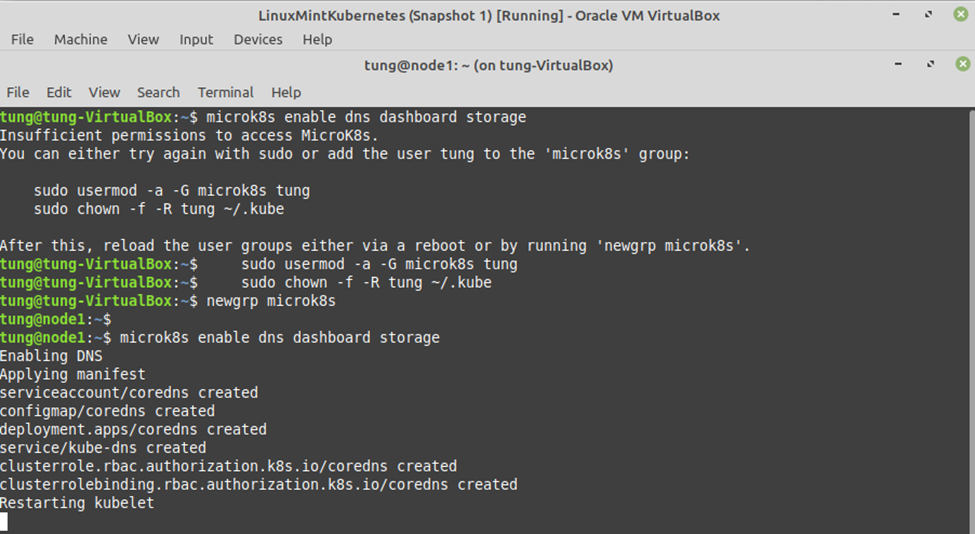
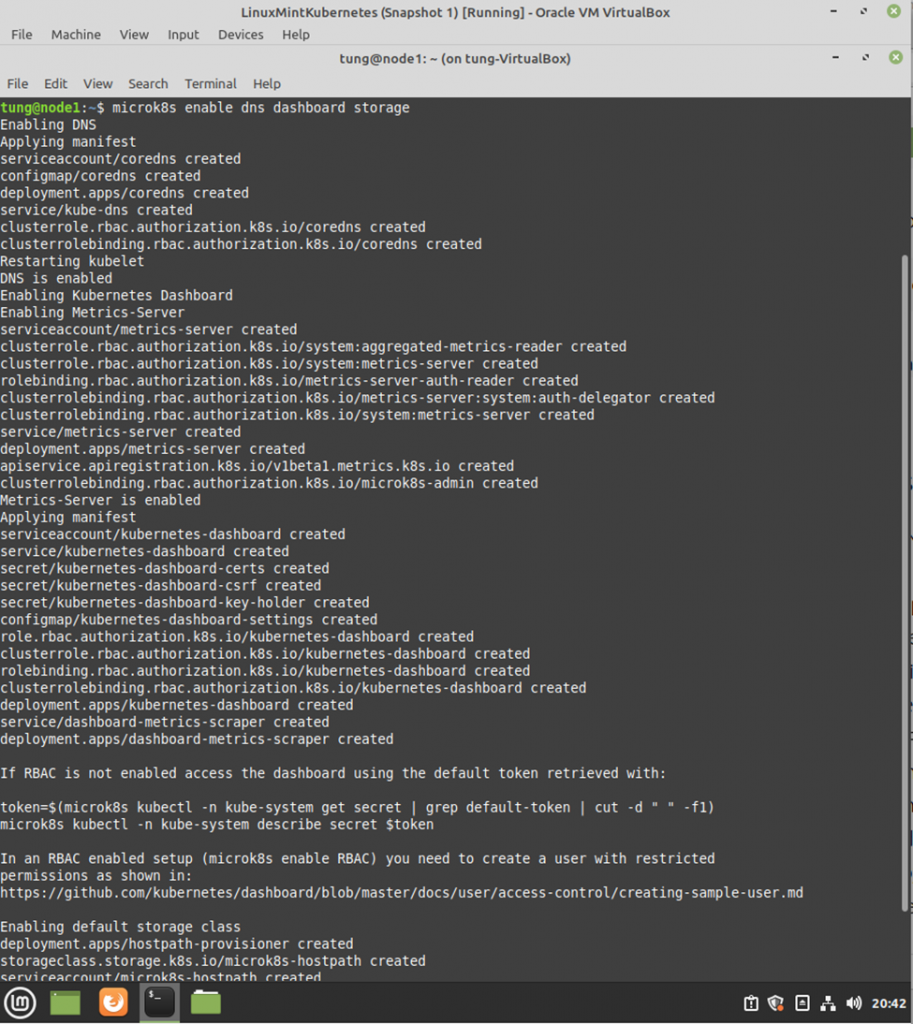
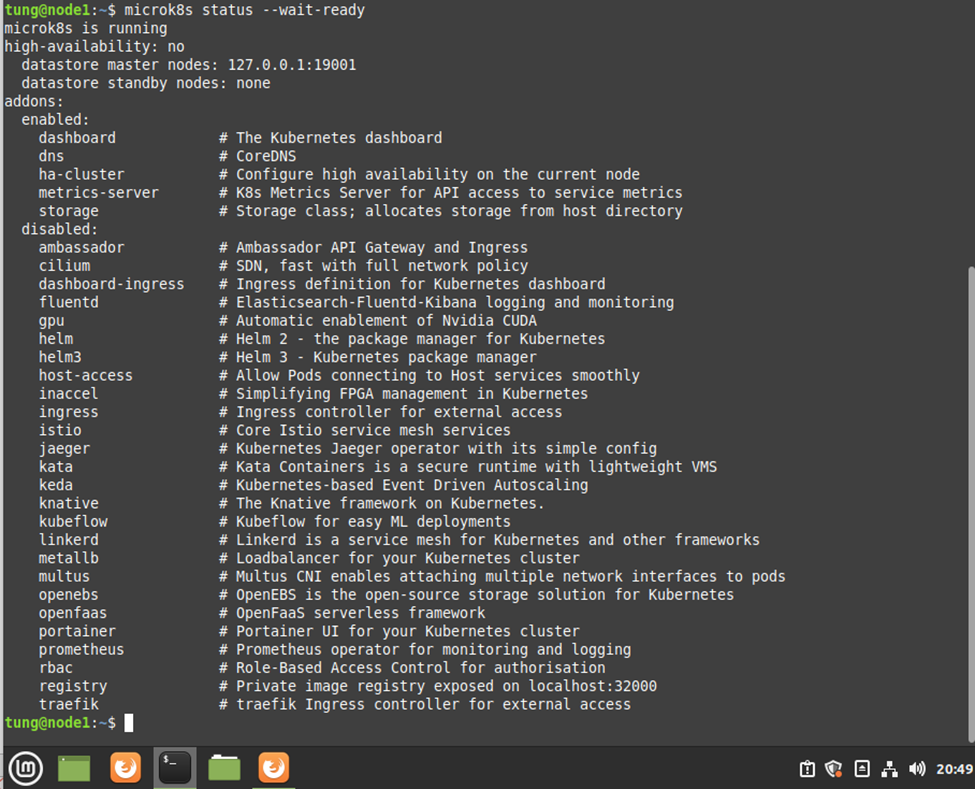
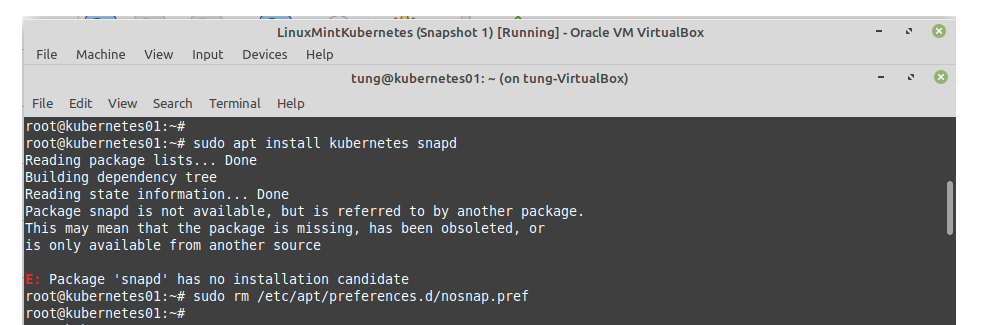
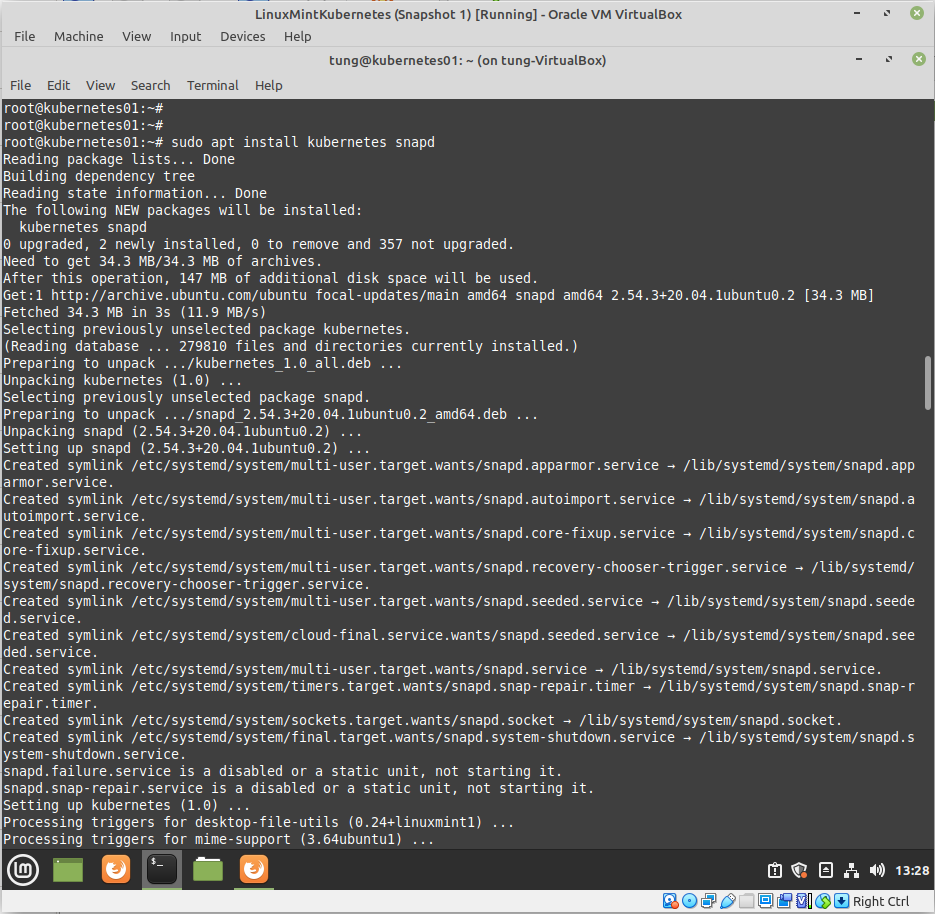
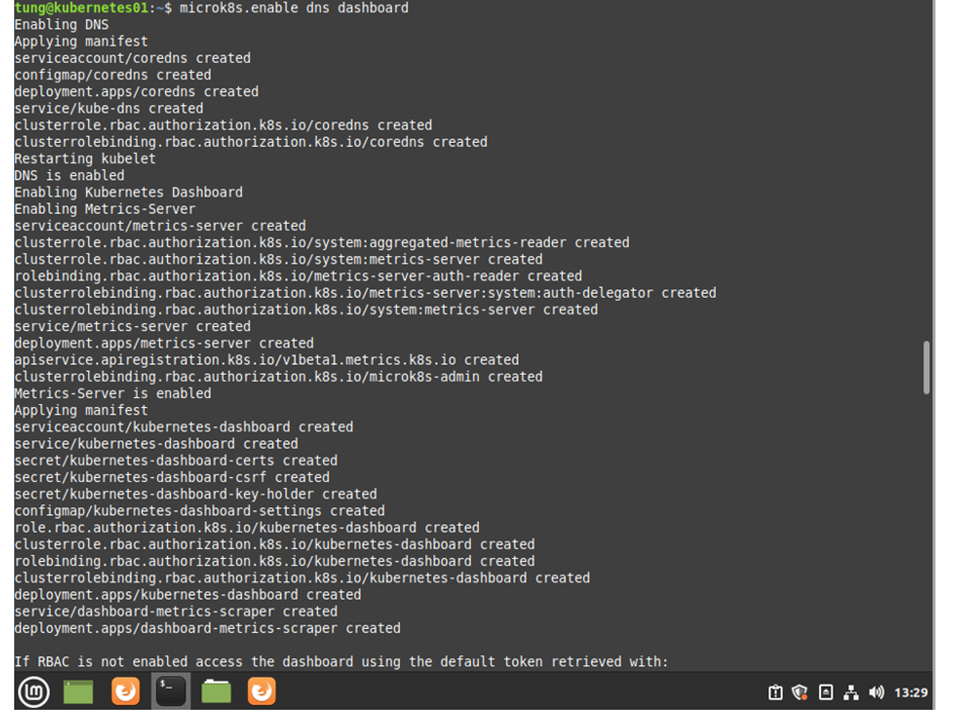
- wordpress-deployment.yaml+ Enable DNS dashboard storage.
microk8s enable dns dashboard storage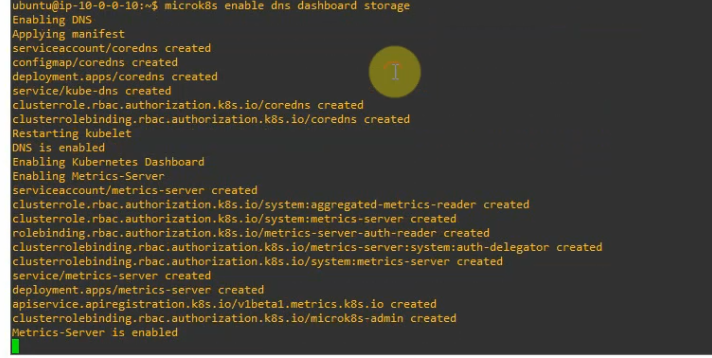
+ Apply and verify
microk8s kubectl apply -k ./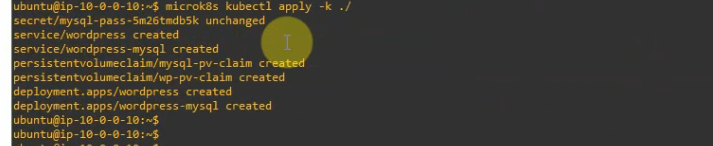
+ Verify a PersistentVolumeClaims (PVC) got dynamically provisioned.
microk8s kubectl get pvc
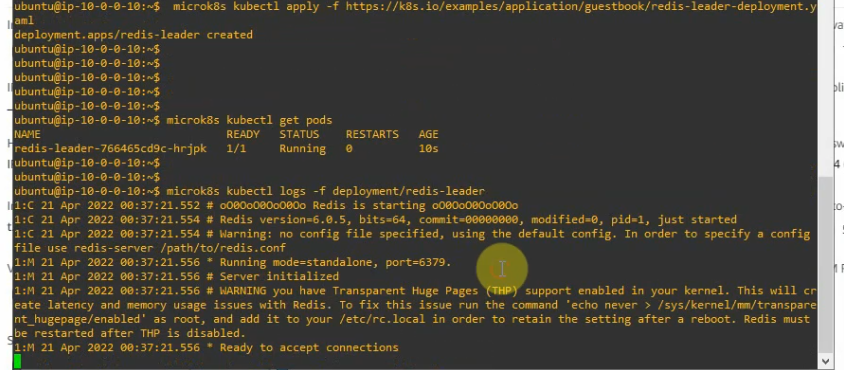
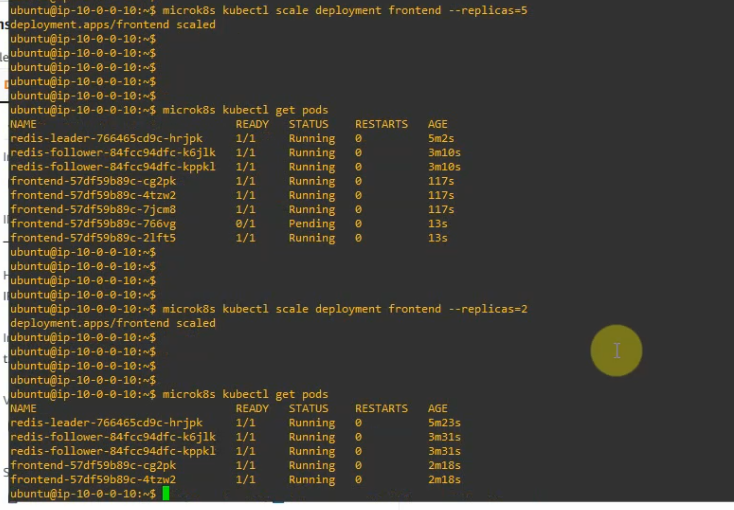
+ Verify the Pod is running.
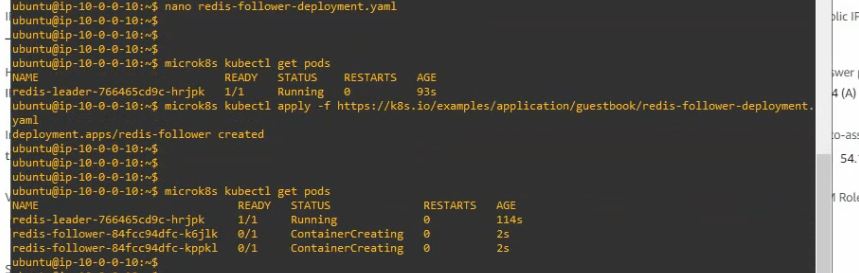
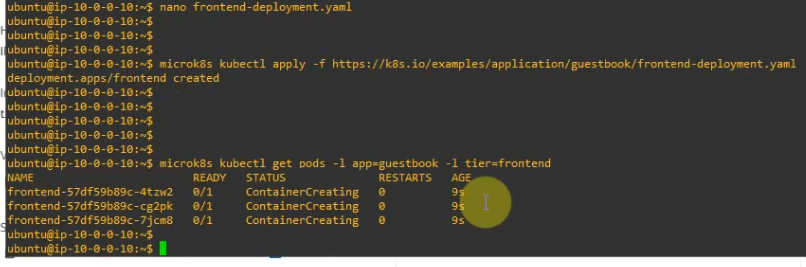
microk8s kubectl get pods
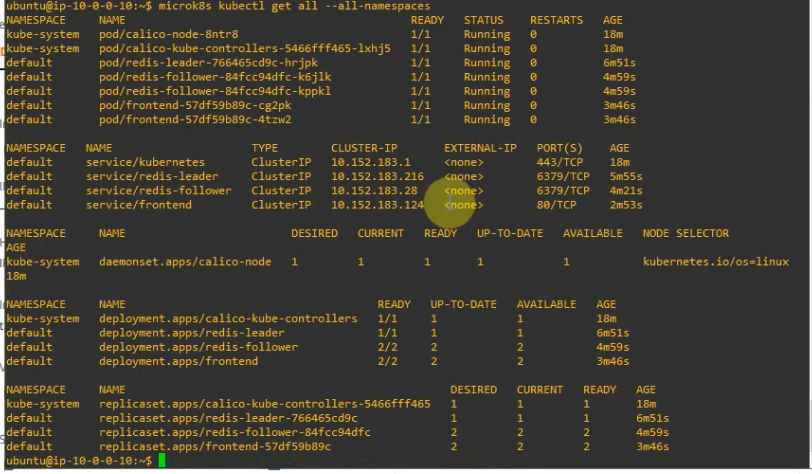
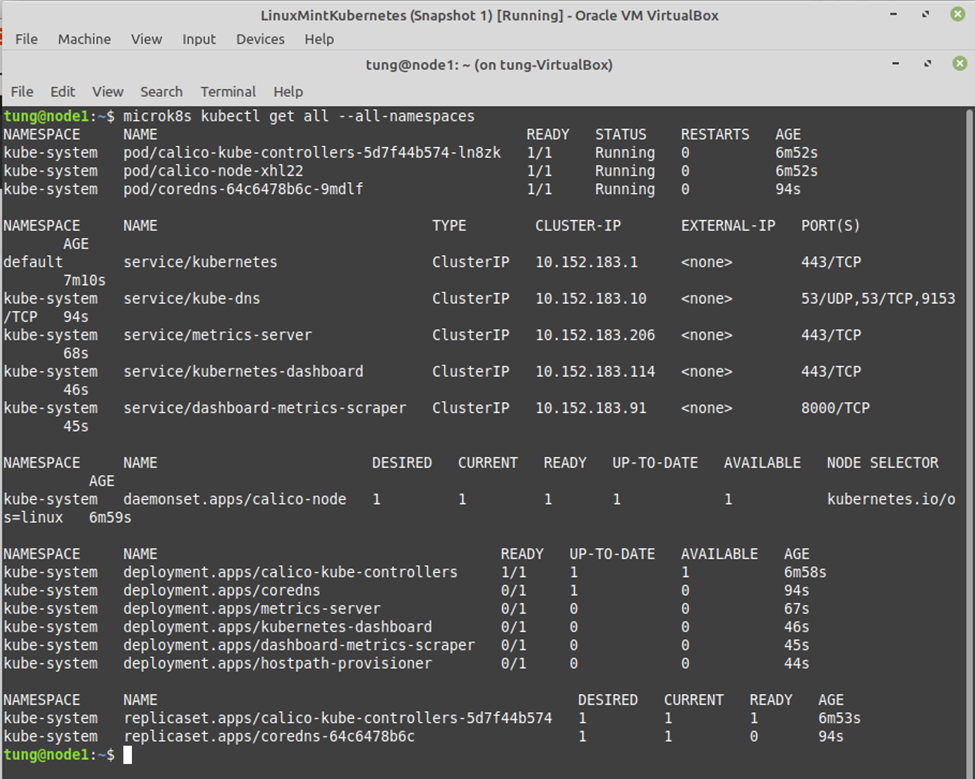
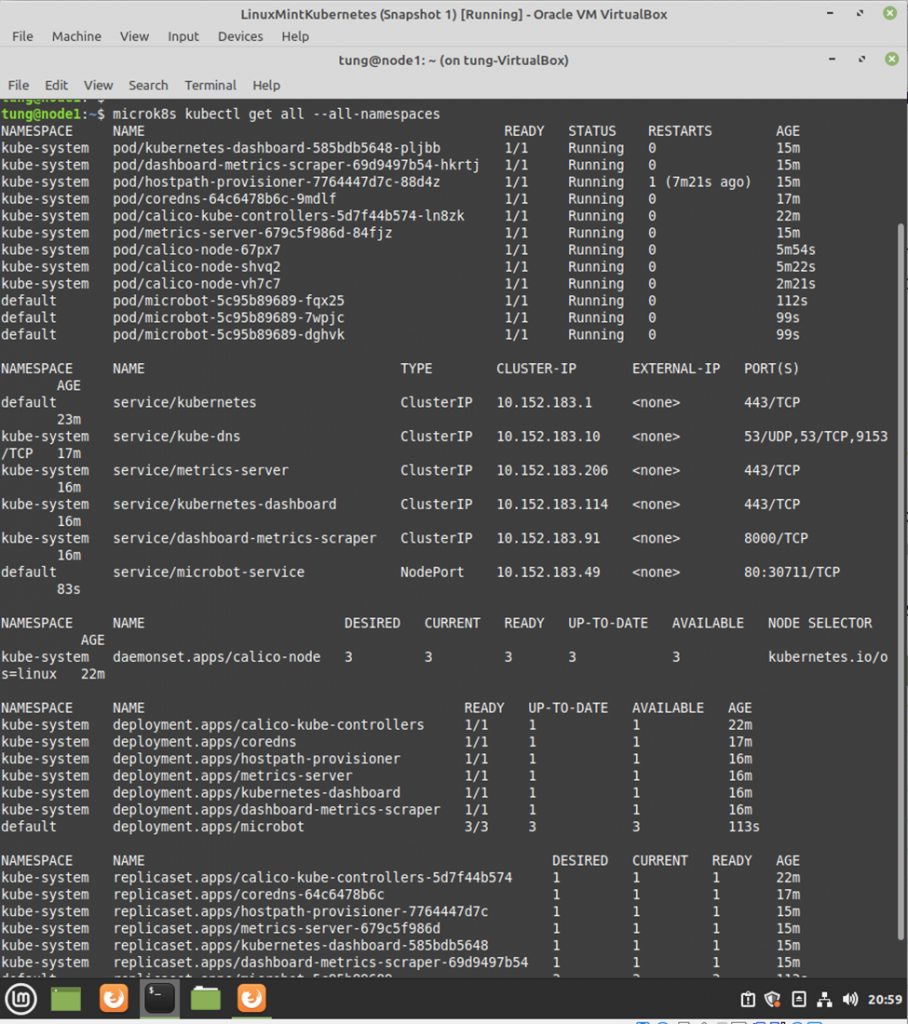
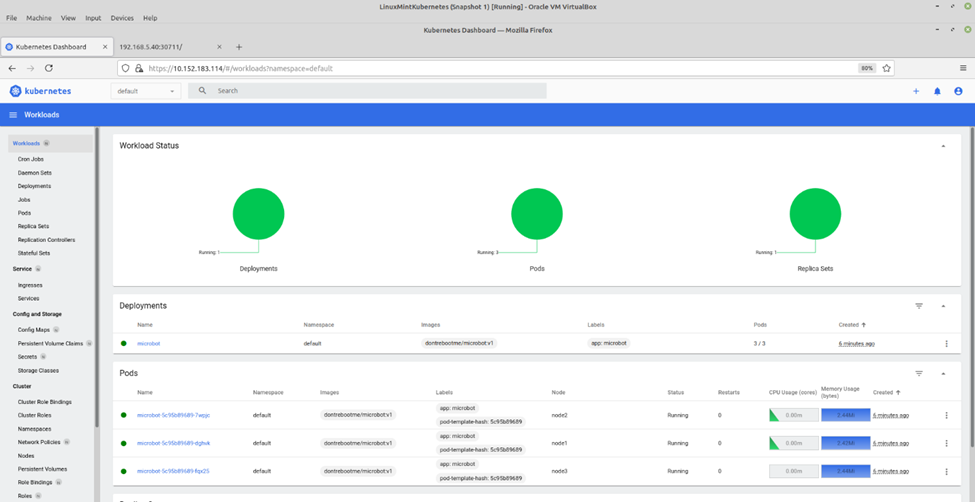
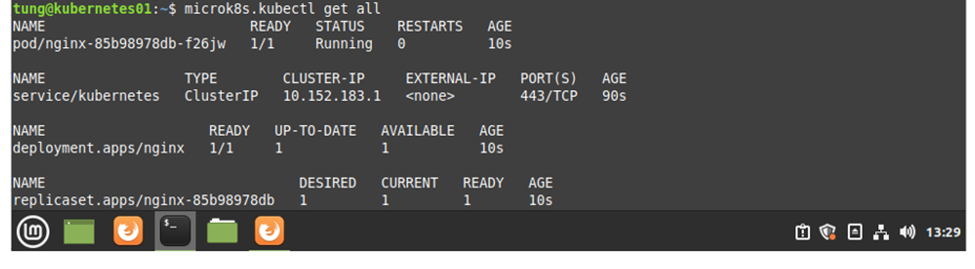
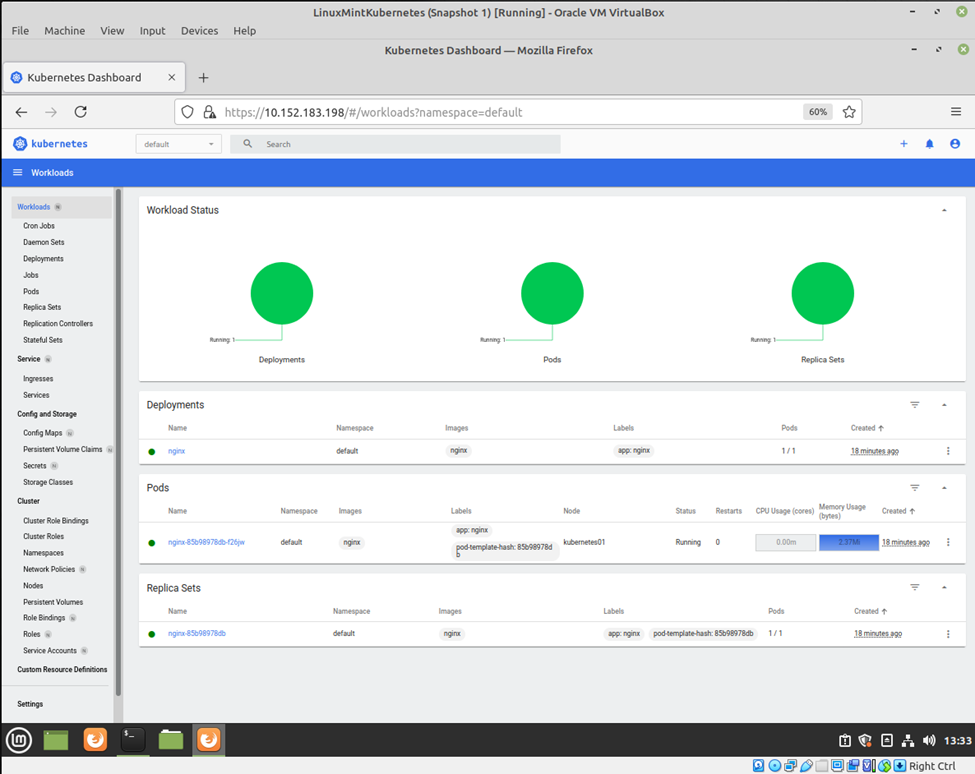
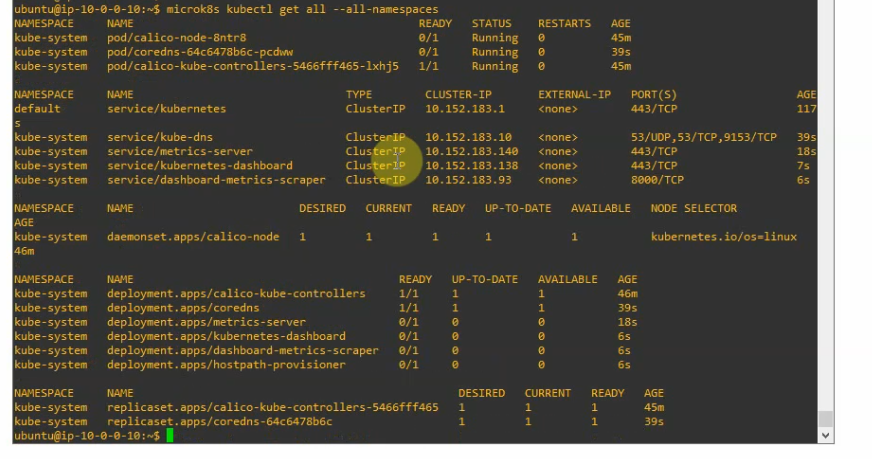
+ Check Kubernetes is running.
microk8s kubectl get all --all-namespaces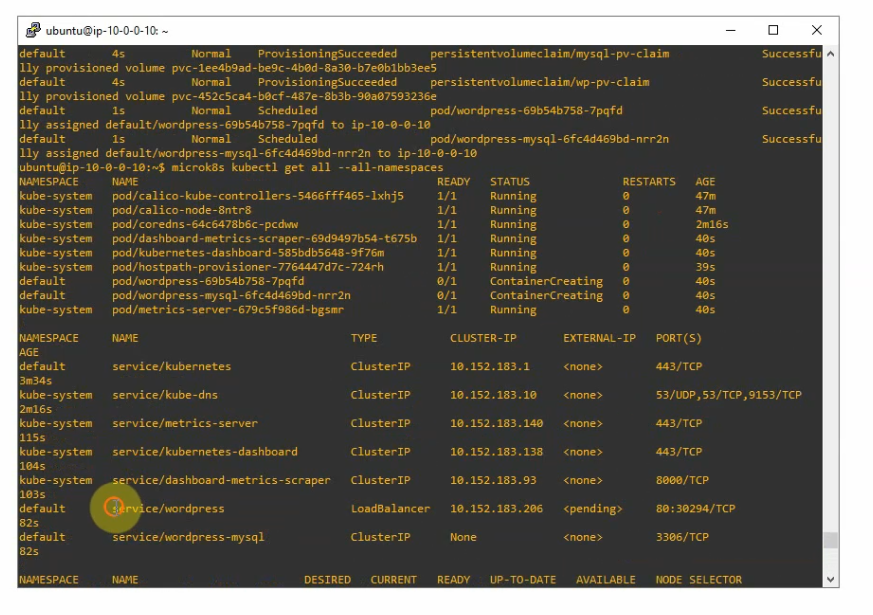
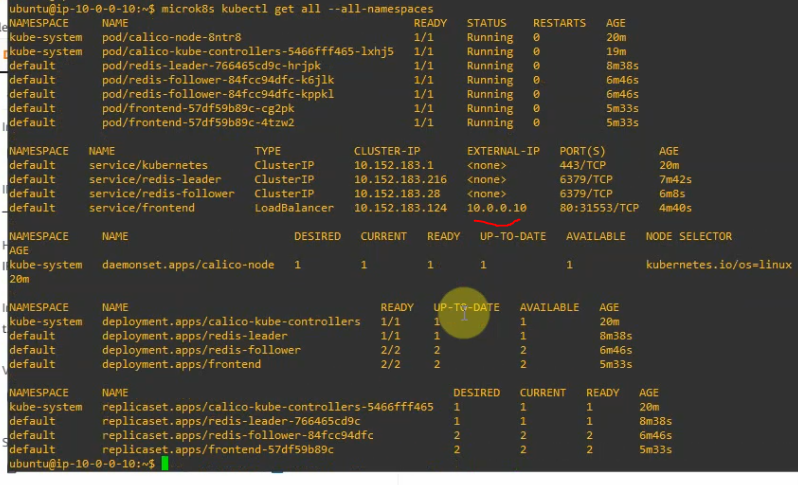
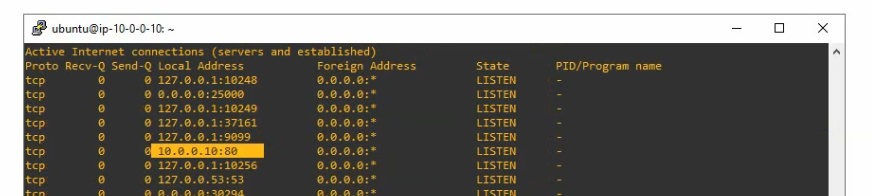
+ Expose port 80 via External IP address (10.0.0.10) of Kubernetes instance on AWS. This allows accessing WordPress via the Internet.
microk8s kubectl patch svc wordpress -n default -p '{"spec": {"type": "LoadBalancer", "externalIPs":["10.0.0.10"]}}'
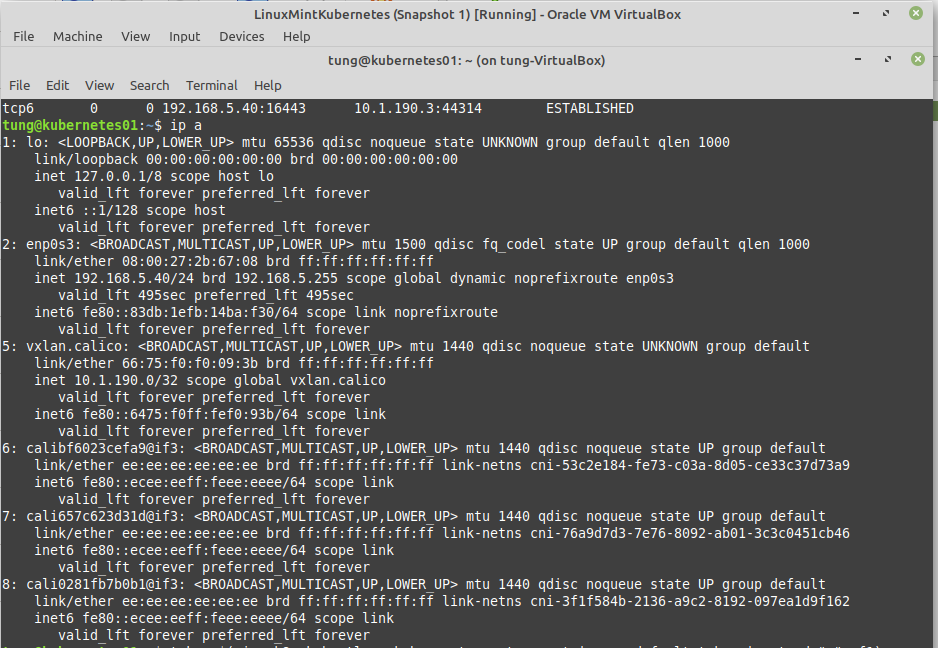
Check the port 80 is listening on the Kubernetes host.
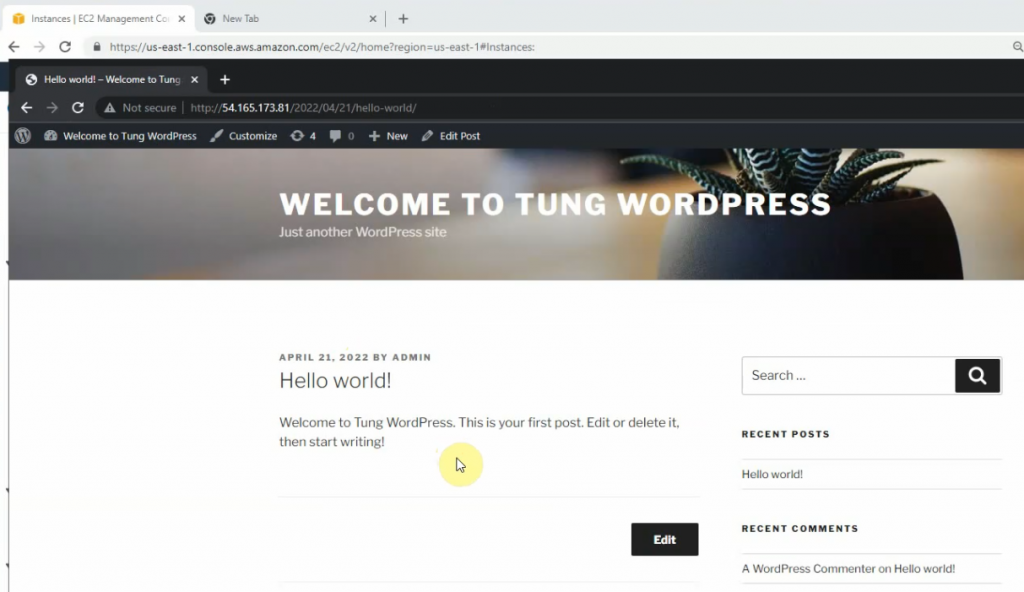
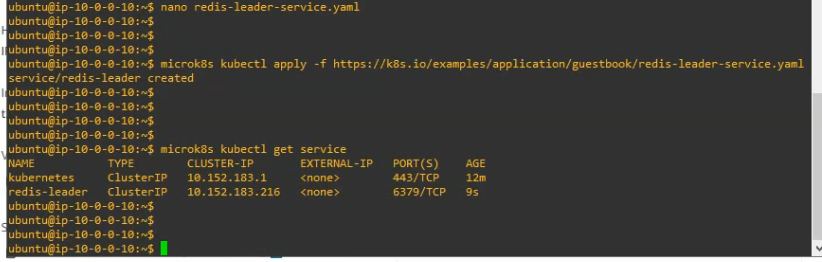
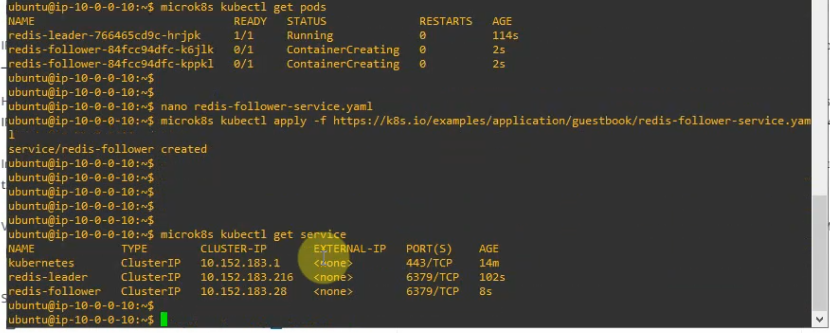
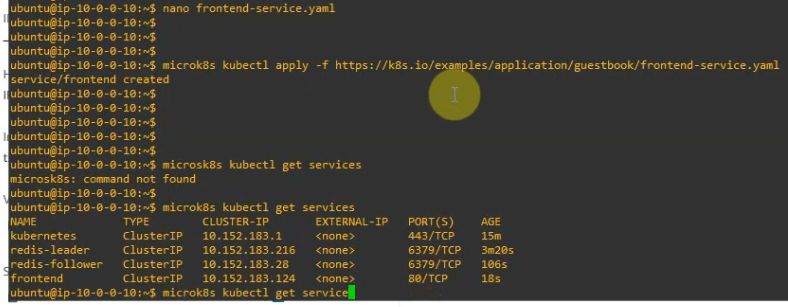
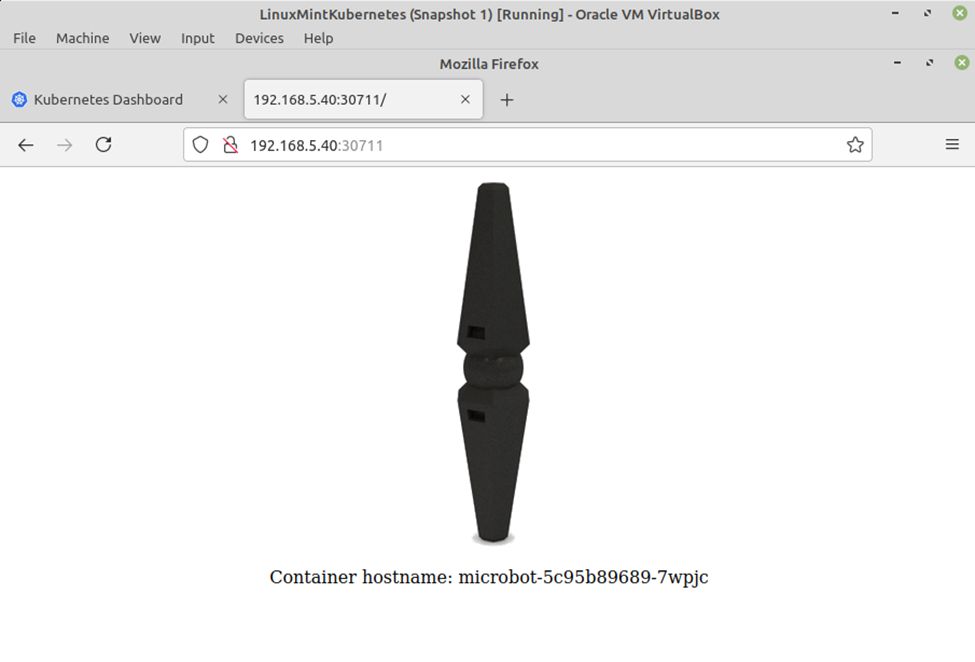
+ Verify the WordPress service is running.

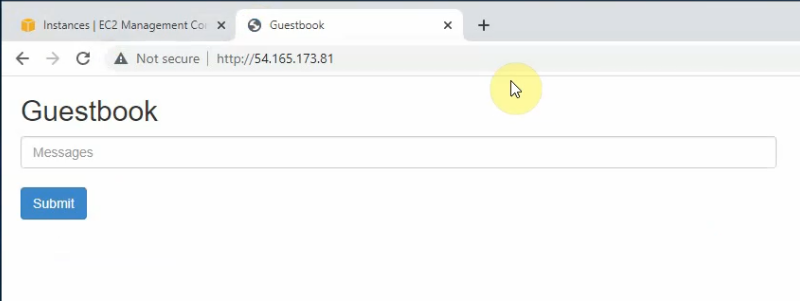
Access the WordPress on Kubernetes. (http://54.165.173.81)