
Zabbix is an open-source monitoring software tool for diverse IT components, including networks, servers, virtual machines (VMs), and cloud services. Zabbix is able to monitor a lot of things, also provides a single pane of glass view of your whole IT infrastructure.
Configure the Zabbix repository.
yum install -y centos-release-scl
Install the Zabbix repository configuration package.
rpm -Uvh https://repo.zabbix.com/zabbix/5.0/rhel/7/x86_64/zabbix-release-5.0-1.el7.noarch.rpm
Install Zabbix Server.
yum install -y zabbix-web-mysql-scl zabbix-apache-conf-scl zabbix-server-mysql zabbix-agent --enablerepo=zabbix-frontend
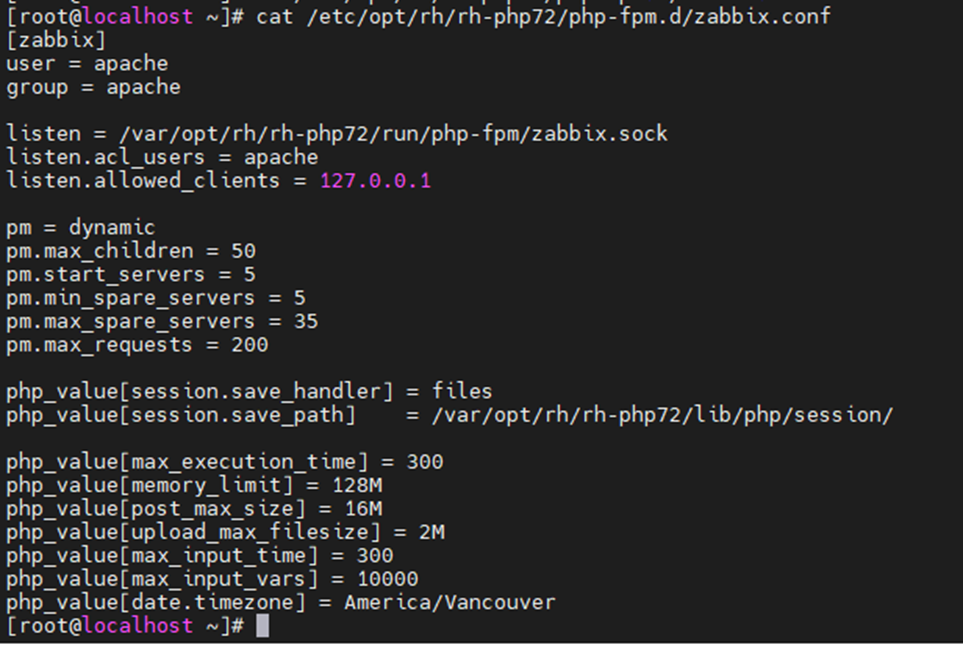
Change timezone.
vi /etc/opt/rh/rh-php72/php-fpm.d/zabbix.conf
php_value[date.timezone] = America/Vancouver
Install MySQL or MariaDB.
yum install -y mariadb-server mariadb
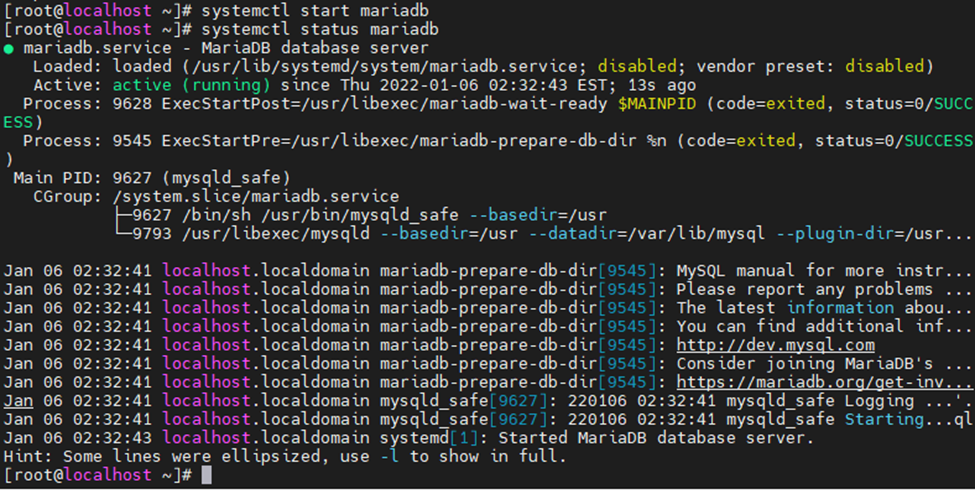
Start mariadb service.
systemctl start mariadb
systemctl status mariadb
Login to MariaDB and create the database and user for our Zabbix installation.
mysql -u root -p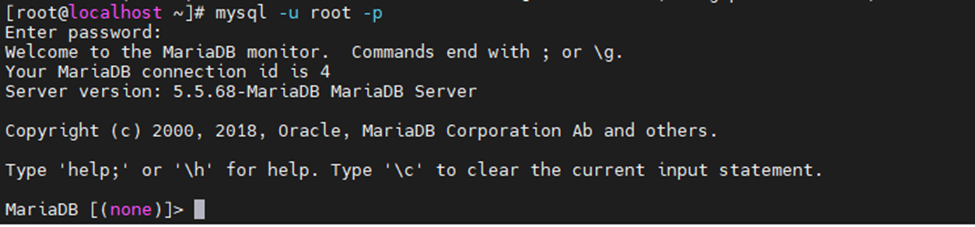
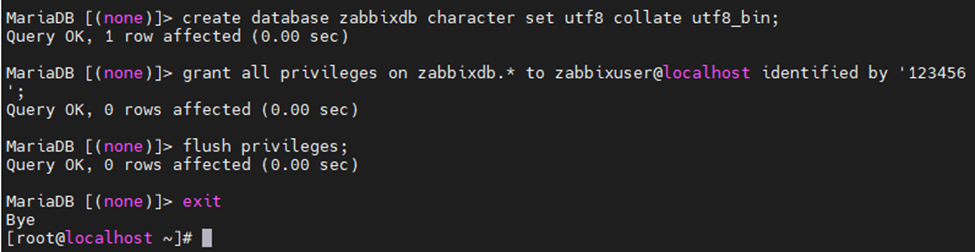
Create a database with information eblow.
DBName:zabbixdb
DBUser: zabbixuser
DBPassword:123456
MariaDB [(none)]> create database zabbixdb character set utf8 collate utf8_bin;
MariaDB [(none)]> grant all privileges on zabbixdb.* to zabbixuser@localhost identified by '123456';
MariaDB [(none)]> flush privileges;
MariaDB [(none)]> exit
Import initial schema and database.
cd /usr/share/doc/zabbix-server-mysql*/
zcat create.sql.gz | mysql -u zabbixuser -p zabbixdb

Update Database Configuration
Edit the zabbix_server.conf file.
DBHost=localhost
DBName=zabbixdb
DBUser=zabbixuser
DBPassword=123456
Restart Zabbix service.
systemctl restart zabbix-server zabbix-agent httpd rh-php72-php-fpm
Enable the service to start automatically on system reboot.
systemctl enable zabbix-server zabbix-agent httpd rh-php72-php-fpm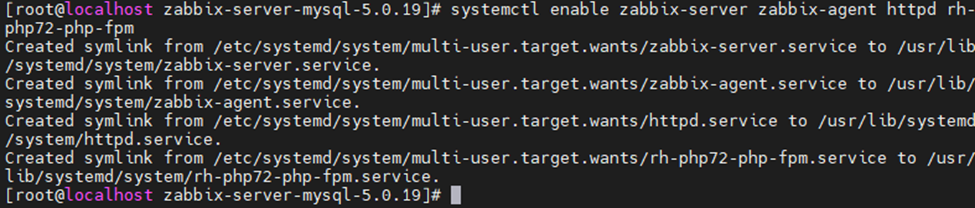
Disable SELinux.
sudo setenforce 0
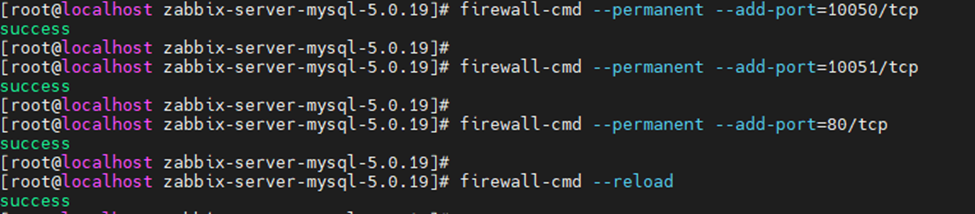
Allow Zabbix services on Firewall.
firewall-cmd --permanent --add-port=10050/tcp
firewall-cmd --permanent --add-port=10051/tcp
firewall-cmd --permanent --add-port=80/tcp
firewall-cmd –reload
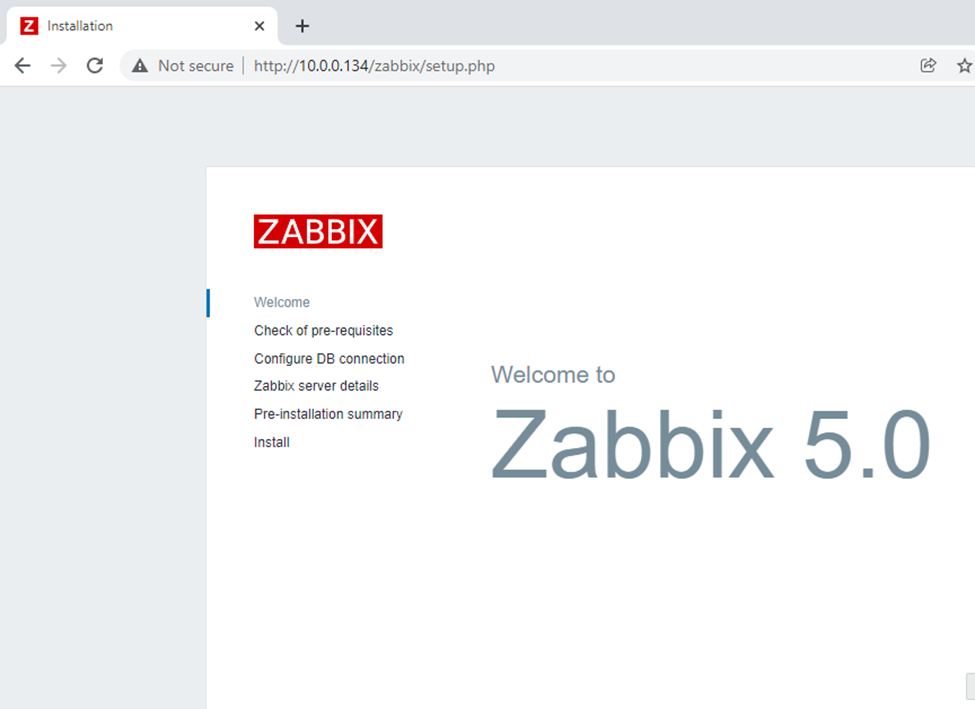
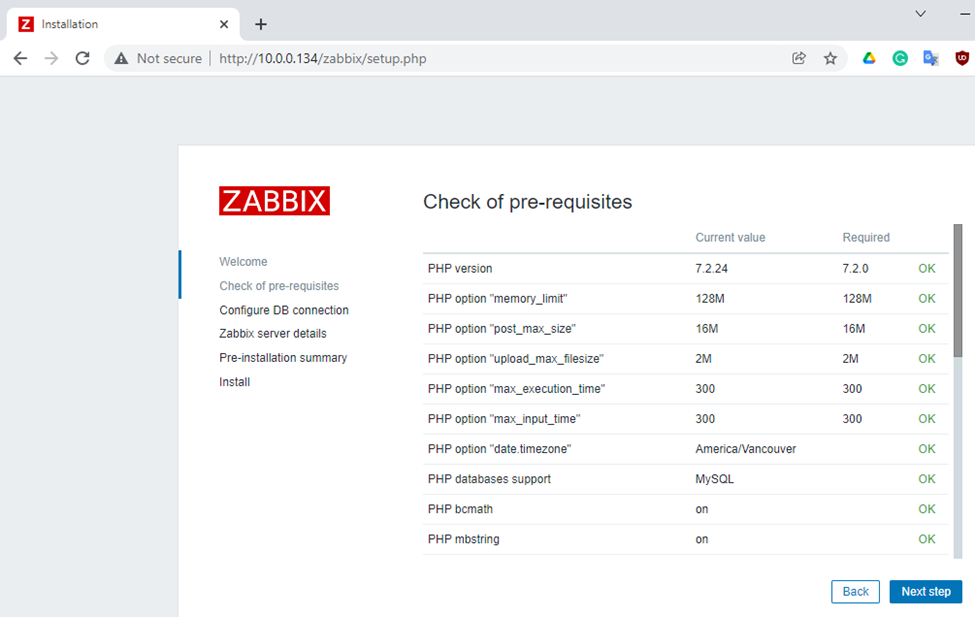
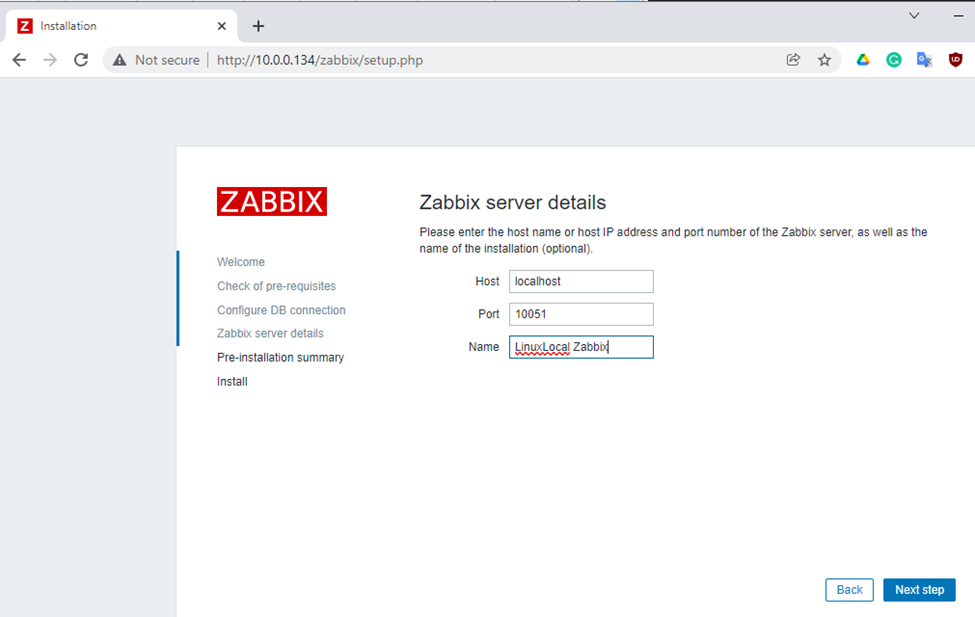
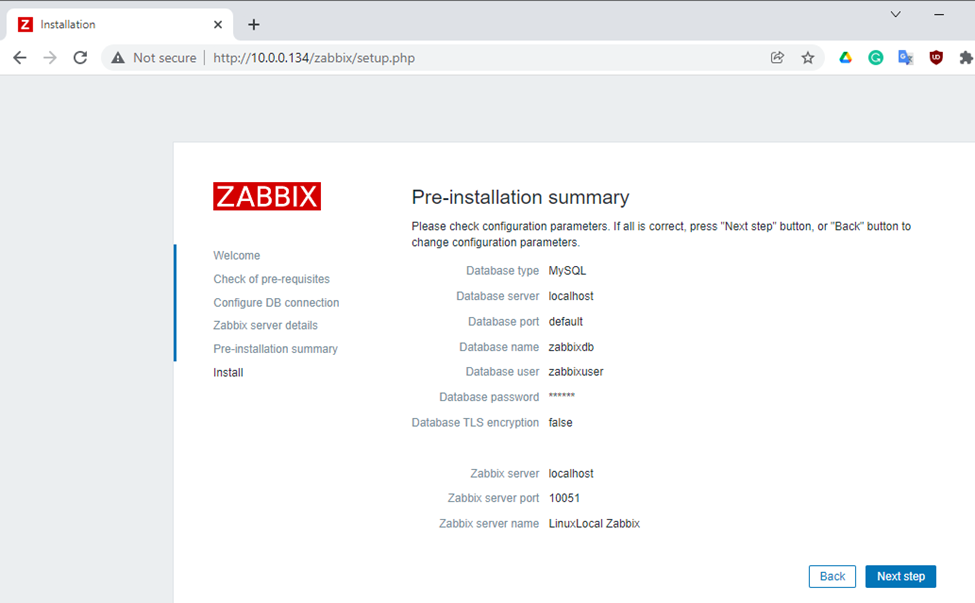
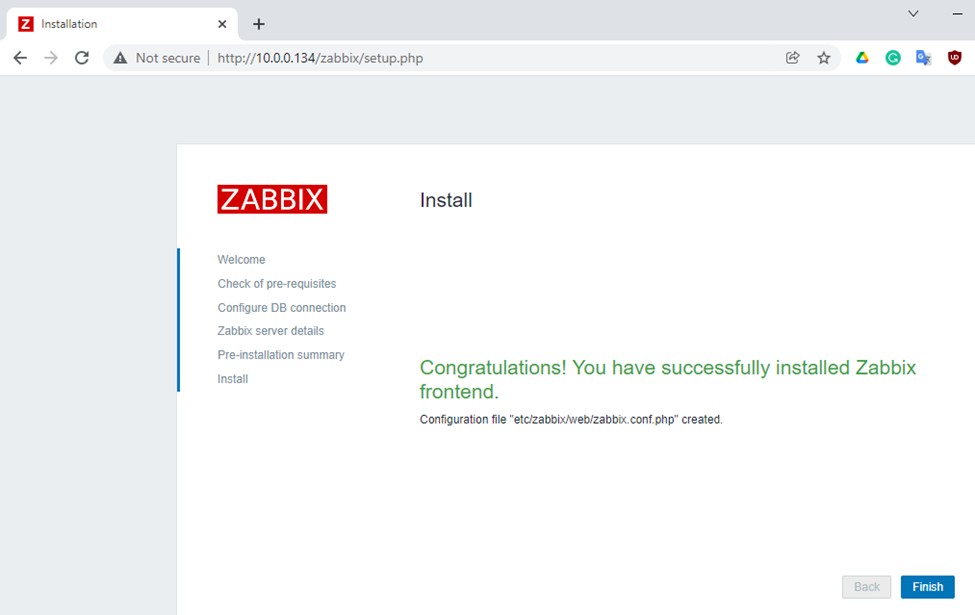
Setup Zabbix via a web interface.
http://10.0.0.134/zabbix/
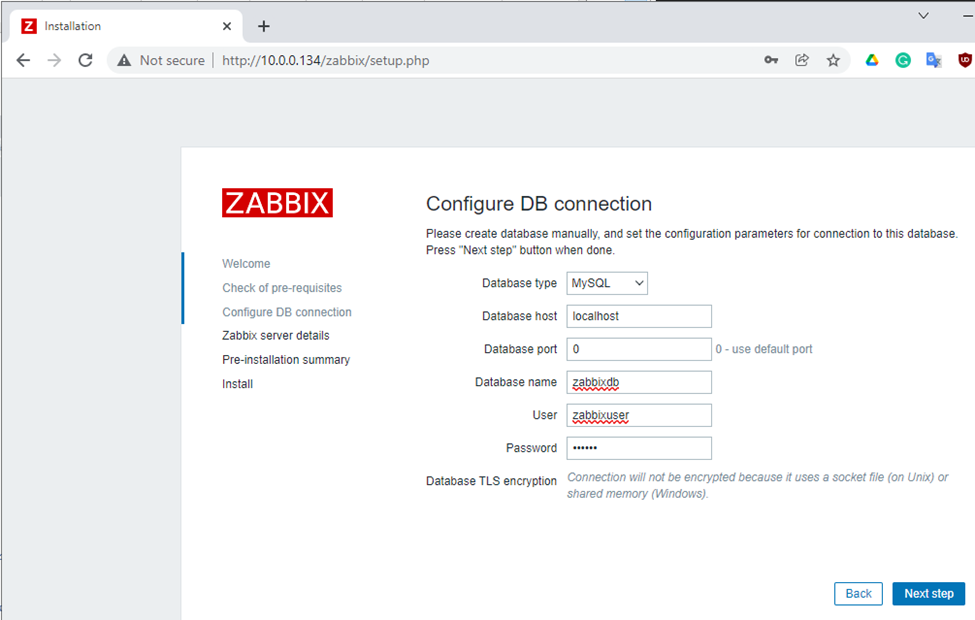
Enter zabbixdb, zabbixuser and password.
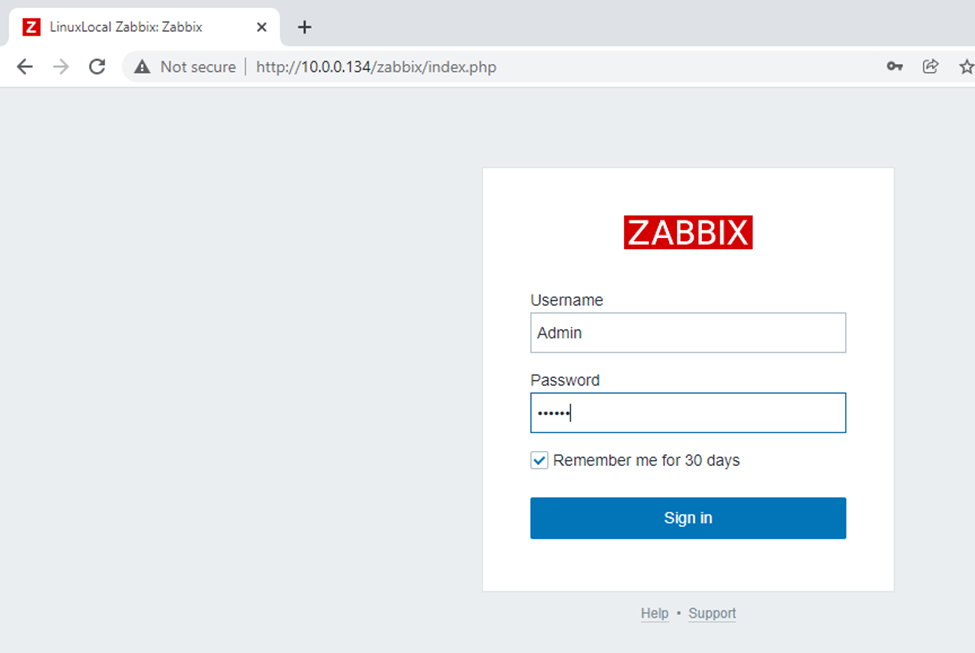
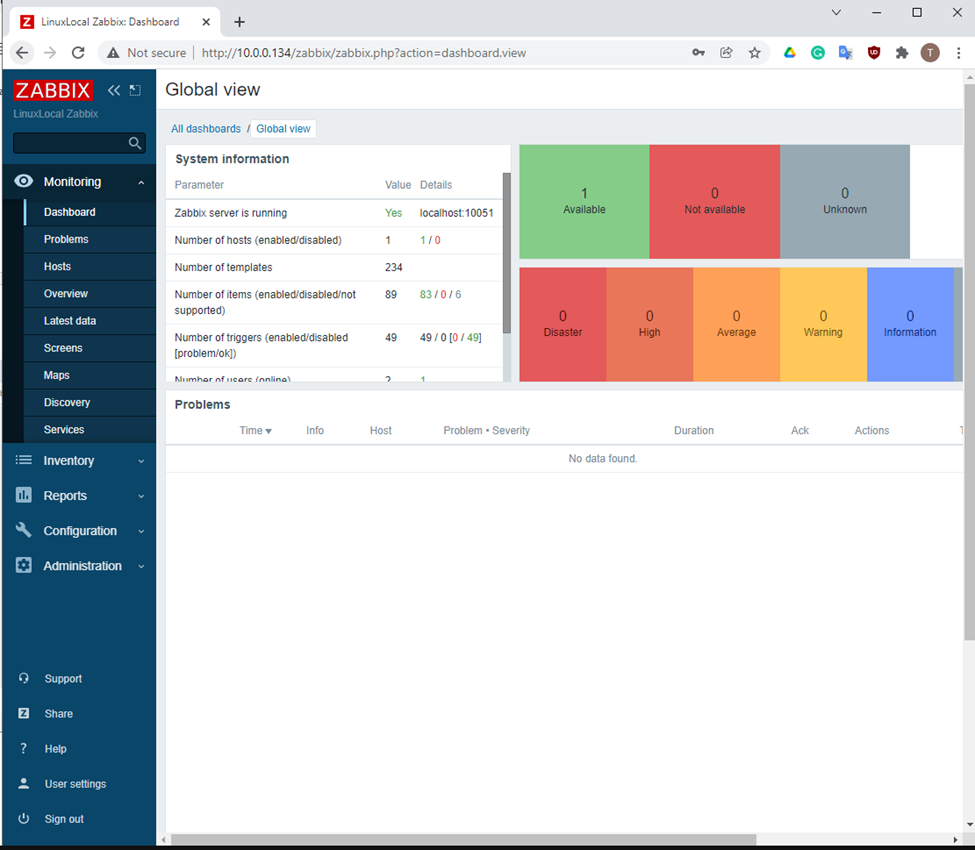
Zabbix Dashboard.
Username: Admin (Username is case sensitive.)
Password: zabbix
Zabbix Dashboard.
netstat -antp | grep "LISTEN"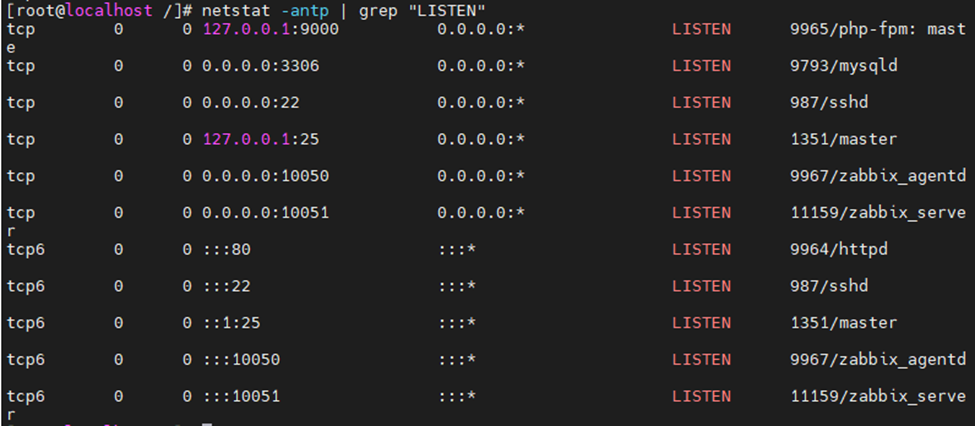
Install HTTPS web certificate on the Zabbix web interface.
Install mod security.
yum install mod_ssl -y
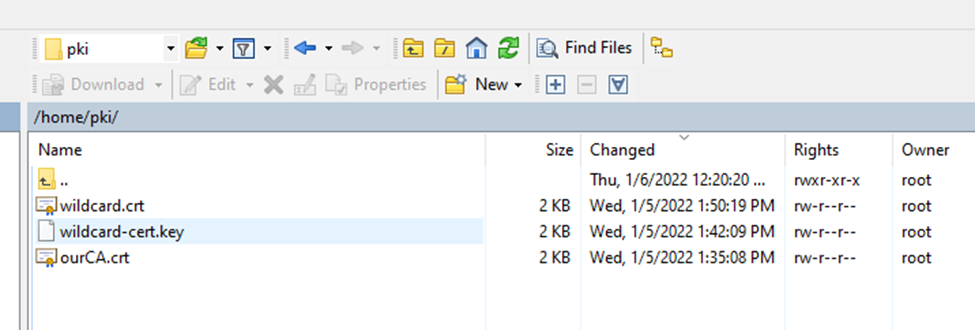
Copy web server certificate (used wildcard cert *.linuxlab.local) to Zabbix server.


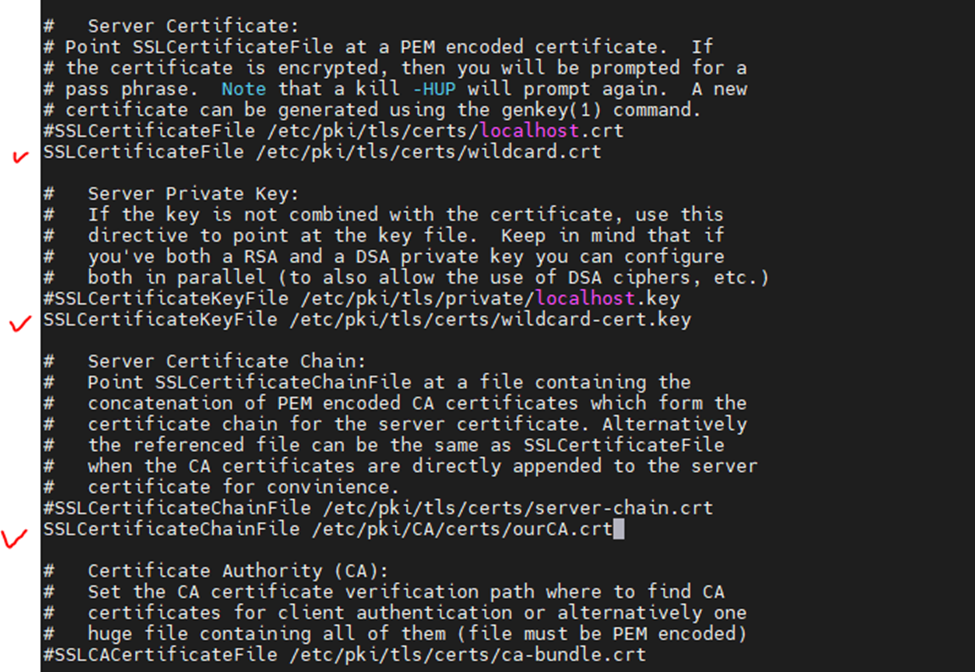
Edit ssl.conf file.
vi /etc/httpd/conf.d/ssl.conf
#SSLCertificateFile /etc/pki/tls/certs/localhost.crt
SSLCertificateFile /etc/pki/tls/certs/wildcard.crt
#SSLCertificateKeyFile /etc/pki/tls/private/localhost.key
SSLCertificateKeyFile /etc/pki/tls/certs/wildcard-cert.key
#SSLCertificateChainFile /etc/pki/tls/certs/server-chain.crt
SSLCertificateChainFile /etc/pki/CA/certs/ourCA.crt
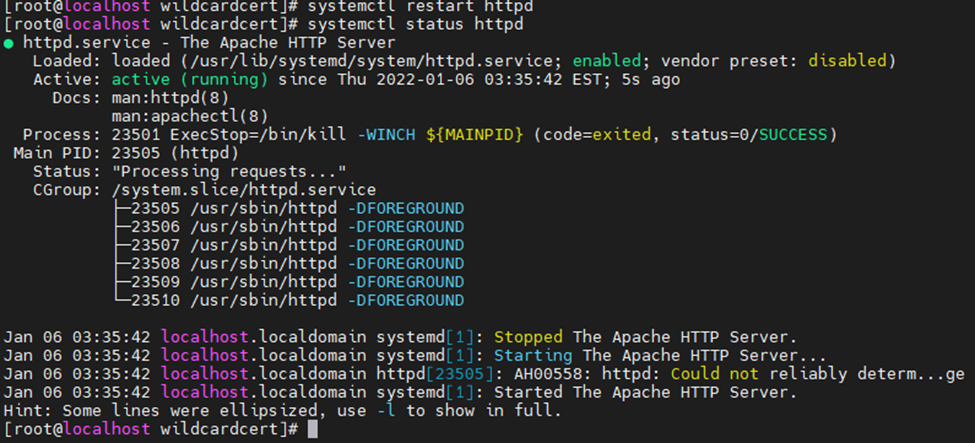
Restart Apache web service.
systemctl restart httpd
systemctl status httpd
Allow HTTPS on Firewall.
firewall-cmd --permanent --add-service=https
firewall-cmd --reload

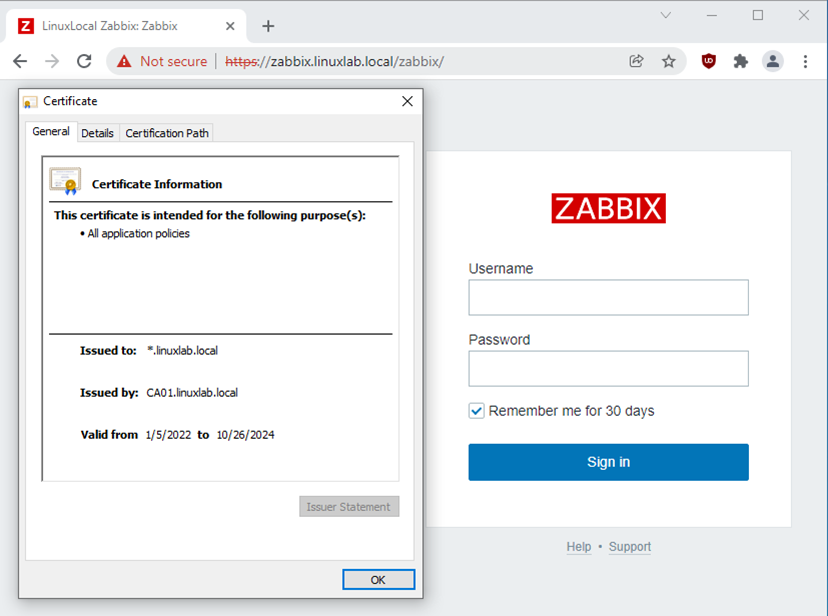
Access Zabbix server from Windows machine.
https://zabbix.linuxlab.local/zabbix/
Redirect HTTP to HTTPS on Apache by using .htaccess file.
cd /etc/httpd/conf.modules.d/
cat 00-base.conf | grep rewrite
cd /usr/share/zabbix/
touch .htaccess
vi .htaccess
###---
RewriteEngine On
RewriteCond %{HTTPS}  !=on
#RewriteRule ^/?(.*) https://%{SERVER_NAME}/$1 [R,L]
RewriteRule ^/?(.*) https://zabbix.linuxlab.local/$1 [R,L]

Access Zabbix via HTTP. It will redirect the link to HTTPS.