Tag Archives: Ansible

Using Ansible to install WordPress

This is one of the interesting labs that I have done in the program.

Below are a couple of steps to automatically deploy WordPress via Ansible.

# /etc/ansible/hosts
[tunglamp]
host1 ansible_ssh_host=192.168.5.27

# Create a group_vars (/etc/ansible) and tunglamp file under this directory.
ansible_ssh_user: root

# Create a files (/etc/ansible) directory and index.html.j2 file.
<html>
<head>
	<title>{{ firstname}} - {{ lastname }}</title> 
</head>
<body>
	<h1>{{ firstname }} - {{ lastname }}</h1> 
	<h3>Welcome to Tung's Ansbile Test Page</h3>
	<img src="http://xyz.ca/wp-content/uploads/2015/08/BCIT-demands-LNG-lobby-drop-its-name-from-partner-list.gif">
</body>
</html>

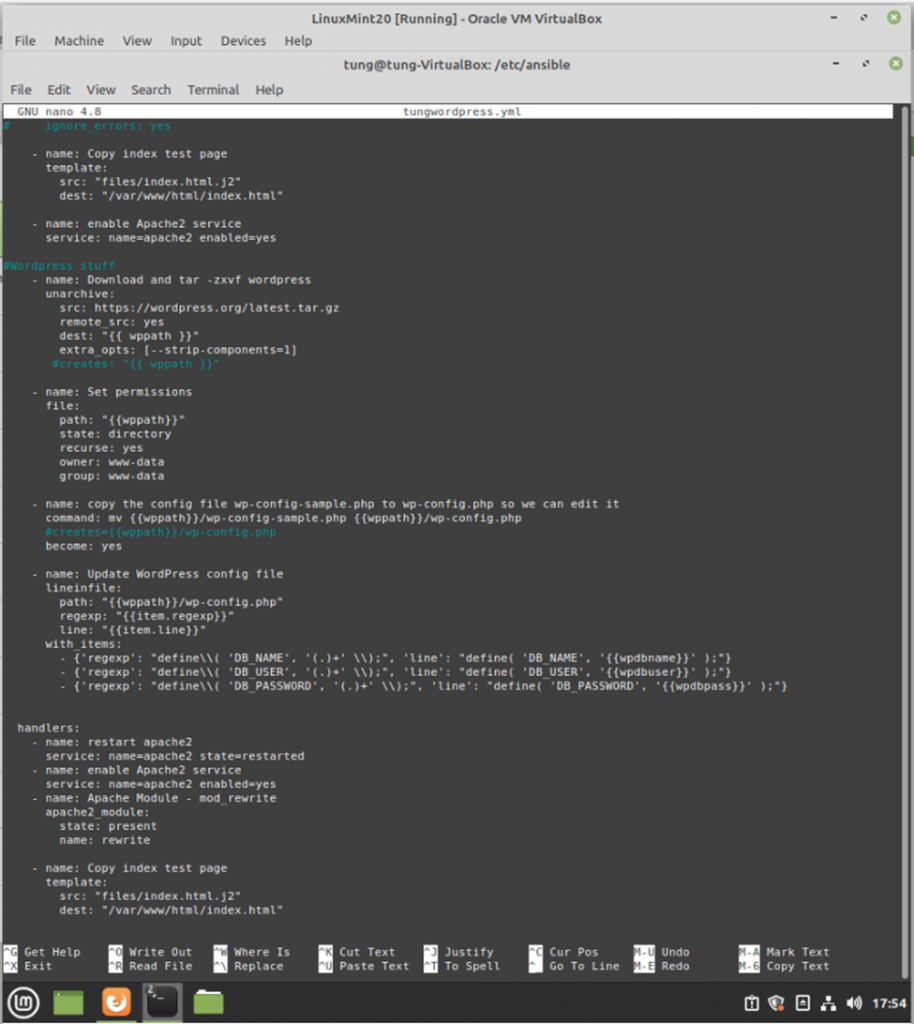
# Create a tungwordpress.yml file.
---
- hosts: tunglamp
  become: root
  gather_facts: false
# we can put variables here too that work in addition to what is in group_vars
  ignore_errors: yes
  vars:
    firstname: "ABC"
    lastname: "XYZ"
    #auser: hellothere
    ansible_ssh_user: root
    wpdbname: tungdbname
    wpdbuser: tungdbuser
    wpdbpass: tungdbpass
    wpdbhost: localhost
    wppath: "/var/www/html"

  tasks:
    - name: Install apache2
      apt: name=apache2 state=latest

    - name: Install MySQL (really MariaDB now)
      apt: name=mariadb-server state=latest

    - name: Install MySQL python module 
      apt: name=python-mysqldb state=latest

    - name: Install php
      apt: name=php state=latest
    - name: "Install php-cli"
      apt: name=php-cli state=latest
#    - name: "Install php-mcrypt"
#      apt: name=php-mcrypt state=latest
    - name: "Install php-gd"
      apt: name=php-gd state=latest
    - name: Install php-fpm
      apt: name=php-fpm state=latest
    - name: Install php-common
      apt: name=php-common state=latest
    - name: Install php-mbstring
      apt: name=php-mbstring state=latest
    - name: Install php-xmlrpc
      apt: name=php-xmlrpc state=latest
    - name: Install php-xml
      apt: name=php-xml state=latest
    - name: Install php zip
      apt: name=php-zip state=latest
    - name: Install php-curl
      apt: name=php-curl state=latest
    
    - name: Install apache2 php module
      apt: name=libapache2-mod-php state=latest

    - name: Install php-mysql

## your php installation appears to be missing the mysql extension if we have used ## apt: name=php-mysql state=latest
      apt: name=php7.3-mysql state=latest


#MySQL config
    - name: Create MySQL Database
      mysql_db:
        name: "{{wpdbname}}"
#     ignore_errors: yes

    - name: Create DB user/pass and give the user all privileges
      mysql_user:
        name: "{{wpdbuser}}"
        password: "{{wpdbpass}}"
        priv: '{{wpdbname}}.*:ALL'
        state: present
#     ignore_errors: yes

    - name: Copy index test page
      template:
        src: "files/index.html.j2"
        dest: "/var/www/html/index.html"

    - name: enable Apache2 service
      service: name=apache2 enabled=yes

#Wordpress stuff
    - name: Download and tar -zxvf wordpress
      unarchive:
        src: https://wordpress.org/latest.tar.gz
        remote_src: yes
        dest: "{{ wppath }}"
        extra_opts: [--strip-components=1]
       #creates: "{{ wppath }}"

    - name: Set permissions
      file:
        path: "{{wppath}}"
        state: directory
        recurse: yes
        owner: www-data
        group: www-data
 
    - name: copy the config file wp-config-sample.php to wp-config.php so we can edit it
      command: mv {{wppath}}/wp-config-sample.php {{wppath}}/wp-config.php 
      #creates={{wppath}}/wp-config.php
      become: yes
 
    - name: Update WordPress config file
      lineinfile:
        path: "{{wppath}}/wp-config.php"
        regexp: "{{item.regexp}}"
        line: "{{item.line}}"
      with_items:
        - {'regexp': "define\\( 'DB_NAME', '(.)+' \\);", 'line': "define( 'DB_NAME', '{{wpdbname}}' );"}
        - {'regexp': "define\\( 'DB_USER', '(.)+' \\);", 'line': "define( 'DB_USER', '{{wpdbuser}}' );"}
        - {'regexp': "define\\( 'DB_PASSWORD', '(.)+' \\);", 'line': "define( 'DB_PASSWORD', '{{wpdbpass}}' );"}
     

  handlers:
    - name: restart apache2 
      service: name=apache2 state=restarted
    - name: enable Apache2 service
      service: name=apache2 enabled=yes
    - name: Apache Module - mod_rewrite
      apache2_module:
        state: present
        name: rewrite
  
    - name: Copy index test page
      template:
        src: "files/index.html.j2"
        dest: "/var/www/html/index.html"  

The Debian server is running 192.168.5.27.

Make sure we can access SSH on the Debian server via public key authentication.

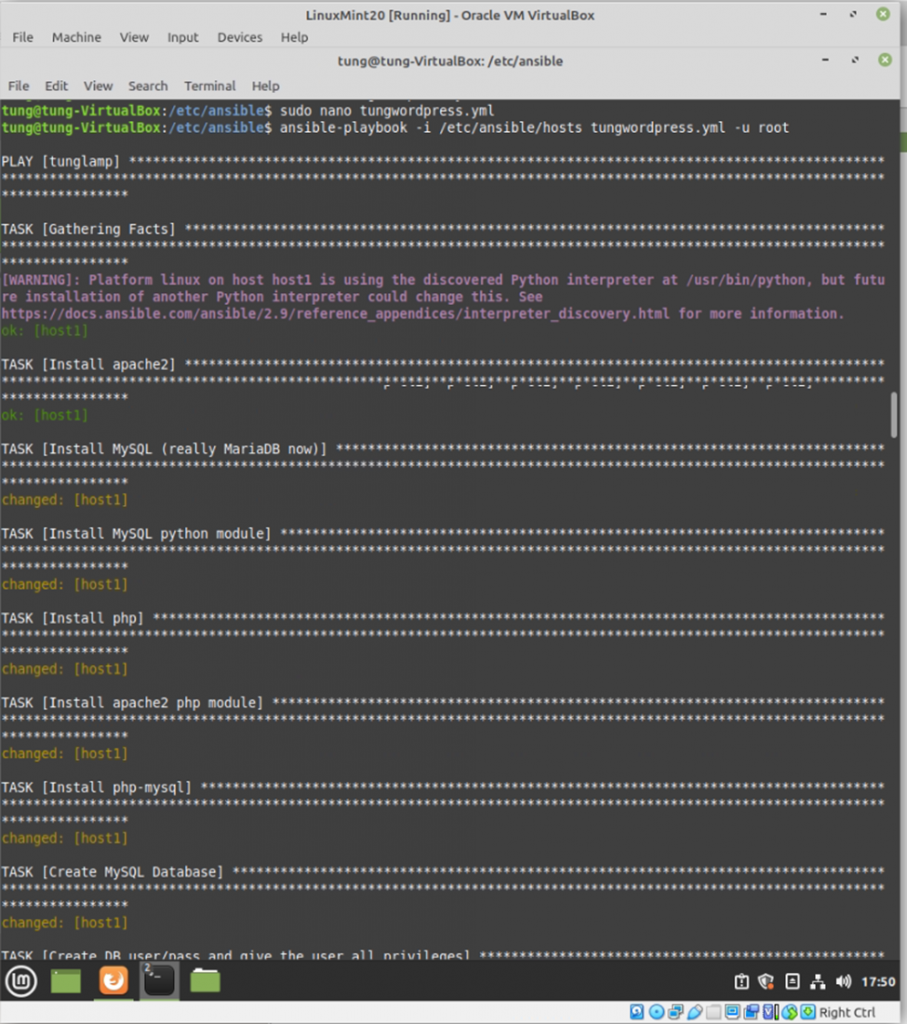
Run ansible-playbook

#/etc/ansible
ansible-playbook -i /etc/ansible/hosts tungwordpress.yml -u root
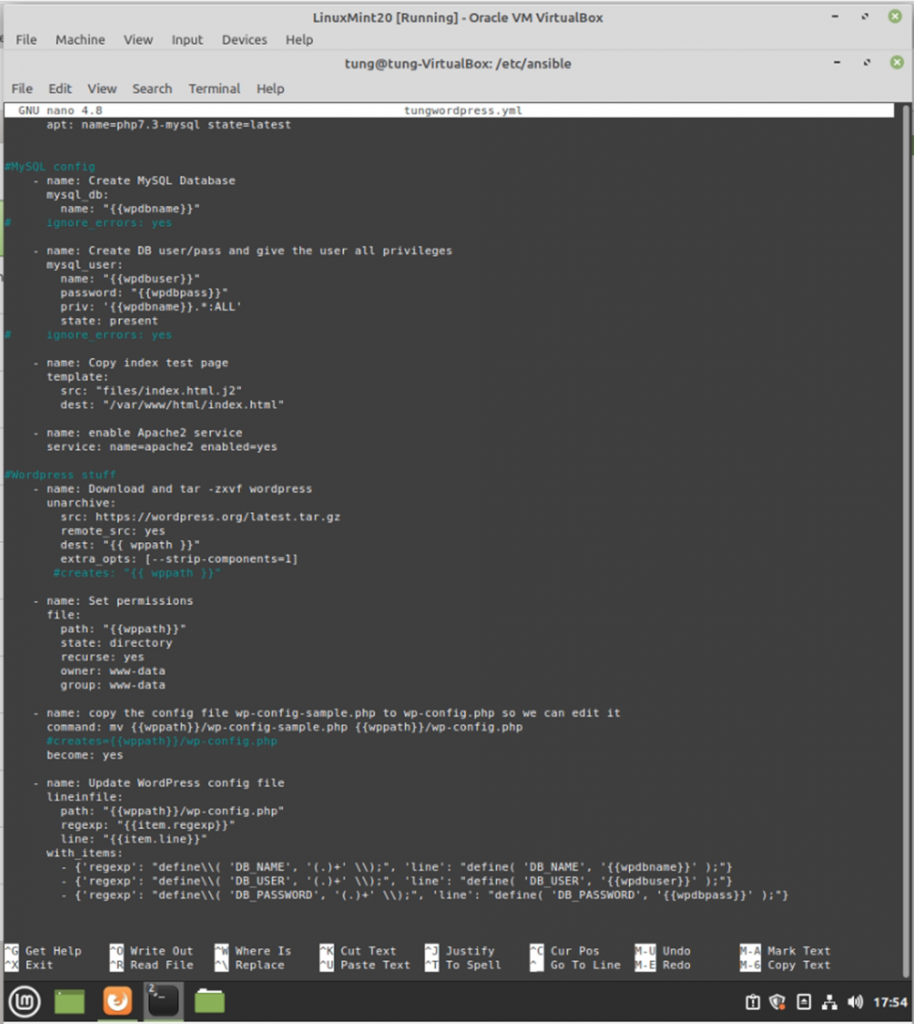
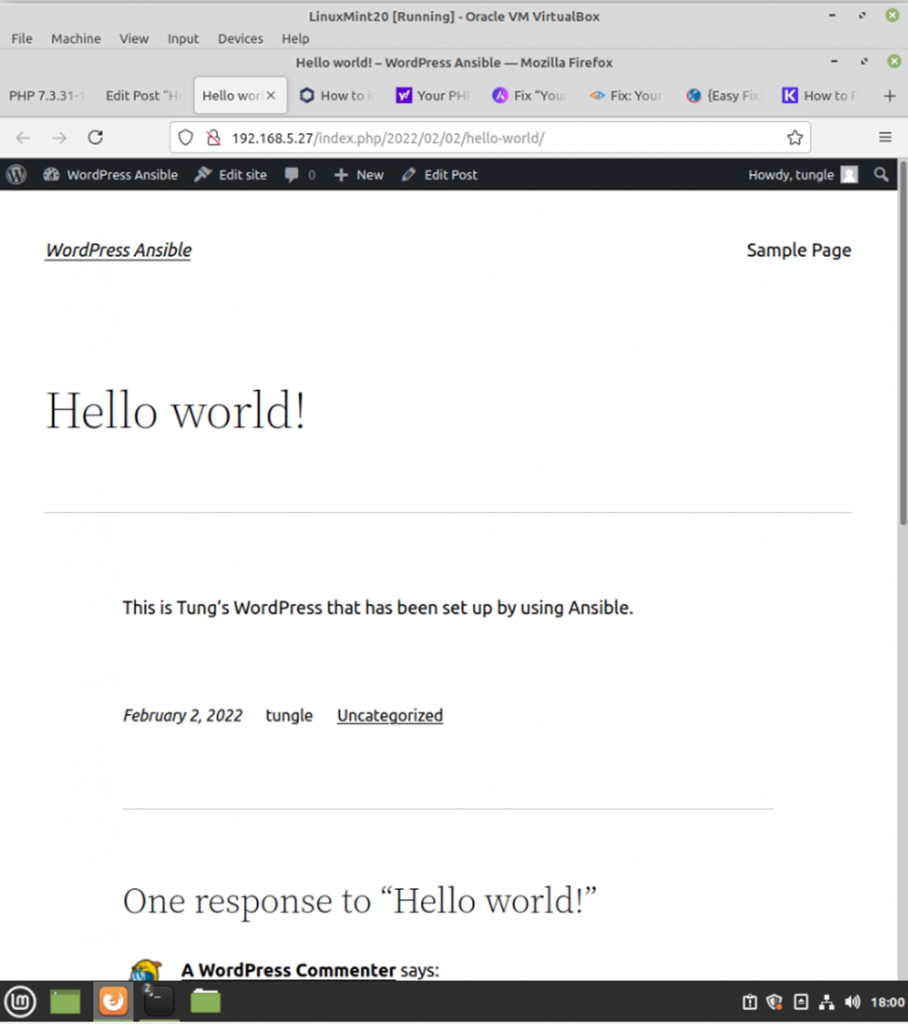
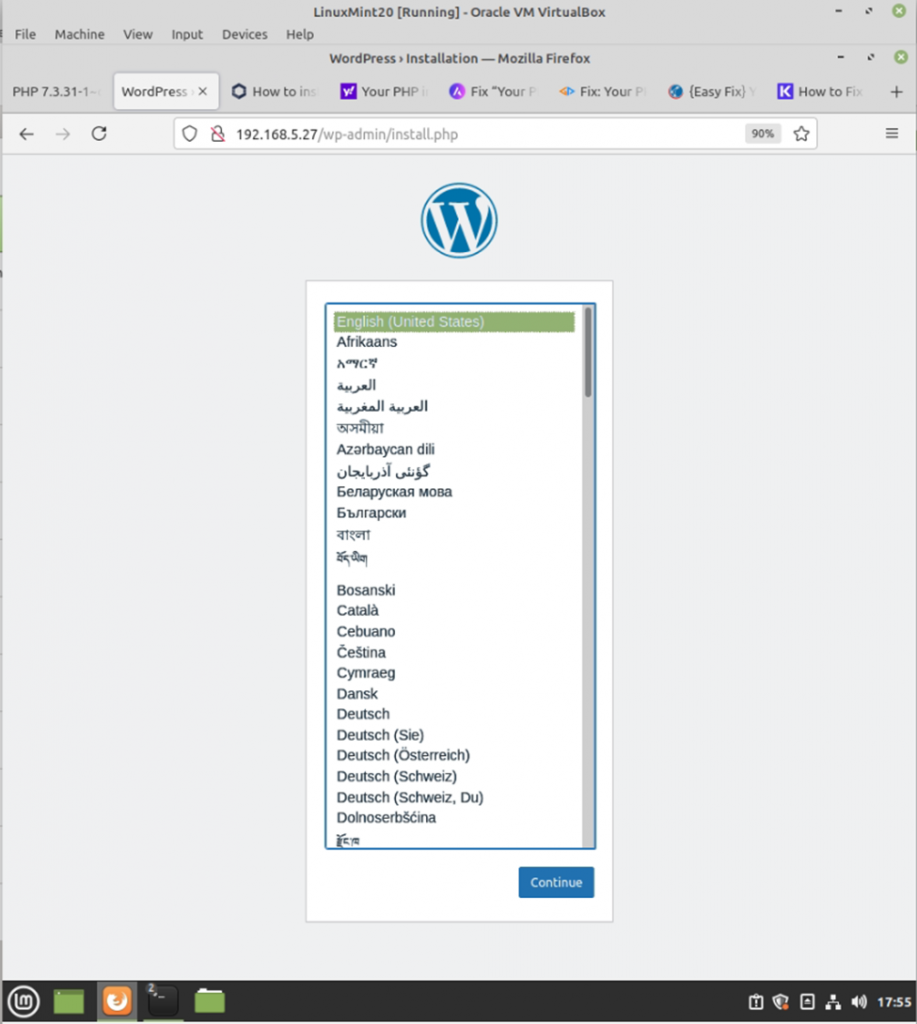
WordPress has been installed automatically via Ansible.
Install IIS Web server on Windows 2019 via Ansible

This is a lab topology that is used to deploy the IIS Web server via Ansible.

Configure WinRM service.

# Download a script to configure WinRM service on Windows Server 2019
# This script sets up both HTTP and HTTPS listeners with a self-signed certificate # and enables the Basic authentication option on the service # (https://docs.ansible.com/ansible/2.5/user_guide/windows_setup.html)
https://raw.githubusercontent.com/ansible/ansible/devel/examples/scripts/ConfigureRemotingForAnsible.ps1 -OutFile ConfigureRemotingForAnsible.ps1
# Run the PS file.
powershell -ExecutionPolicy RemoteSigned .\ConfigureRemotingForAnsible.ps1
.\ConfigureRemotingForAnsible.ps1

Check WinRM service is running and WinRM port status is listening.

Get-nettcpconnection -state listen
get-service | where-object {$_.name -like "*WInRM*"}

Check Windows Firewall to make sure only allow WinRM over SSL on 5986 port, instead of using 5985 port.

Get-NetFirewallRule | where {$_.enabled -eq 'True' -and $_.Direction -eq 'Inbound' -and $_.DisplayName -like "*Allow  WinRM*"}

Add Windows Server 2019 IP address into /etc/ansible/hosts.

[Windows2019]
192.168.5.4

Create a new WIndows2019 file under the group_vars directory. Ansible connects to Windows Server 2019 via WinRM over TLS with the listening port is 5986. The file name should be Windows2019.

Create a sample index.html file to copy to the IIS server directory on WIndows server 2019.

<html>
<head>
	<title>Tung Ansible</title> 
</head>
<body>
	<h1 style="background-color:DodgerBlue;"> Use Ansible to install and configure IIS on WIndows 2019</h1> 
	<h3 style="color:Tomato;"> Welcome to Tung's Ansbile Test Page</h3>
	<img src="http://imagefromtheinternet.jpg">
</body>
</html>

Run ansible to check to access Windows server 2019 machine.

ansible Windows2019 -m win_ping
ansible Windows2019 -m setup
Now, we are ready to create an Ansible playbook for automatically installing and configuring the IIS Web server on Windows server 2019. Also, using ansible to retrieve IP address and disable Windows update service on Windows server machine.
---
- name: Windows Feature
  hosts: Windows2019
  gather_facts: true
#  vars:
#    name:
#     - wuauserv

#  vars:
#    firstname: "ABC"
#    lastname: "XYZ"

  tasks:
    - name: Disable Windows Updates Service
      win_service:
        name: wuauserv
        state: stopped
        enabled: false

    - name: Run ipconfig and return IP address information.
      raw: ipconfig
      register: ipconfig
    - debug: var=ipconfig

#    - name: Reboot
#      win_reboot:
#      when: reboot.reboot_required

# Install and enable IIS on Windows server 2019
    - name: Install IIS
      win_feature:
        name: "Web-Server"
        state: present
        restart: yes
        include_sub_features: yes
        include_management_tools: yes
# Copy the index.html file and rename to ansible.html under C:\inetpub\wwwroot. Must use \\ instead of \ for accessing directory on Windows server.
    - name: Copy index text page
      win_copy:
        src: "files/index.html"
        dest: "C:\\inetpub\\wwwroot\\ansible.html"

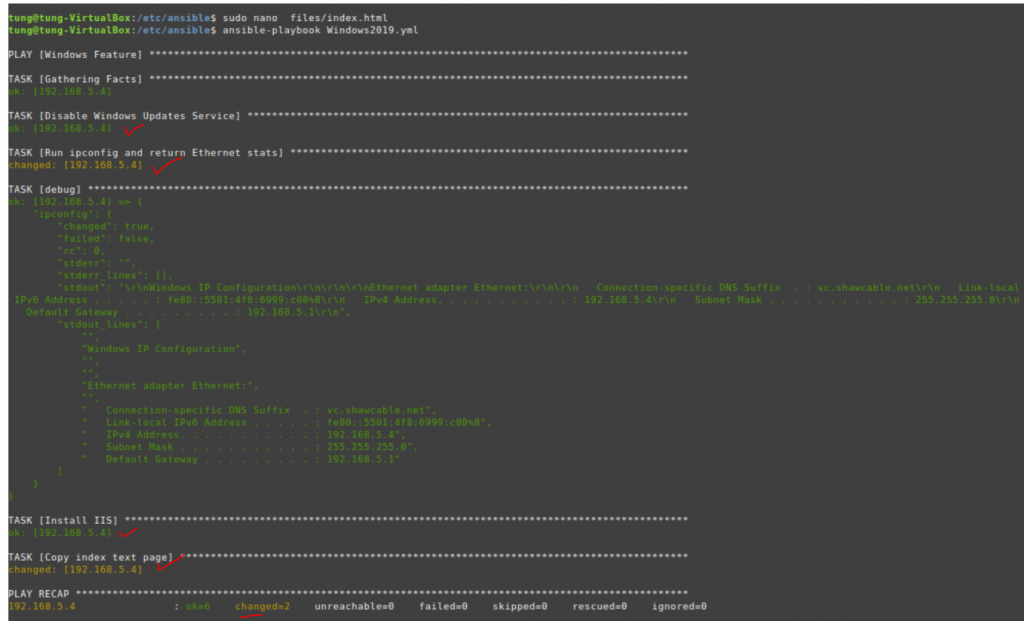
Run ansible-playbook with Windows2019 Yaml file.

ansible-playbook Windows2019.yml

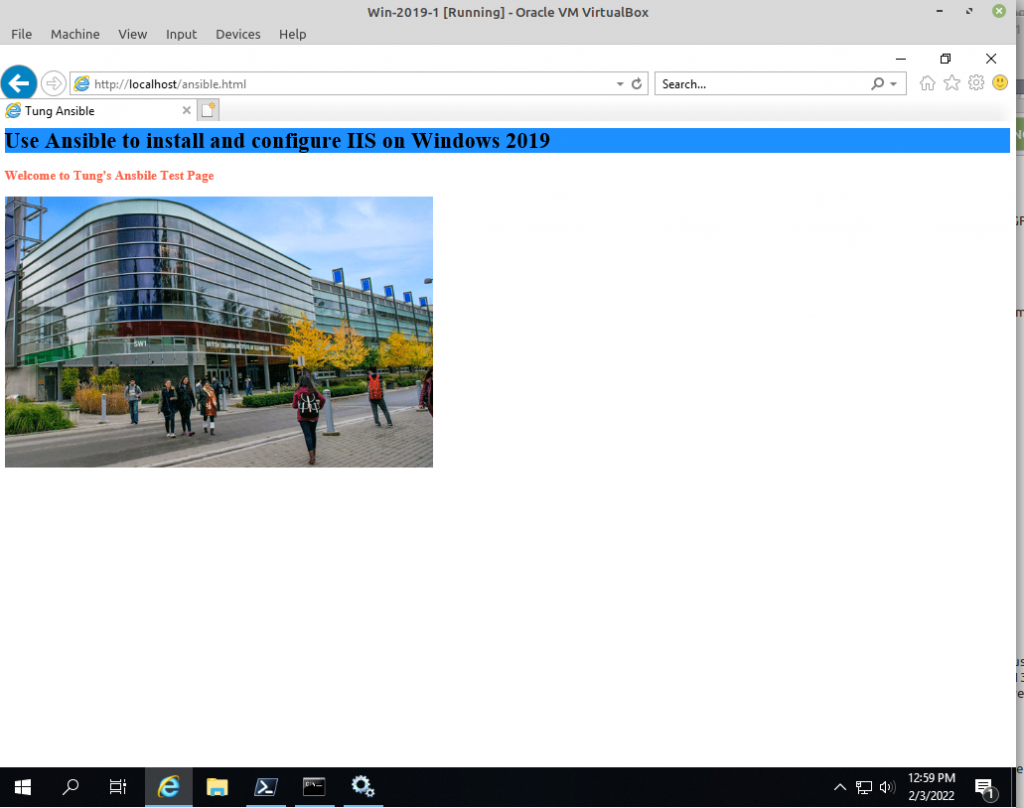
Access the website on Windows server 2019.

On Window server 2019.

Check connections on Windows server 2019.

Install Apache Web server with Ansible

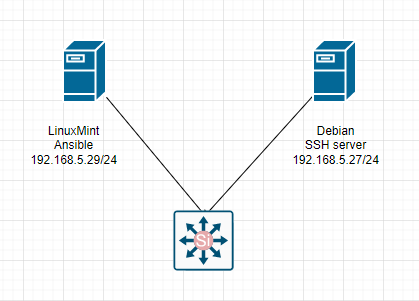
Below is the topology that I have used to install the Apache webserver via Ansible.

This image has an empty alt attribute; its file name is image-460.png

Make sure the Debian server allows Linuxmint to access by using Public key authentication.

On Linuxmint sever.

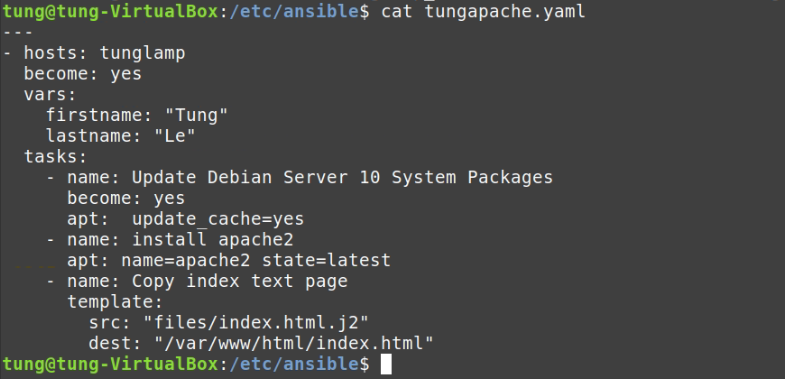
Create a new tungapache.yaml file

---
- hosts: tunglamp
  become: yes
  vars:
    firstname: "XXX"
    lastname: "YYY"
  tasks:
    - name: Update Debian Server 10 System packages
      become: yes
      apt:  update_cache=yes
    - name: install apache2
      apt: name=apache2 state=latest
    - name: Copy index text page
        template:
          src: "files/index.html.j2"
          dest: "/var/www/html/index.html"

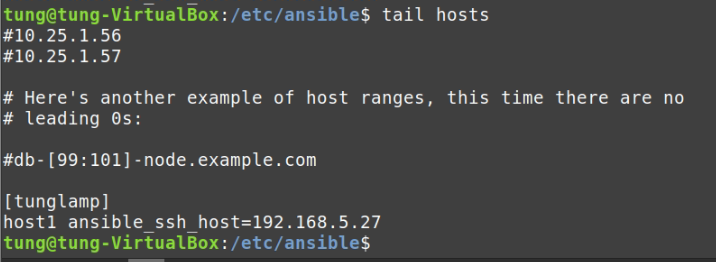
Add Debian server with corresponding IP address information on hosts file.

Go to /etc/ansible directory and create a new files directory.

#pwd /etc/ansible
sudo mkdir files
sudo touch index.html.j2 && sudo nano index.html.j2
<html>
<head>
	<title>{{ firstname}} - {{ lastname }}</title> 
</head>
<body>
	<h1>{{ firstname }} - {{ lastname }}</h1> 
	<h3>Welcome to Tung's Ansbile Test Page</h3>
	<img src="http://imagefromtheinternet.jpg">
</body>
</html>

Run ansible-playbook to install apache webserver on remote Debian Linux server.

ansible-playbook -i /etc/ansible/hosts tungapache.yaml -u root

Check web content on the Debian server.

http://192.168.5.27/index.html