Register your account on GCP.
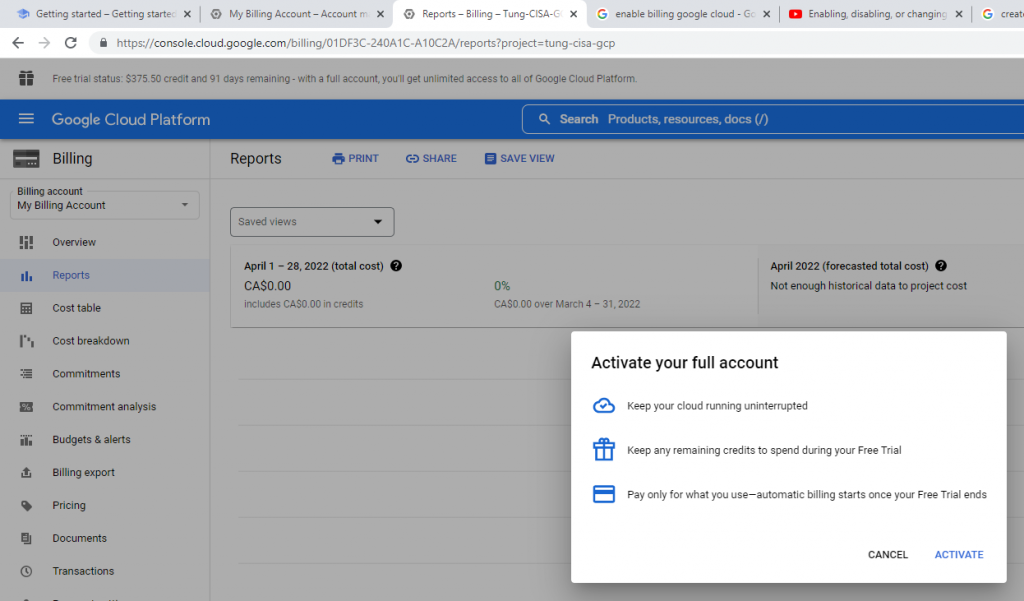
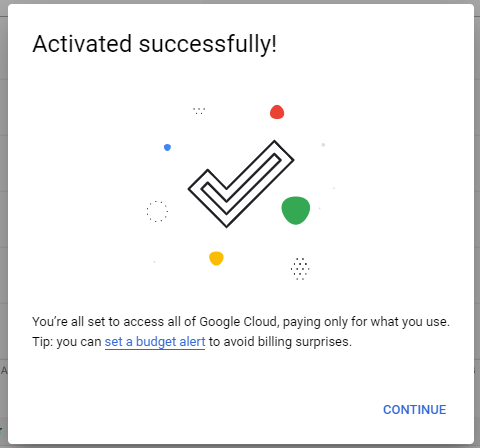
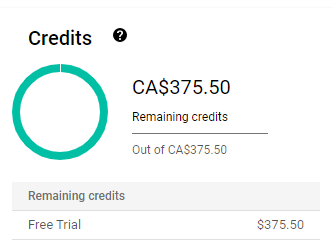
You will have $375 CAD for the credit on GCP.
Below are a couple of steps to create a Linux and Windows Server instance on the Google Cloud Platform (GCP).
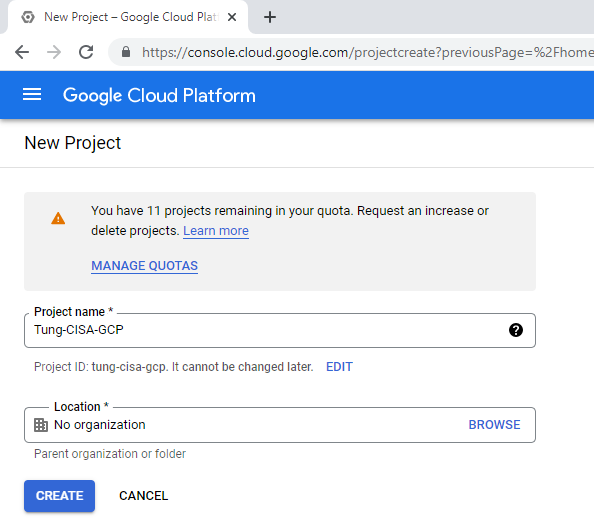
Create a new GCP project.
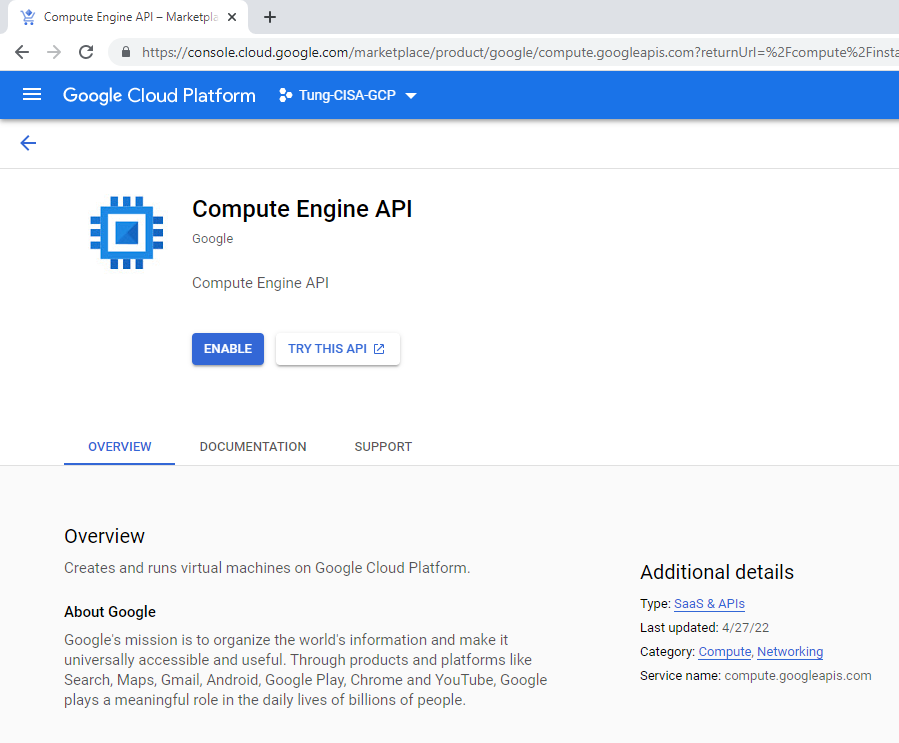
Enable “Compute Engine API”.
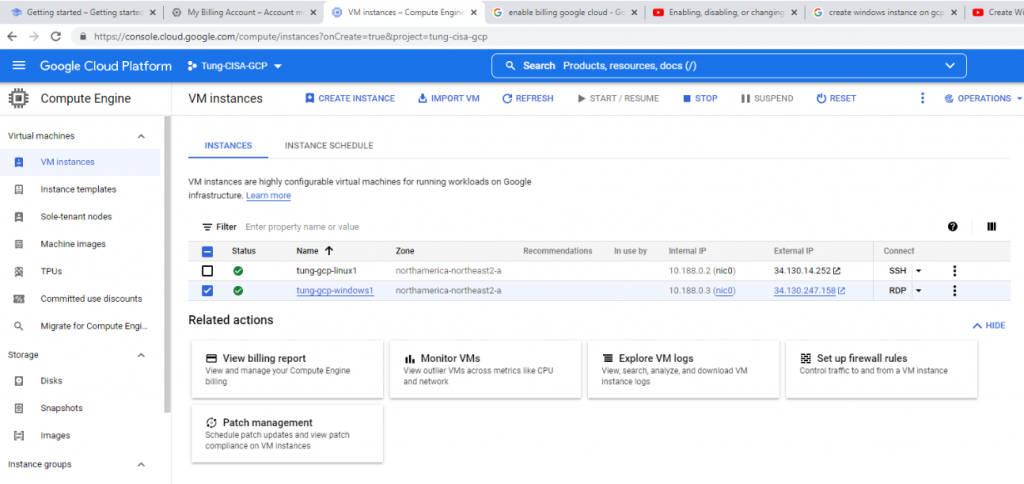
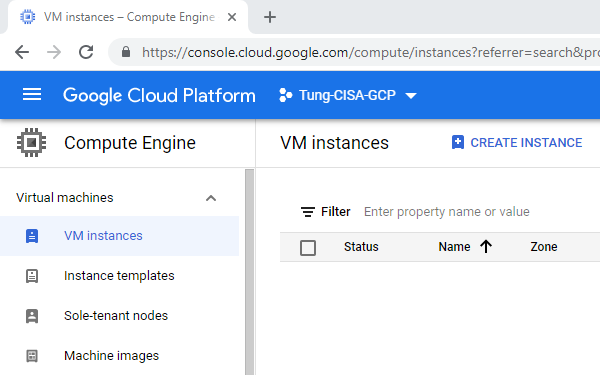
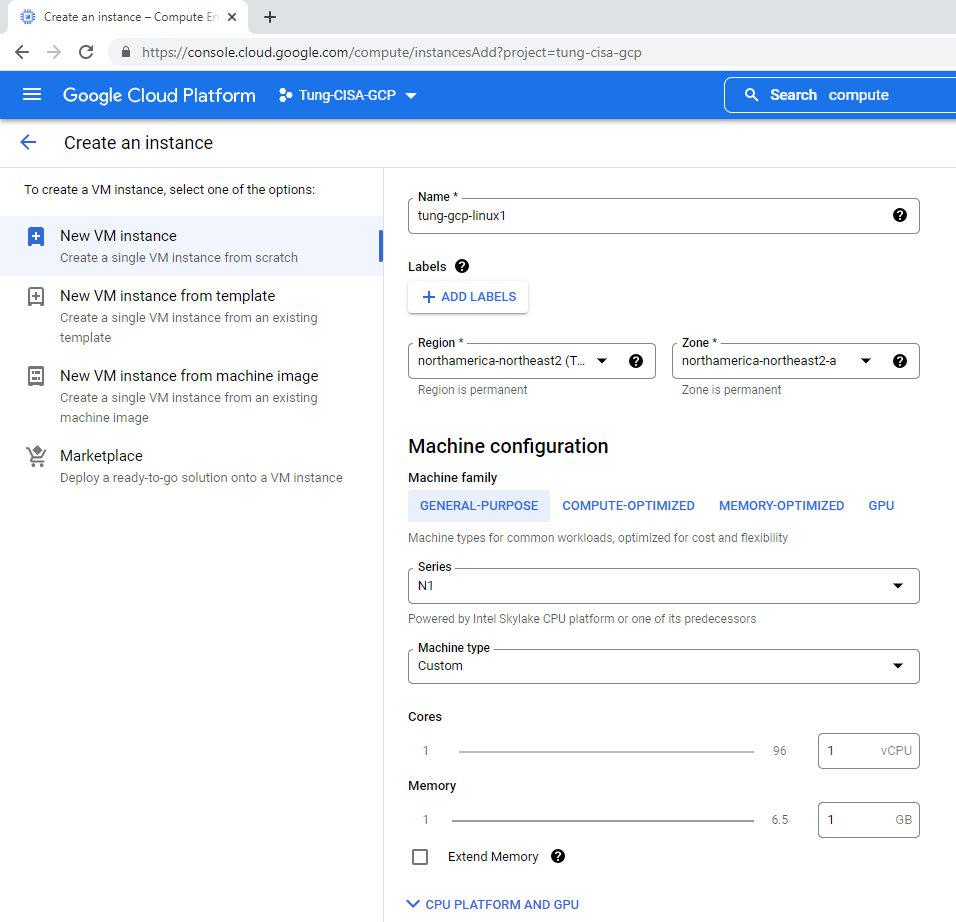
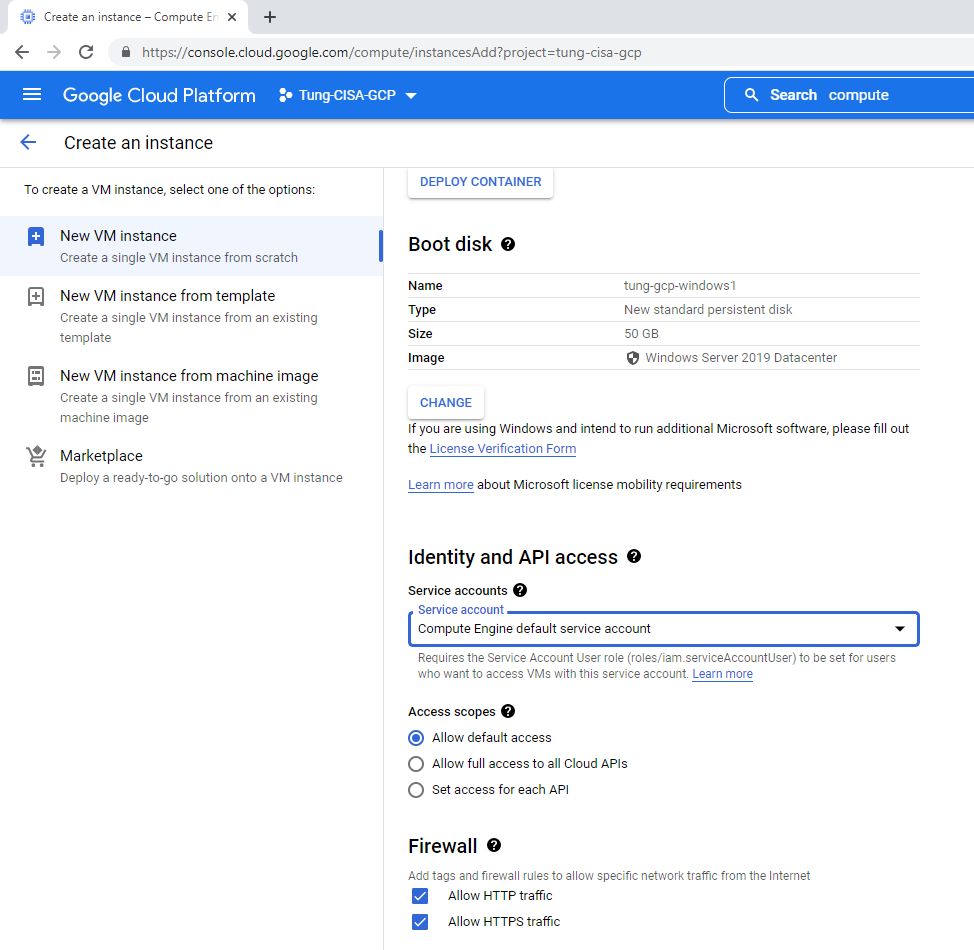
Select your project, and search Compute Engine. Then, click “Create instance” to create new instance on GCP.

Waiting until the instance is booted up.
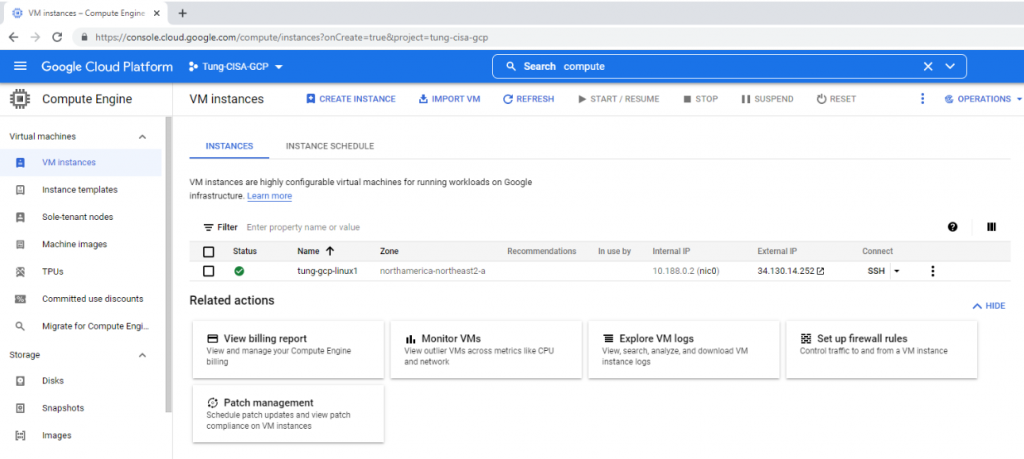
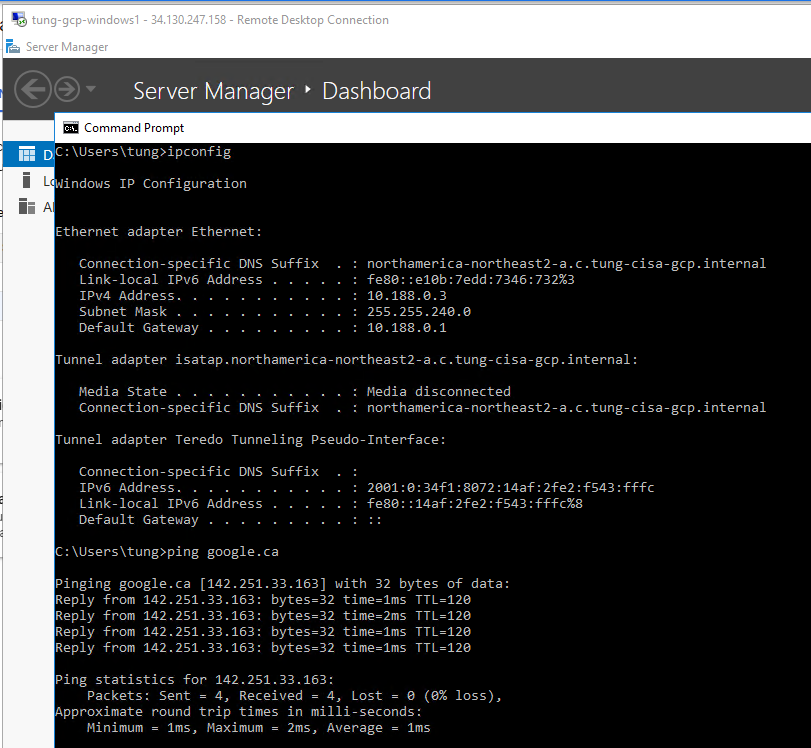
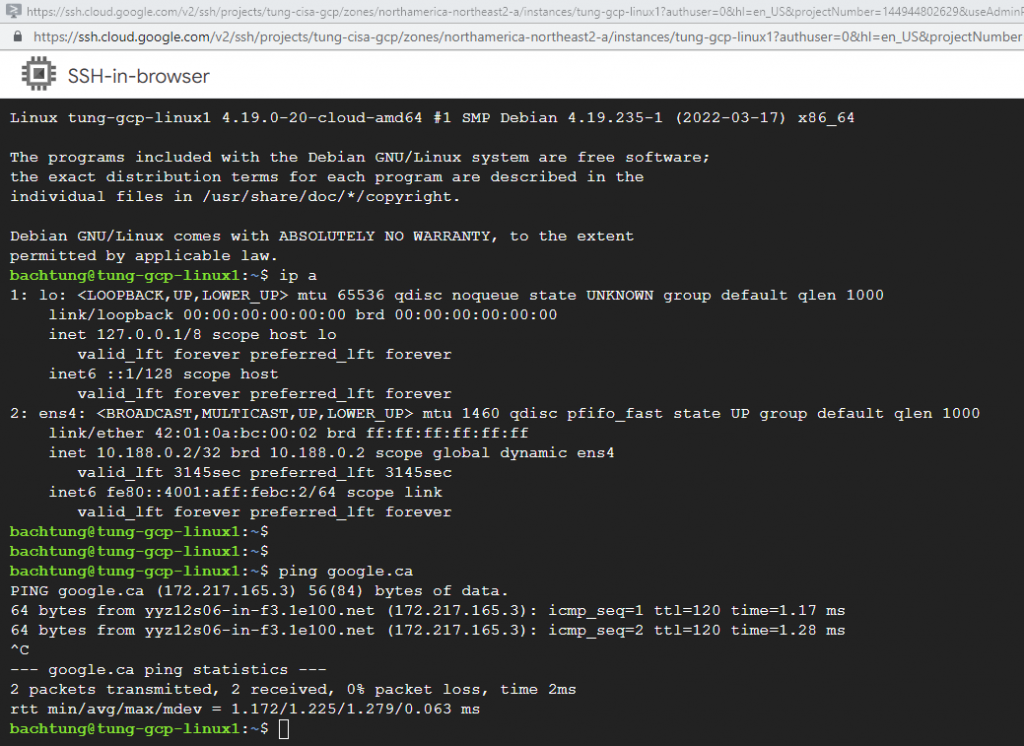
Check the External IP address of this instance. Click SSH, and select SSH from the web browser.
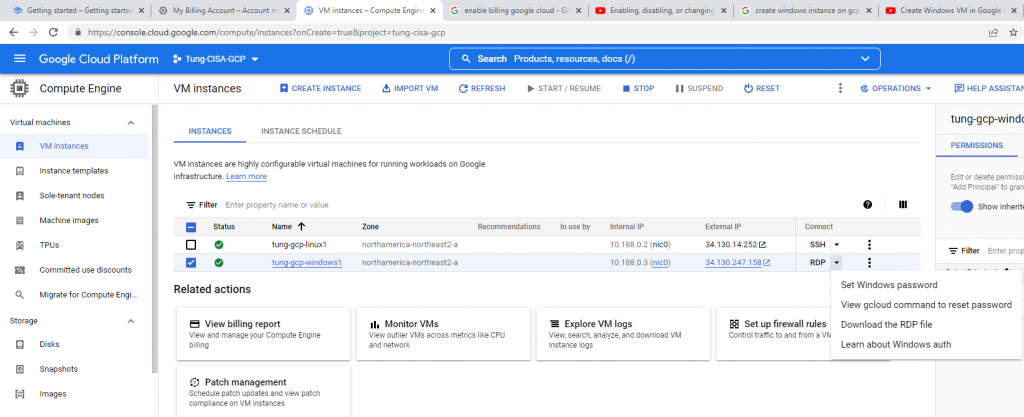
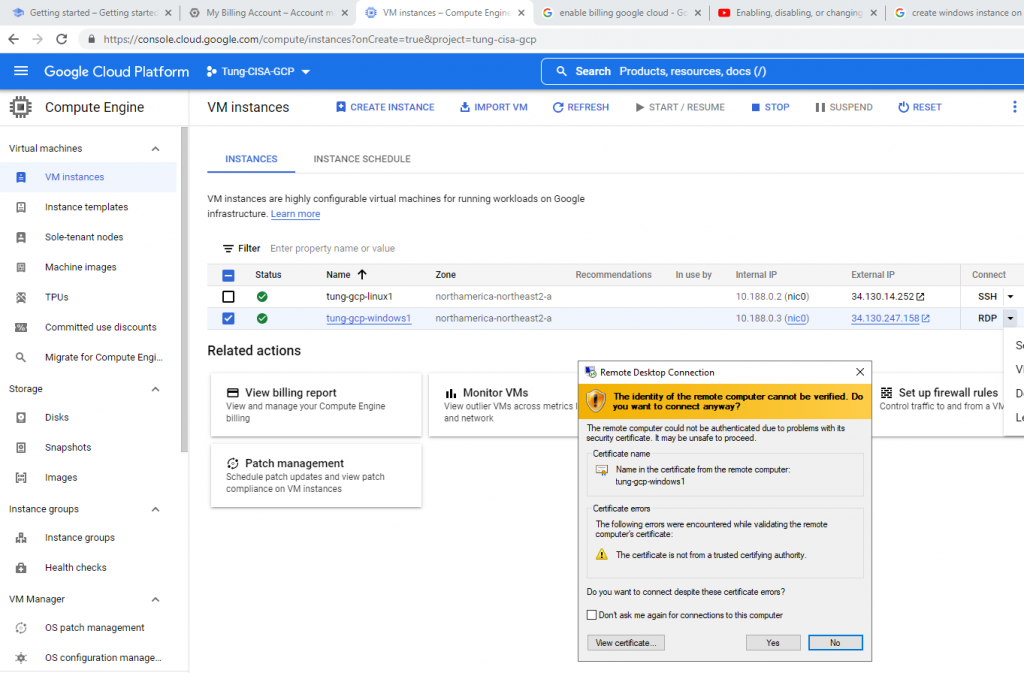
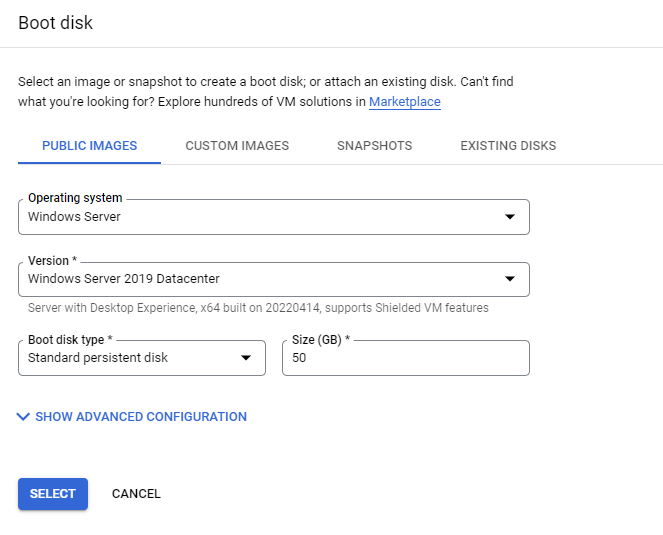
+ Windows instance.
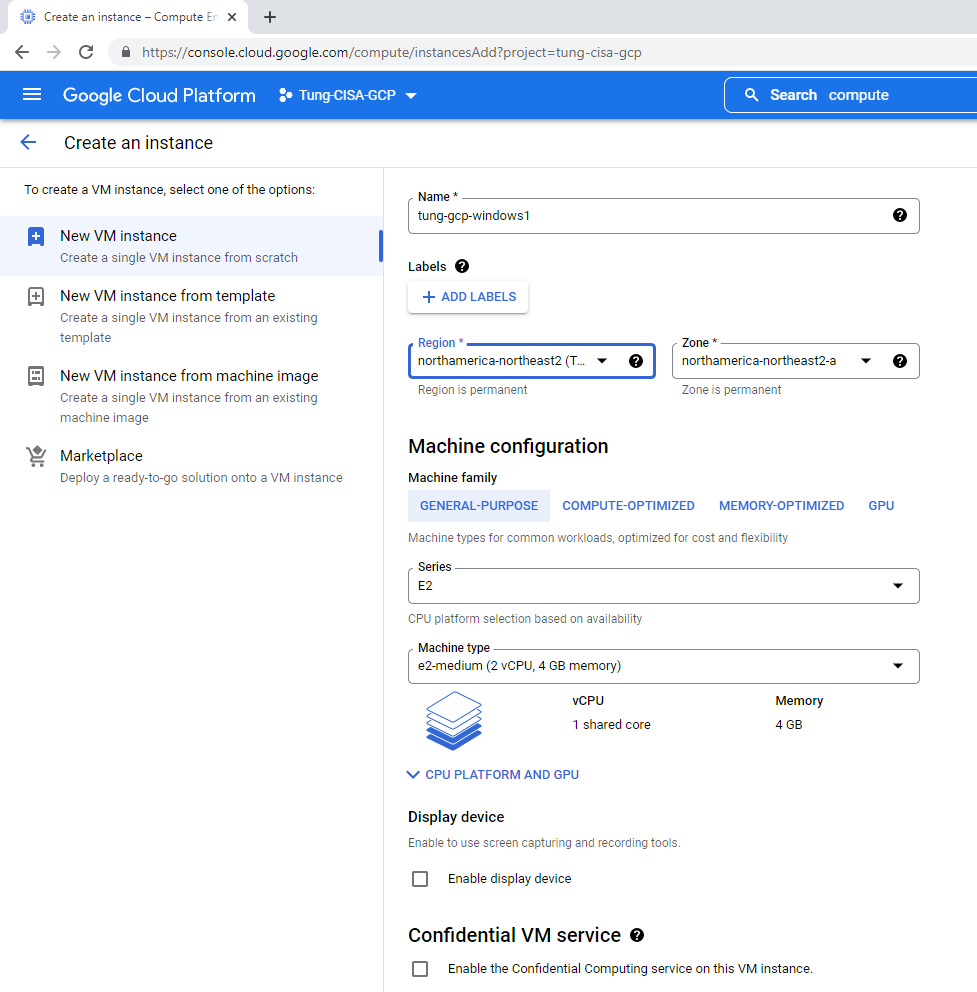
Choose boot disk is Windows OS.
Set username and password for the instance.