Jitsi is a true open-source solution for video conferencing. Integrating with Zimbra Collaboration Suite, we have a feasible open-source collaboration solution that has been installed on Linux VPS servers.
Step 1 — Setting the System Hostname Creates jitsi and auth hostname records on an external DNS server as screenshots below


Change hostname of the machine to jitsi.cisa2380.tk.
#sudo hostnamectl set-hostname jitsi.cisa2380.tk

Ping the hostname to check it is reachable.
Step 2 — Configuring the Firewall
Allow some ports below for Jitsi services on Ubuntu Linux Firewall.
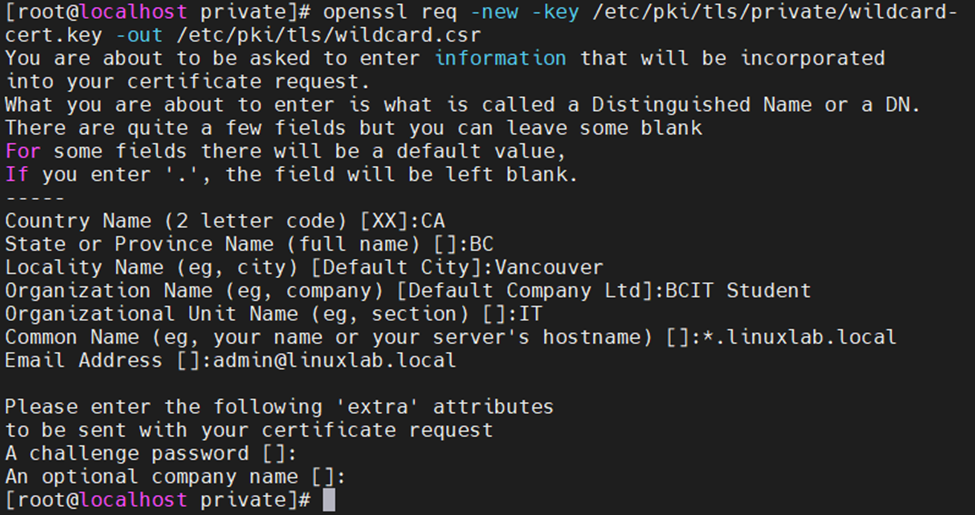
Port 80 : uses in the TLS certificate request.
Port 443: uses for the conference room creation web page.
Port 4443/tcp 10000/udp: uses to transmit and receive the encrypted call traffic.
sudo ufw allow 80/tcp
sudo ufw allow 443/tcp
sudo ufw allow 4443/tcpsudo ufw allow 10000/udp

Step 3 — Installing Jitsi Meet
First, download the Jitsi GPG key with the wget downloading utility:
#wget https://download.jitsi.org/jitsi-key.gpg.key
#sudo nano /etc/apt/sources.list.d/jitsi-stable.list to add this line below to the file for the Jitsi repository:deb https://download.jitsi.org stable/

Finally, perform a system update to collect the package list from the Jitsi repository #sudo apt update

Install Jitsi meet with the command below.
#sudo apt install jitsi-meet
Enter the domain name for your Jitsi Meet instance.

Select the option below to create and use a self-signed TLS certificate for Jitsi system.


Step 4 — Obtaining a Signed TLS Certificate
#sudo apt install certbot
#sudo apt install certbot


Step 5 — Locking Conference Creation
Allow registered users to create conference rooms by changing the information as the file below
#sudo nano /etc/prosody/conf.avail/your_domain.cfg.lua
Change authentication = “anonymous” to authentication = “internal_plain”
Then, add to the end of the file:
VirtualHost “guest.jitsi.your_domain”
authentication = “anonymous” c2s_require_encryption = false
Next, edit the file /etc/jitsi/meet/jitsi.your_domain-config.js
#sudo nano /etc/jitsi/meet/jitsi.your_domain-config.js
Change this line:
// anonymousdomain: ‘guest.jitsi.your_domain’,
To: anonymousdomain: ‘guest.jitsi.your_domain’,

Open /etc/jitsi/jicofo/sip-communicator.properties:
#sudo nano /etc/jitsi/jicofo/sip-communicator.properties
Add the line below to the end of the file. org.jitsi.jicofo.auth.URL=XMPP:jitsi.your_domain

Now, Jitsi Meet is configured to require authenticated users for video conferencing.
Use the prosodyctl utility to create user and password for Jitsi users.
#sudo prosodyctl register user your_domain password
Finally, restart the Jitsi Meet services.
sudo systemctl restart prosody.service
sudo systemctl restart jicofo.service sudo systemctl restart jitsi-videobridge2.service
The Jitsi server has been installed and securely configured.